How To Connect My PetSafe® Smartdoor™ Connected Pet Door to the App
Important Information
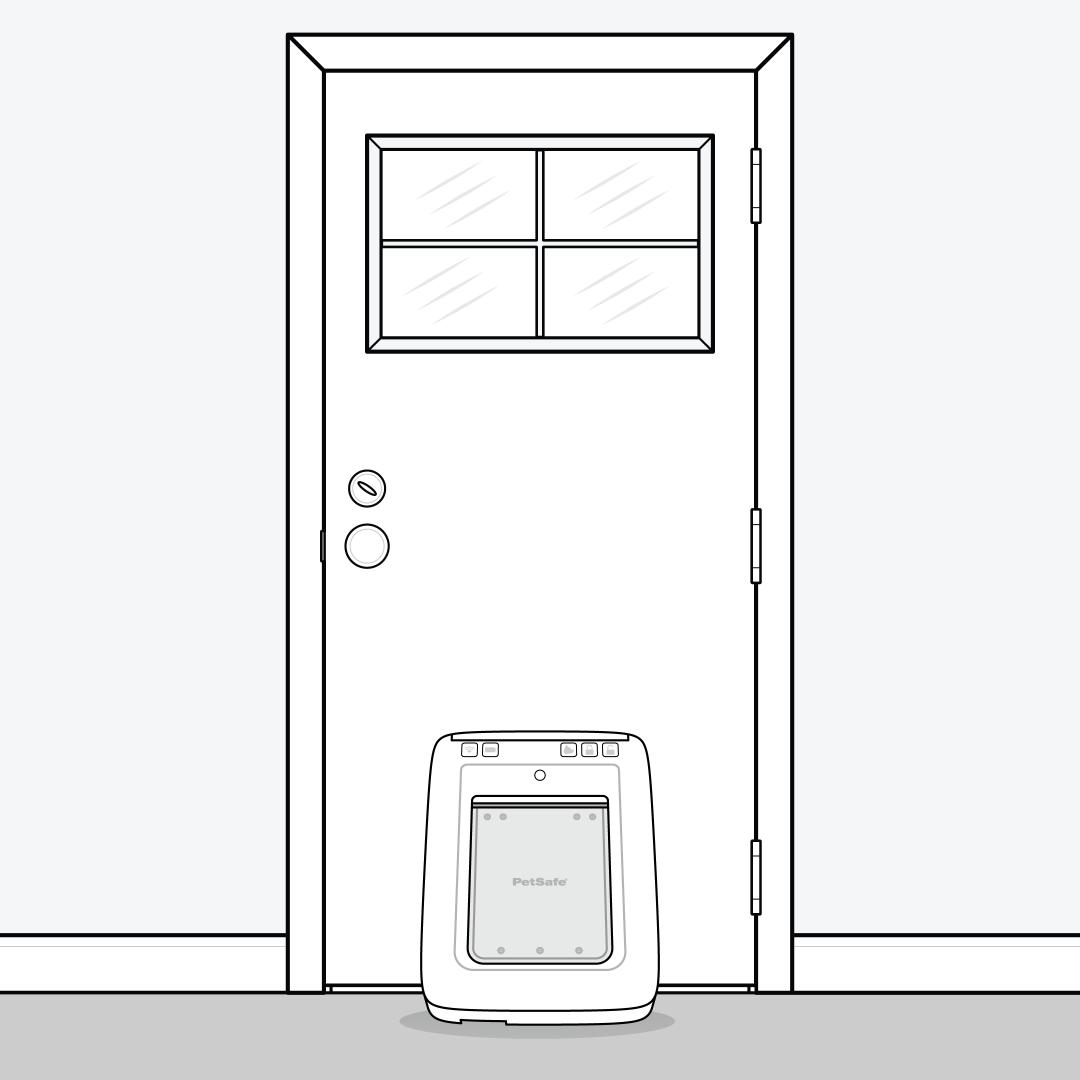
Before performing the following steps, place the PetSafe® SmartDoor™ Connected Pet Door in an upright position as near as possible to your desired installation location (for example, leaning against the door or wall in which you wish to install it). This is critical to ensure that you detect and resolve any Wi-Fi connectivity issues in your installation location before installing the pet door.
Set Up the App
Download the My PetSafe® app from your phone’s online application store.
If you are already using the My PetSafe® app with another PetSafe® product, skip to step 3.
Open the app. Tap Get Started and follow the prompts to set up an account and sign into the app. You will need a valid email address.
Insert batteries in your door. The Wi-Fi light will blink yellow.
For more information, visit How To Replace the Batteries in My PetSafe® SmartDoor™ Connected Pet Door.
Add Your Door
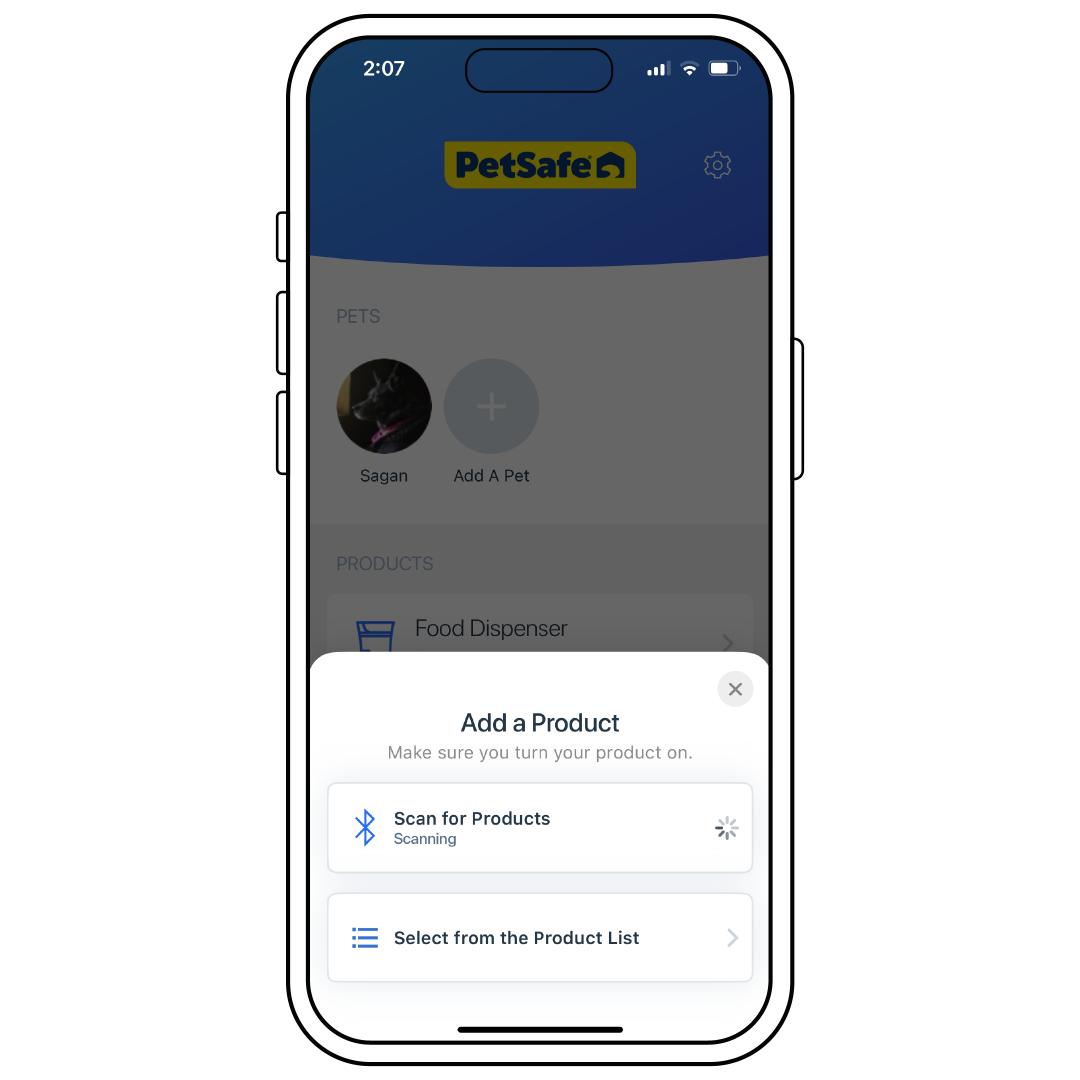
Once you are signed into the app, tap Add Product.
If your Wi-Fi light is blinking yellow, the app will automatically locate the door. You may also select SmartDoor™ from the Product List.
Once your door is located, tap Continue. You will be prompted to enable Bluetooth on your phone if it is not already enabled.
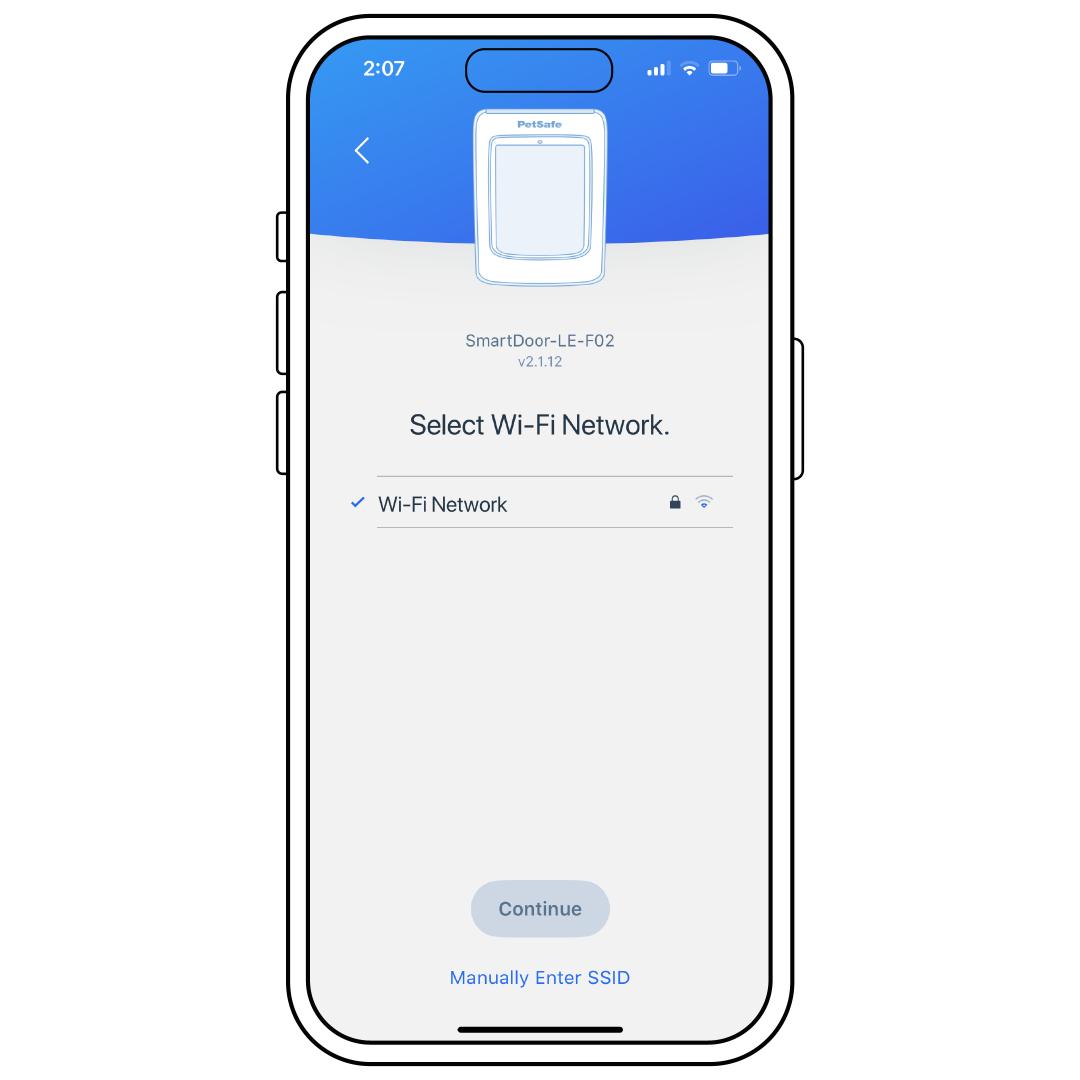
Select your Wi-Fi network (must be 2.4 GHz) and enter your password, ensuring capital letters or symbols are properly input. Tap Continue.
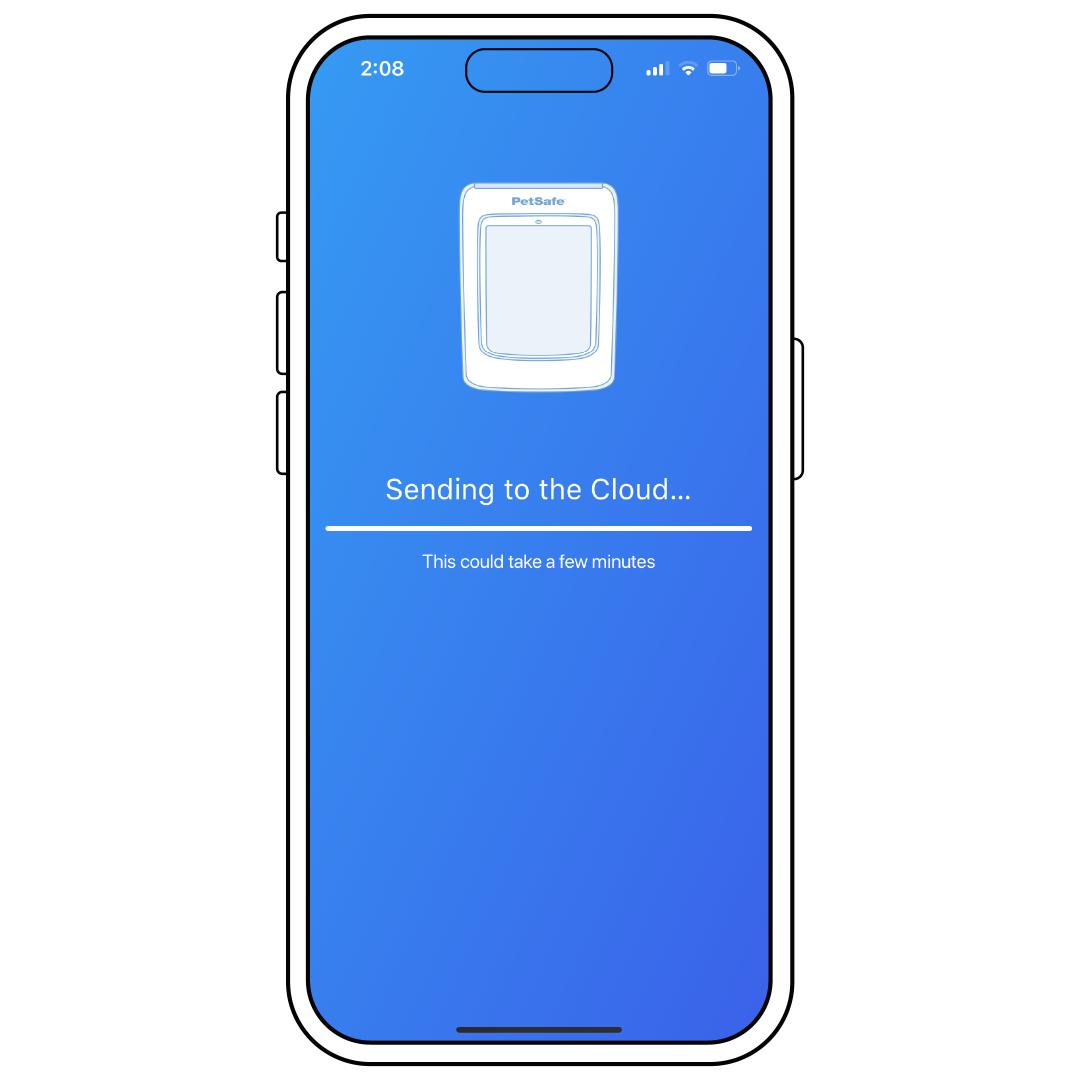
Wait for the door to connect with the cloud, which can take several minutes. If there are any updates available, the door will update at this time. Please do not close the app or power off the door during this. Once connection and updates are complete, tap Continue.
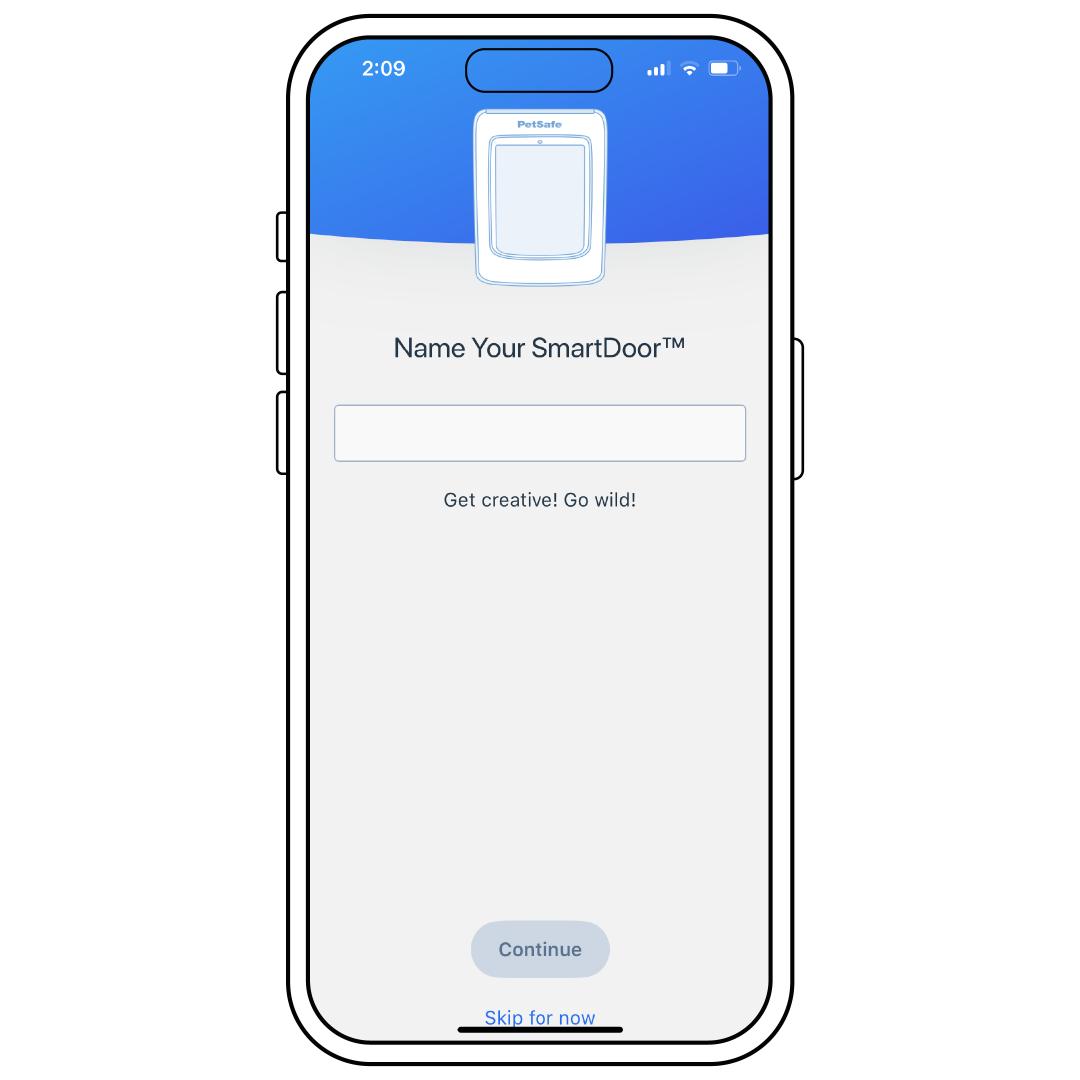
Name your door, then tap Continue.
Add Your Pet(s)
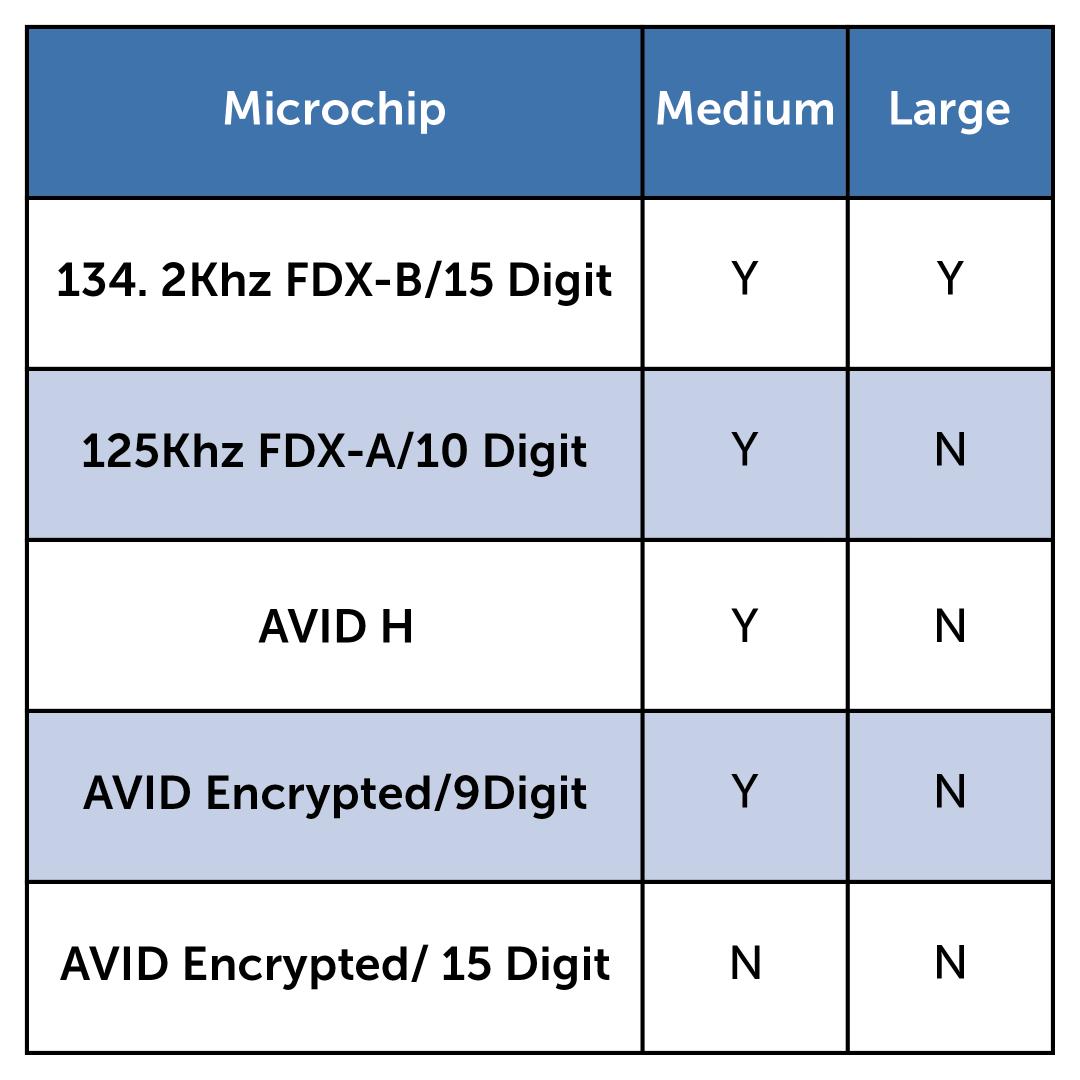
We recommend microchip use for cats only. For all other pets, we advise the use of the Pet Door Key. This chart indicates which microchips are compatible with each door.
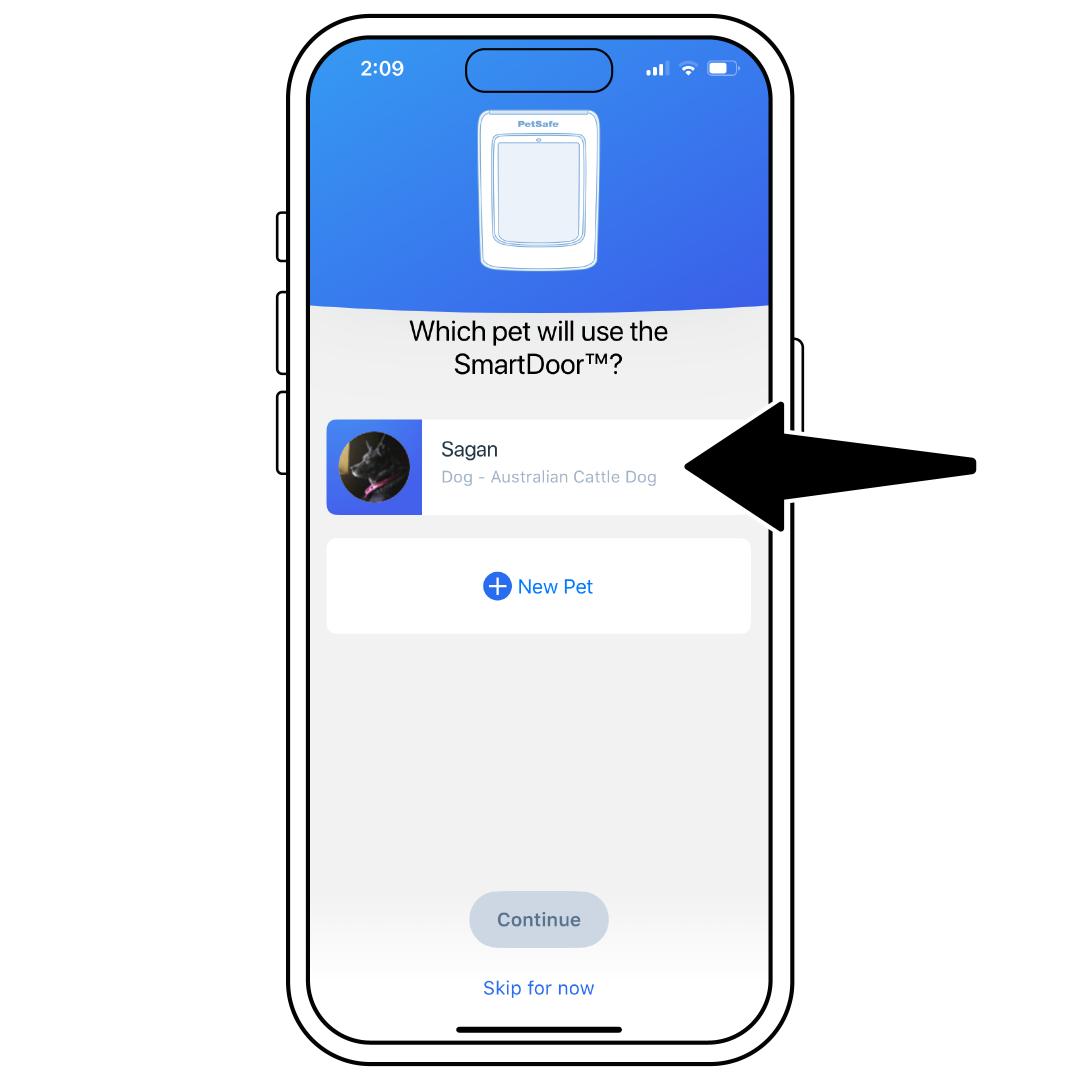
Create a pet profile for each pet that will use the SmartDoor™. If you have already created pet profiles in the app, select which pets will use the door.
If you choose a cat, select whether they will use a microchip or a Pet Door Key.
For more information, visit How To Add, Edit or Remove a Pet Profile in My PetSafe® App.
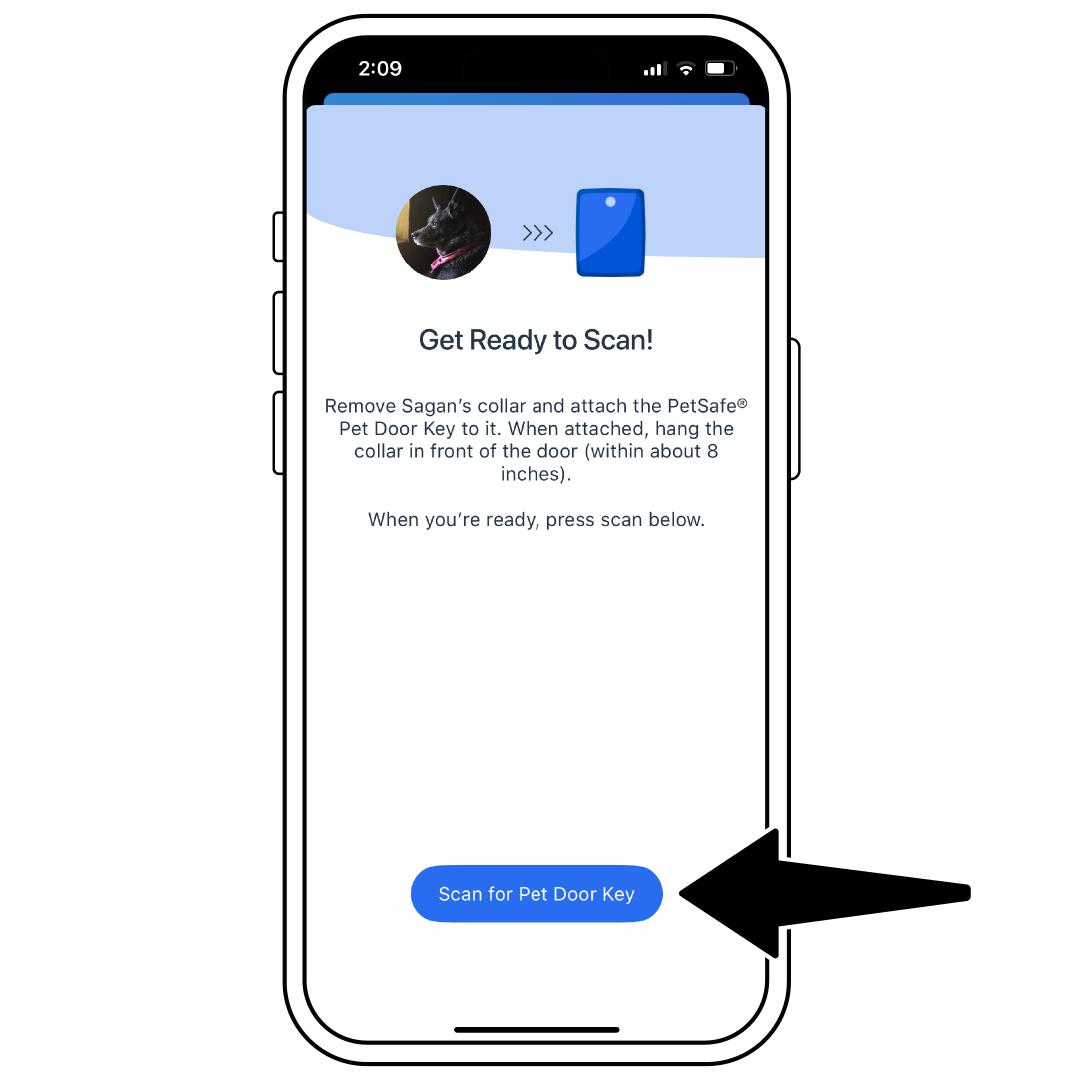
Pair each of your pets to the pet door by scanning their microchip or Pet Door Key.
- During the pairing process, pair one microchip/key at a time and keep all other pets/keys away from the door.
- To pair, hold your key about 8 inches from the door and tap Scan for Pet Door Key. Avoid holding it too close, as this may reduce the range.
- To pair a microchip, tap Scan for Pet Door Key. Then gently hold your cat facing the door about 8 inches from it.
For more information, visit How To Add, Replace or Remove a Key/Microchip for My PetSafe® SmartDoor™ Connected Pet Door.
If you find that the pet door is not reliably responding to your cat’s microchip, you may need to pair them to the pet door with a Pet Door Key instead. For more information, see our troubleshooting article My Pet's Door Key or Microchip Will Not Pair With My PetSafe® SmartDoor™ Connected Pet Door.

Once the key/microchip is found, select Yep! That’s the One.
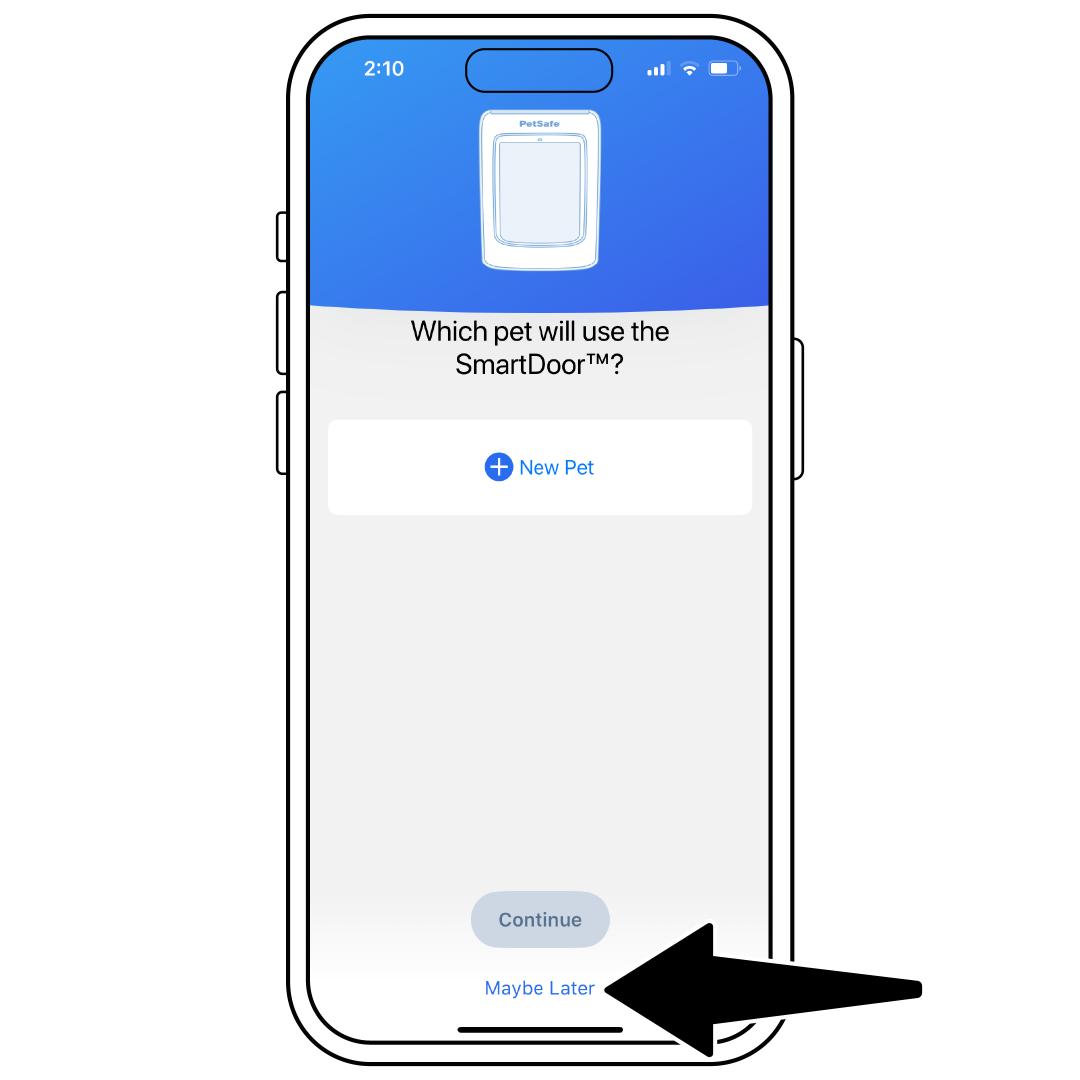
If this is the only key/microchip you are pairing, select Maybe Later. If you have additional Pet Door Keys or microchips to pair, you can select another pet or add a new pet and then sync those keys/microchips.
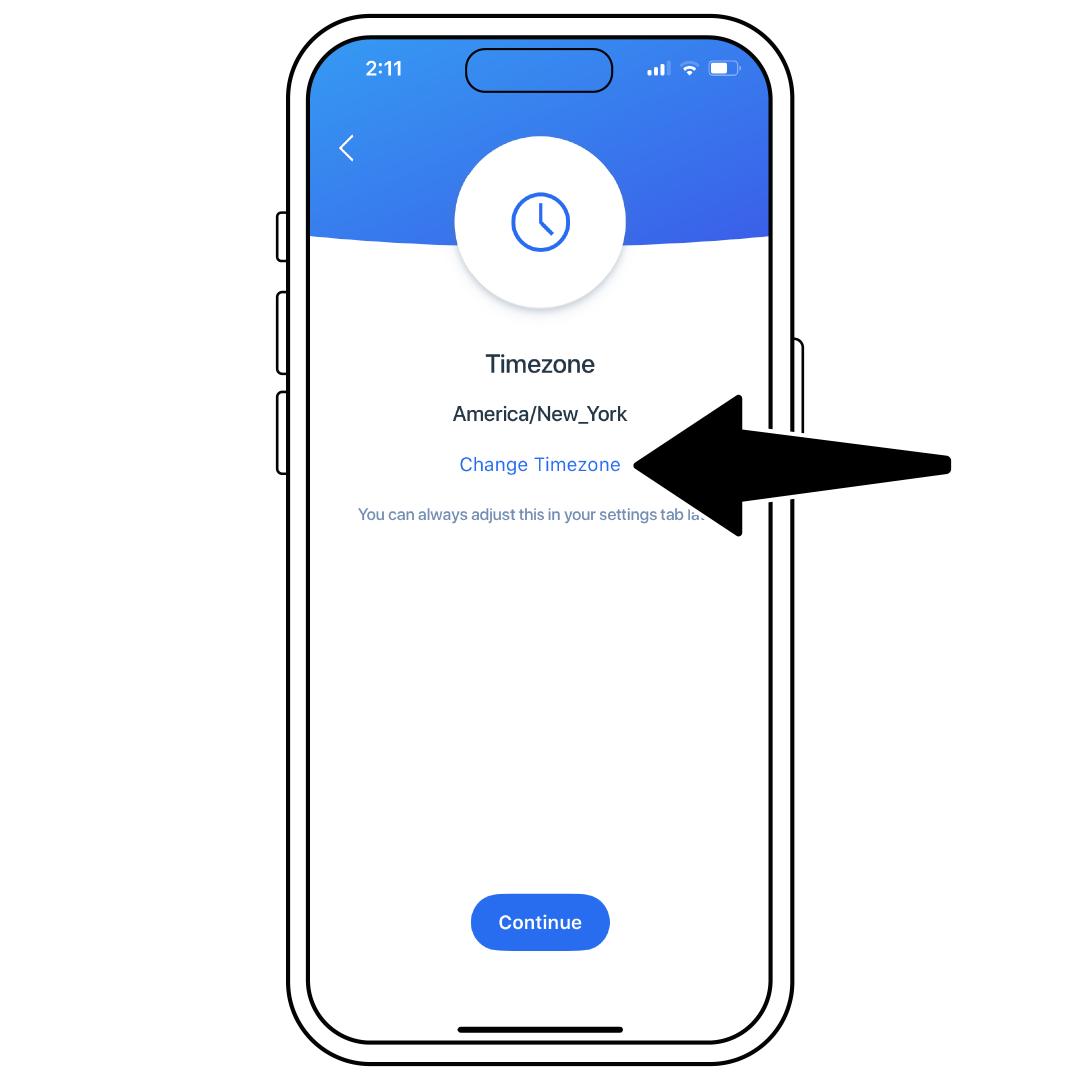
Make sure your time zone is correct and tap Continue.
Next Steps
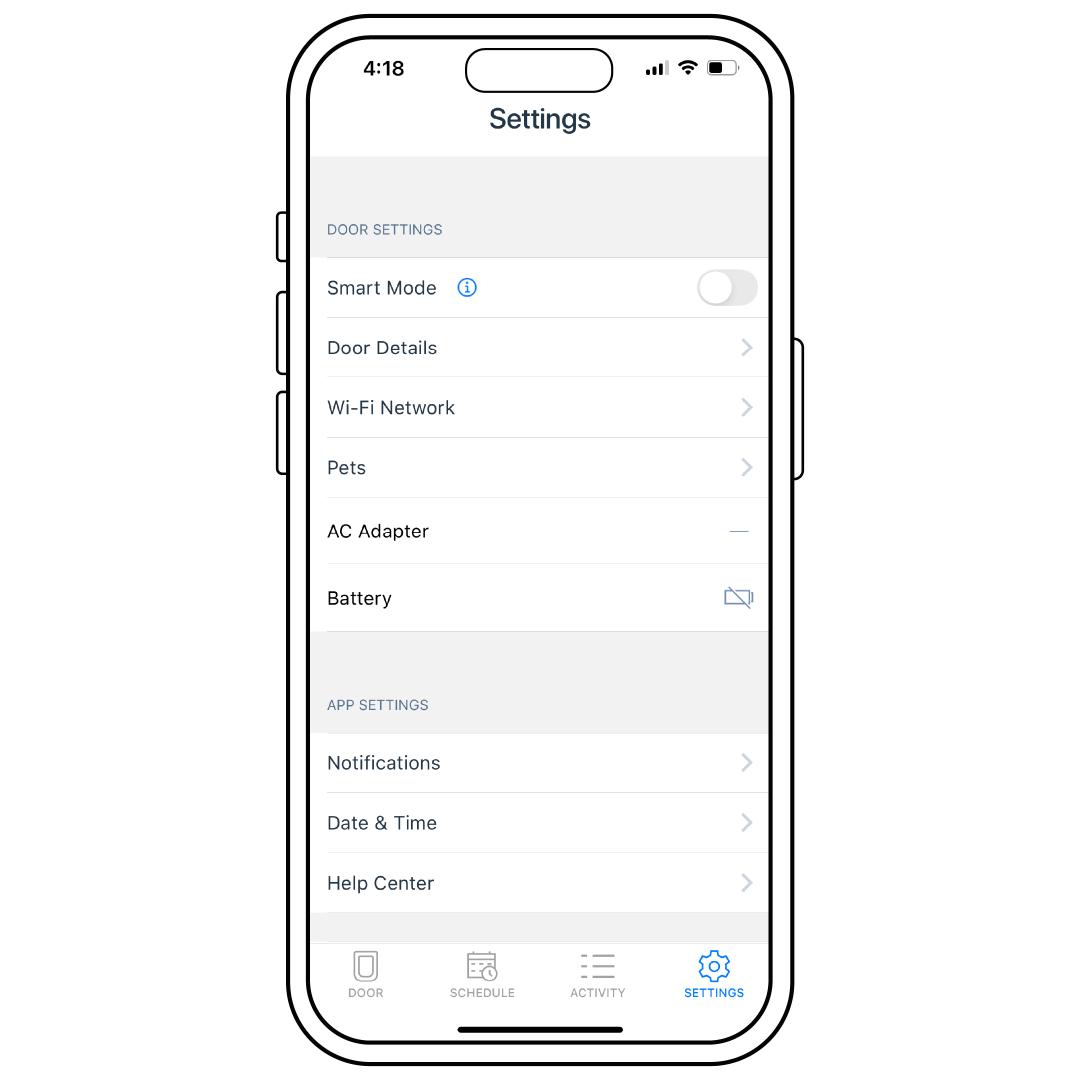
We recommend checking your settings and notifications to ensure the door is set up to behave the way you want, especially in the event of a power loss.
For more information, visit How To Adjust Settings and Notifications on My PetSafe® SmartDoor™ Connected Pet Door.
Once you have connected your door and pet(s), test the door before installing to ensure it consistently works in the location you have selected. If you are ready to install, check out our article Tools and Materials Needed for My PetSafe® SmartDoor™ Connected Pet Door Installation.