How to Install the Medium SmartDoor™ Connected Pet Door in Glass
Before installing the SmartDoor™, make sure:
- You have completed the instructions in How to Prepare for the SmartDoor™ Connected Pet Door Installation.
- You have all the tools and materials listed in Tools and Materials Needed for SmartDoor™ Connected Pet Door Installation.
Important: Remove the batteries from the pet door prior to installation.
The medium SmartDoor™ can be installed in double-paned glass only. You will need a professional glass worker to prepare the glass panel for your installation.
Have the Glass Panel Made
Contact a professional glass worker to have a new glass panel made with a pre-cut opening for the pet door:
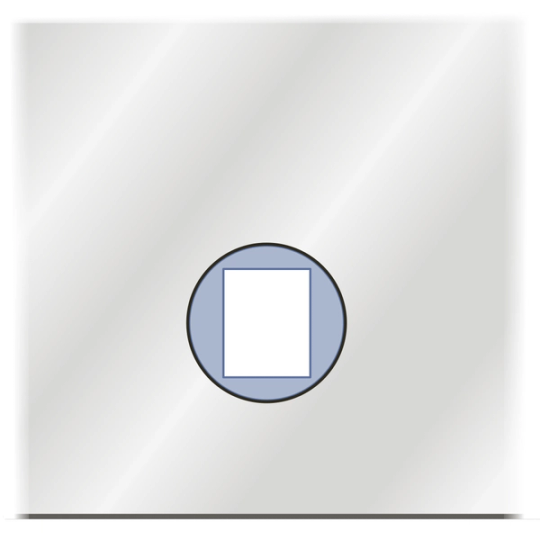
- You will need a circular opening 15 inches (380 mm) in diameter, in double-paned glass only.
- The center of the opening should be placed 2 5/8 inches above your tallest pet’s shoulder height. Make sure this center point is at least 11 inches from the bottom of the window frame to ensure there is enough space for the installation adaptors.
Important: Ask your glass worker to use a non-metallic spacer bar around the opening to seal the layers of glass. This is to prevent interference with the sensor in the pet door.
Install the Pet Door
Place the round foam spacer in the circular opening in the glass.
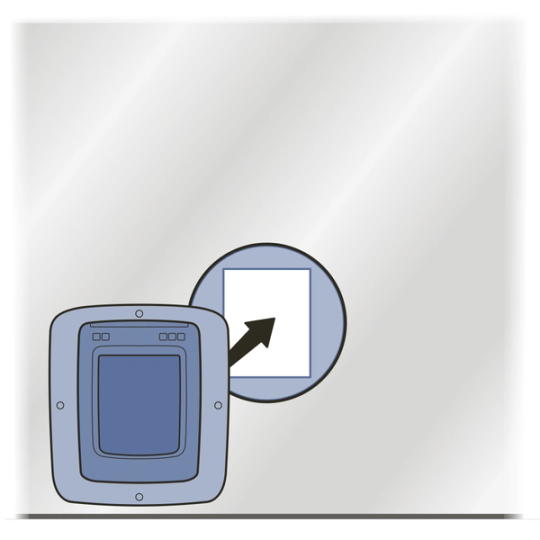
Insert the tunnel of the interior frame through the middle of the installation adaptor. The smooth side of the installation adaptor should face the front.
Insert the interior frame (with installation adaptor) into the opening on the interior side of the glass, through the center of the foam spacer. Make sure the interior frame is level in the opening.
Have a helper hold the interior frame and installation adaptor in position, or tape it in place securely.
On the exterior side of the glass, line up the second installation adaptor and exterior frame with the pet door tunnel.
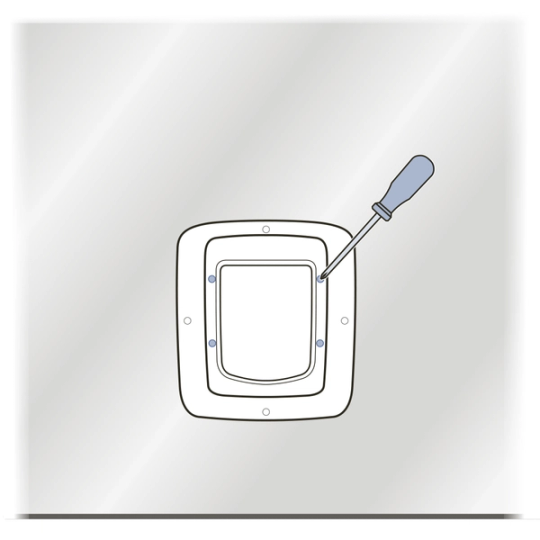
Holding the pet door frames and installation adaptors in place, insert four 1 9/16-inch (40 mm) screws through the holes in the exterior frame, through the installation adaptors, and into the holes on the back of the interior frame. The screws will have to be driven through the foam spacer in the cutout opening.
Using a manual #2 Phillips (cross head) screwdriver, tighten the screws. Do not overtighten.
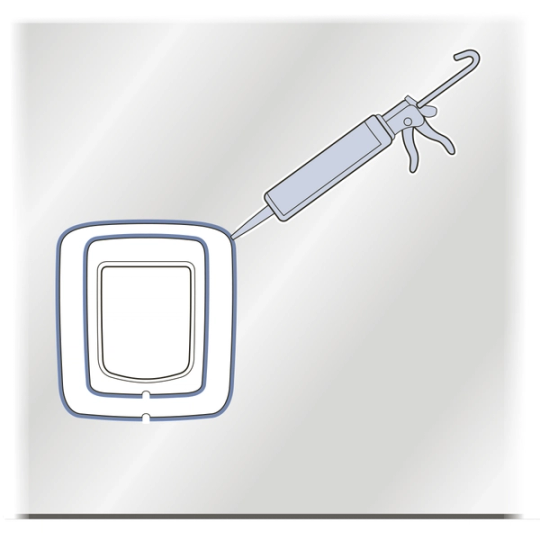
On the exterior side of the glass, apply exterior-grade caulk around the edges of the installation adaptor and the exterior frame, making sure to leave the weep holes open.
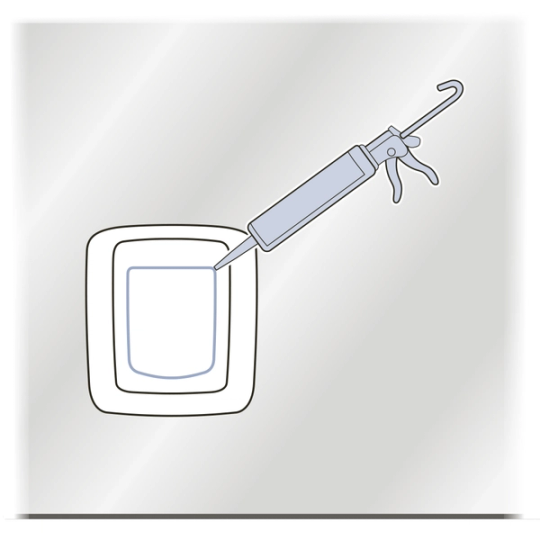
Apply exterior-grade caulk around the edge of the pet door tunnel where it meets the exterior frame.
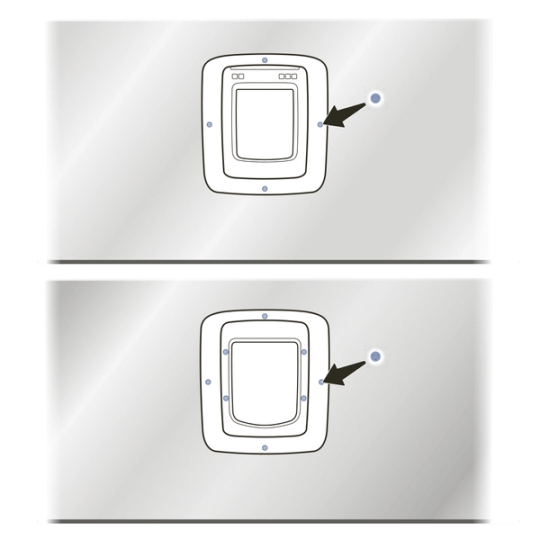
Insert blanking plugs into the four holes in the exterior frame and the four holes in the installation adaptor.
On the interior side of the glass, insert blanking plugs into the four holes in the installation adaptor.
Reinstall the batteries in the pet door.
Now that your pet door is installed, it is time to train your pet to use it! See How to Train Your Pet to Use the SmartDoor™ Connected Pet Door.
Contact Customer Care
If you need further assistance, please contact our customer care team.