How To Install My PetSafe® Panel Pet Door Insert™ with a 10 ½ - Inch Rise
Important Information
Measure your pet and identify the rise you will need to install your door. Visit How To Measure and Select the Proper Rise on My PetSafe® Panel Pet Door Insert™.
If you need help installing your door with an 8 - inch rise, visit How To Install My PetSafe® Panel Pet Door Insert™ with an 8 - Inch Rise.
This door is only recommended to be installed in a door width of 1 ¾ inches.
You Will Need
Sawhorses
Jigsaw
Masking Tape
Tape Measure
Phillips Screwdriver
Drill
¼” Drill Bit
Pencil
Level
Installing with a 10 ½ - Inch Rise
Remove the door from the hinges and lay the door on the sawhorses. Ensure the sawhorses are stable and on a level surface.
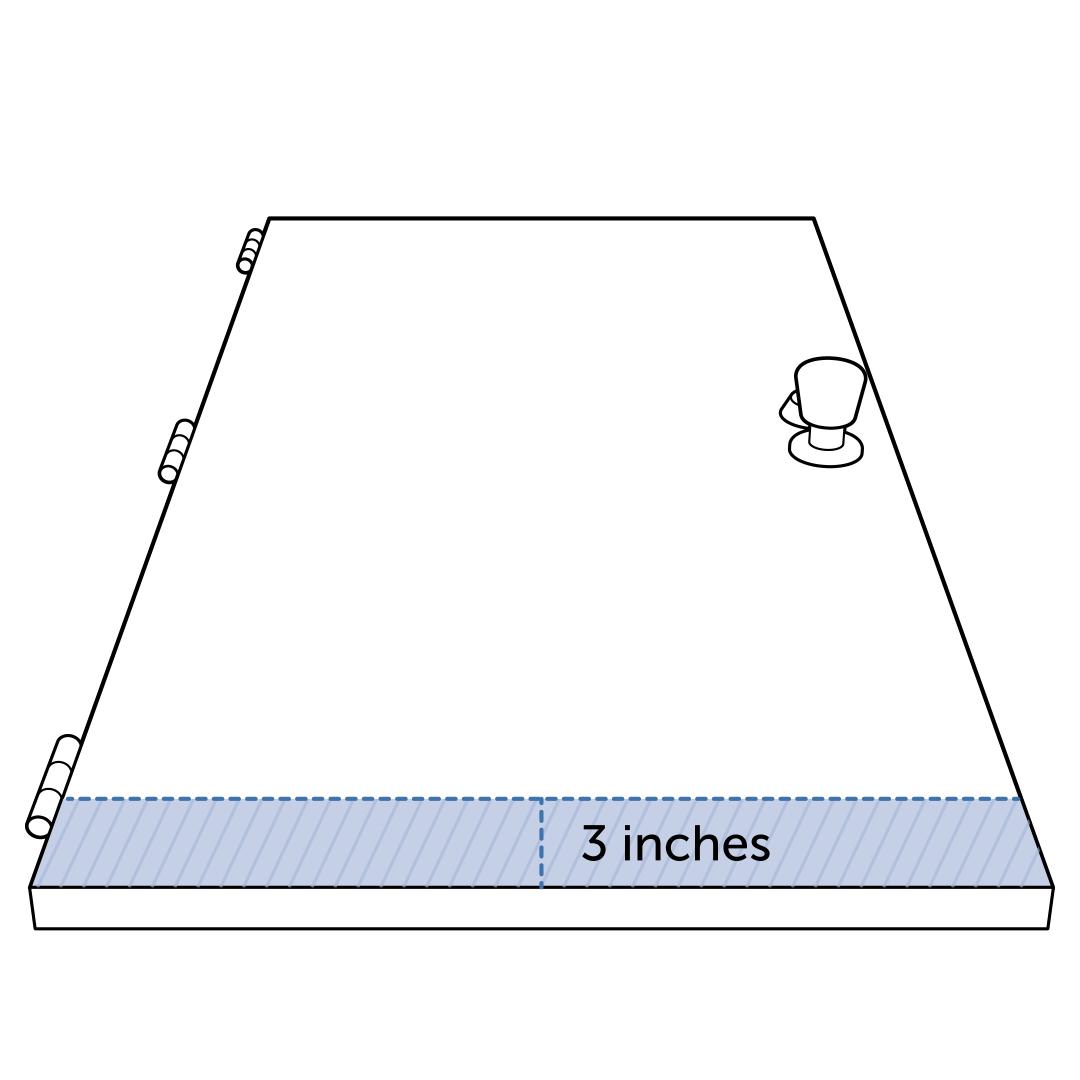
Use a pencil to make a level, horizontal line 3 inches from the bottom of the door across the width of the door.
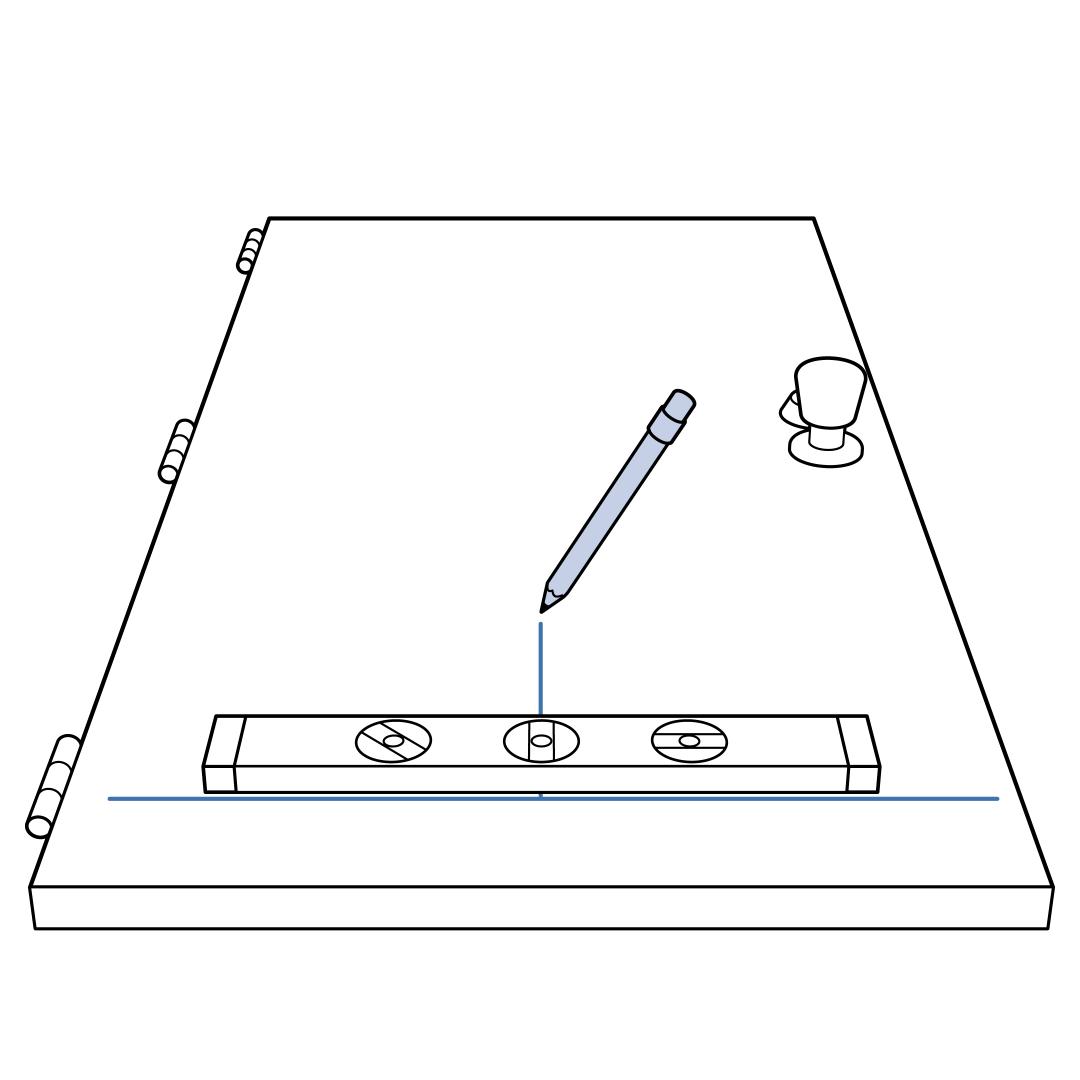
Mark the center of the horizontal line with a vertical line.
Remove the Panel Pet Door Insert™ from the box.
Cut out the template on the back of the box.
Center the bottom of the template on the horizontal line on the door. Use masking tape to secure it in place.
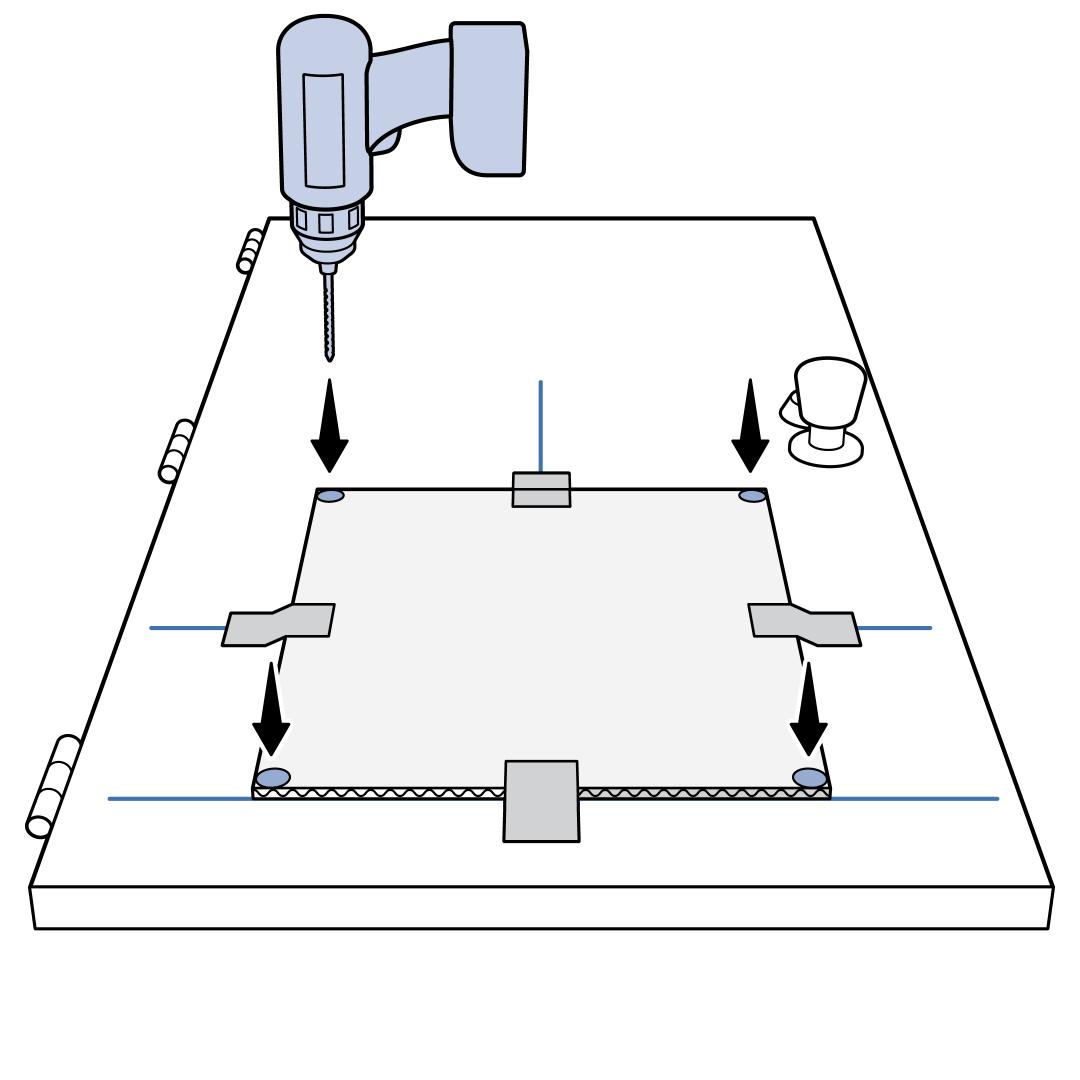
Drill pilot holes in each corner of the template.
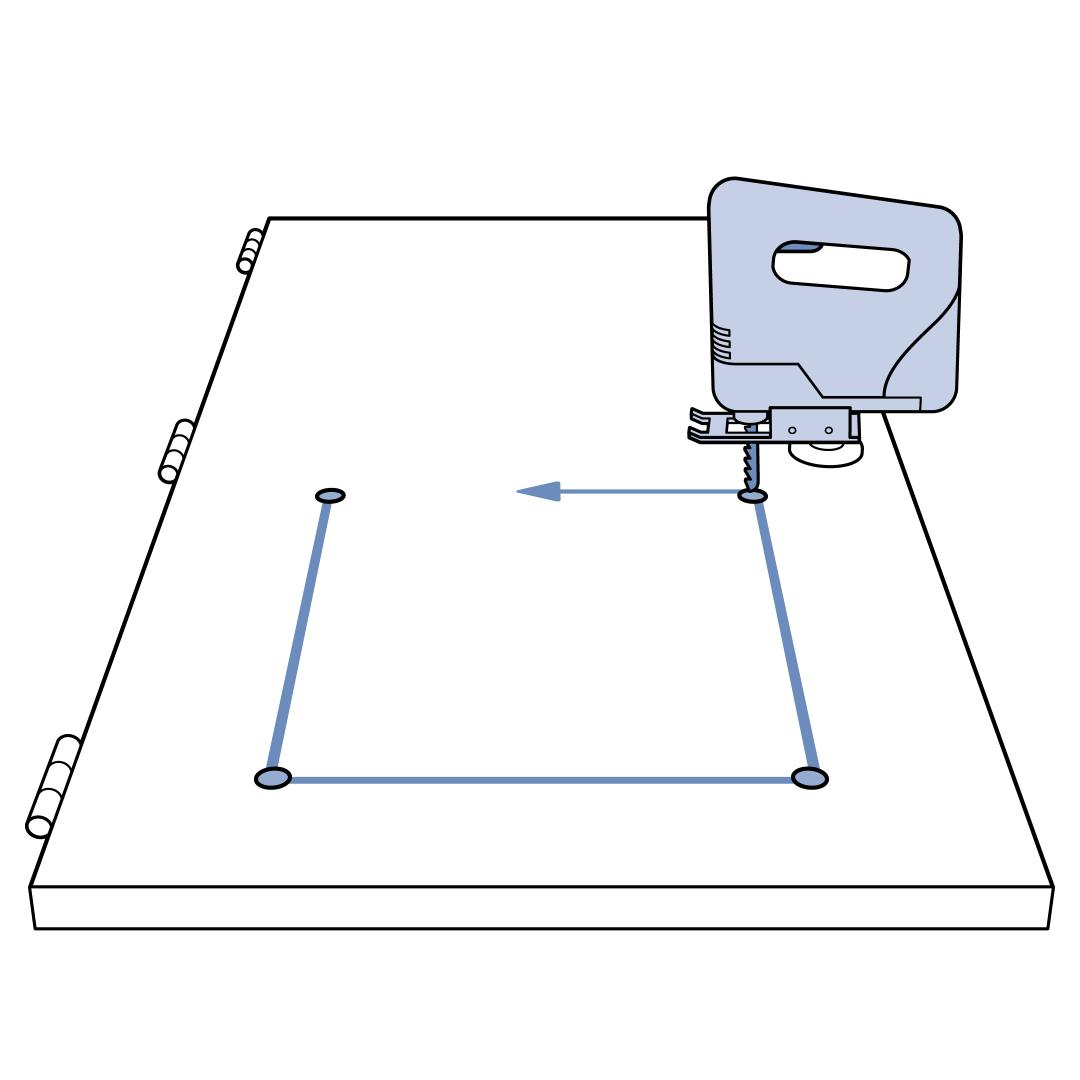
Cut the hole for the Panel Pet Door Insert™ using the jigsaw around the template.
Move the door from the sawhorses to the floor or a table. This will help hold the Panel Pet Door™ in place for installation.
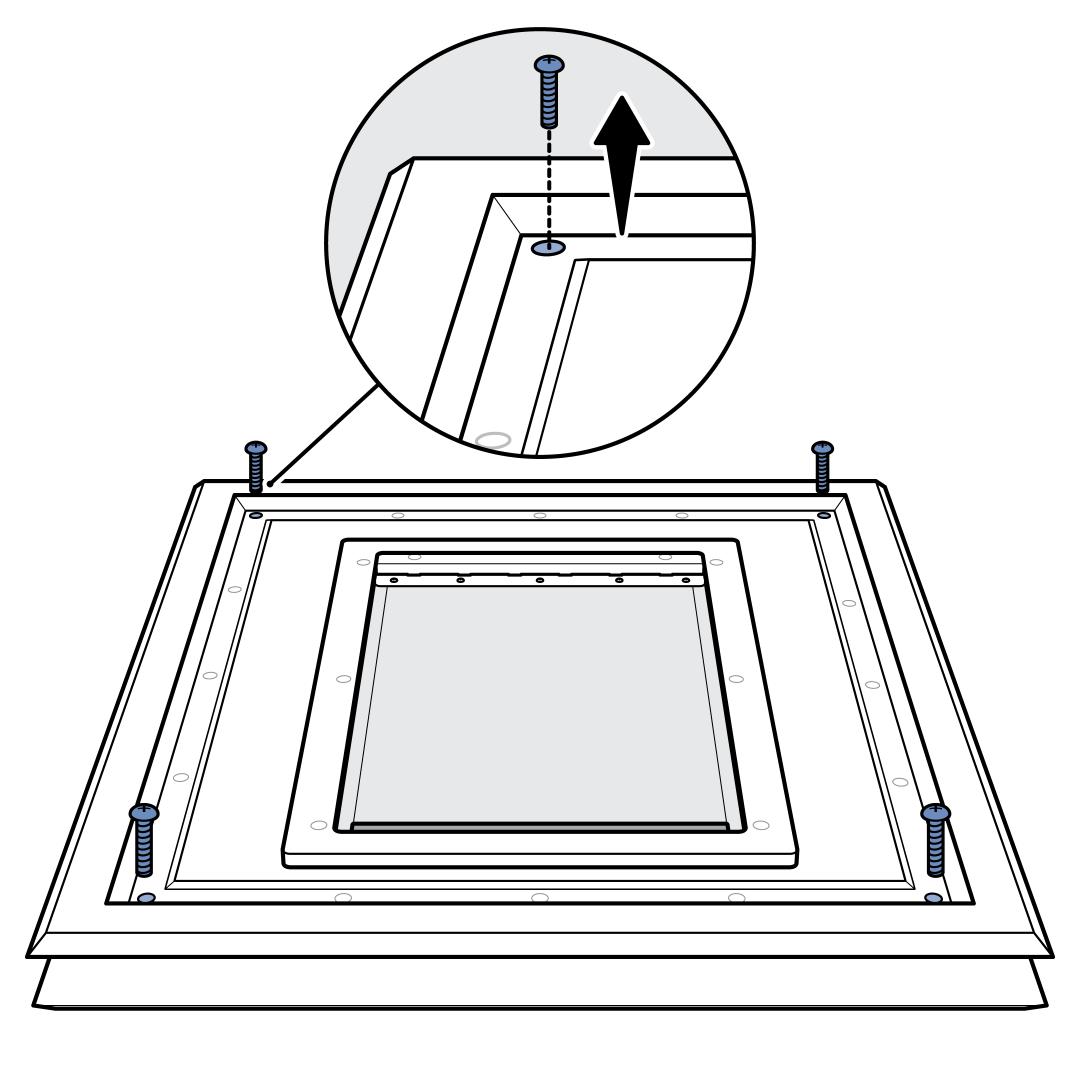
Remove the 4 screws from each corner of the Panel Pet Door Insert™.
Orient the Panel Pet Door Insert™ in the hole to confirm fit.
Remove the Panel Pet Door Insert™ from the hole.
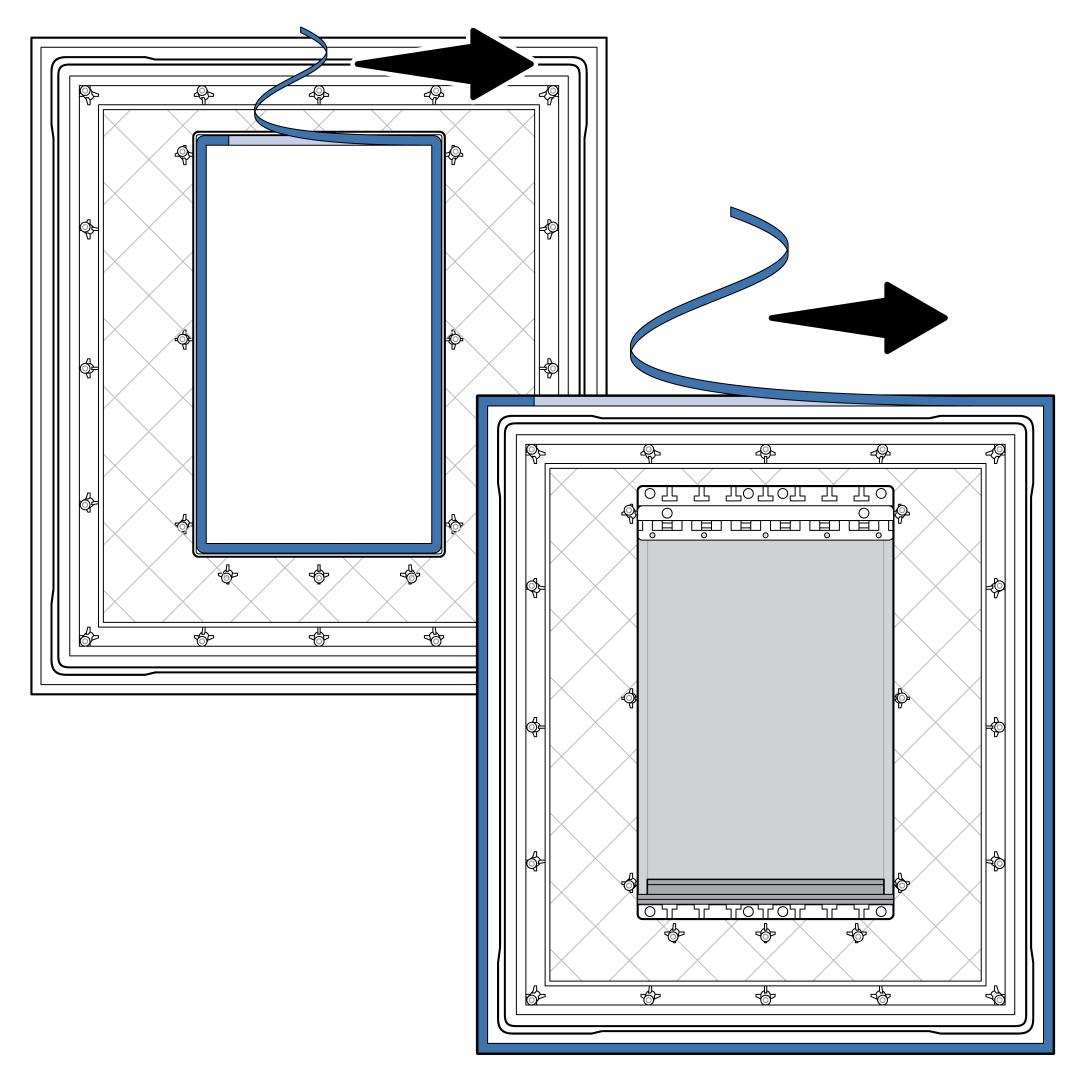
Remove the sealant tape from both the interior and exterior halves of the pet door.
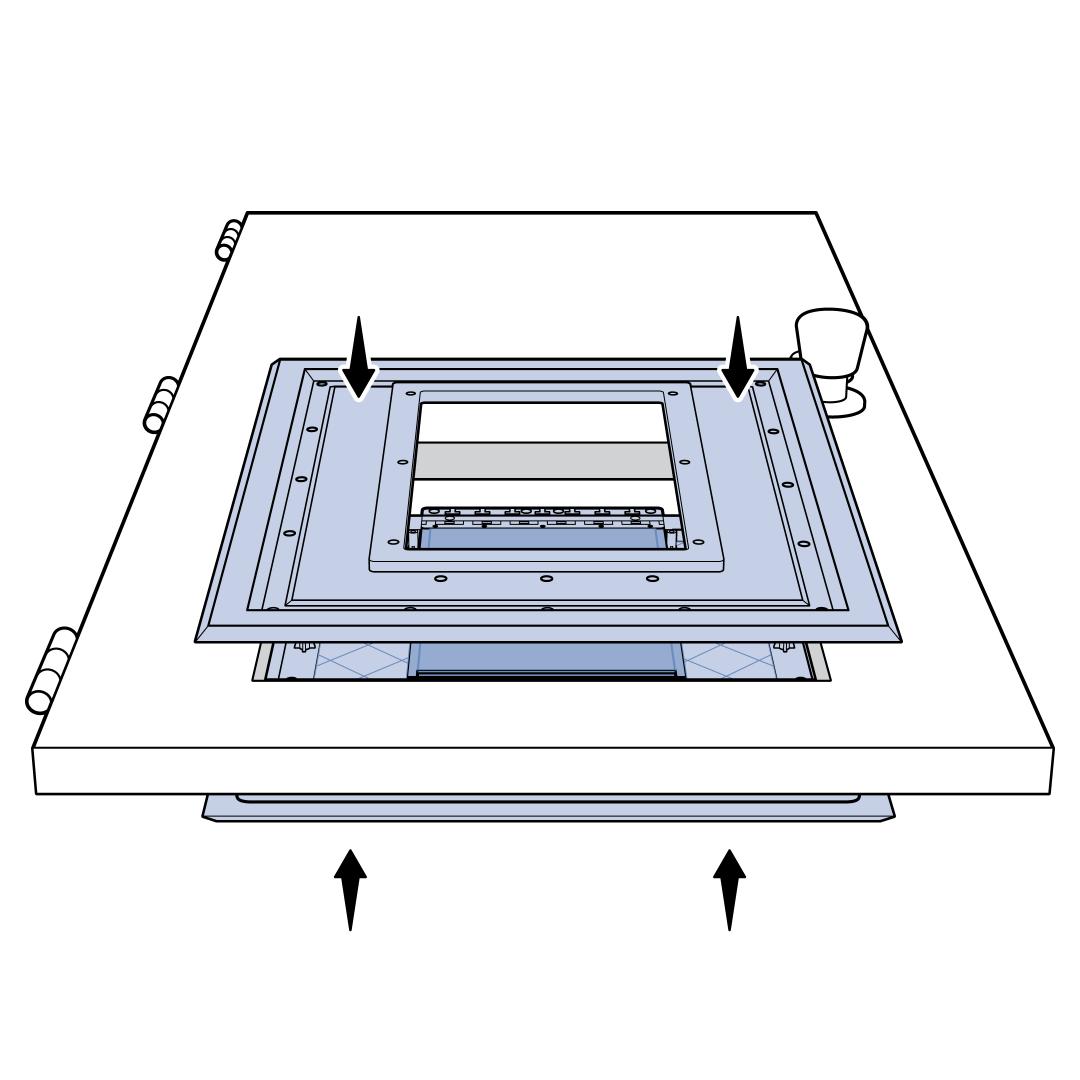
Place the interior half of the Panel Pet Door Insert™ on the interior side of the door.
Place the exterior half of the Panel Pet Door Insert™ on the exterior side of the door. The exterior portion of the pet door contains the flaps.
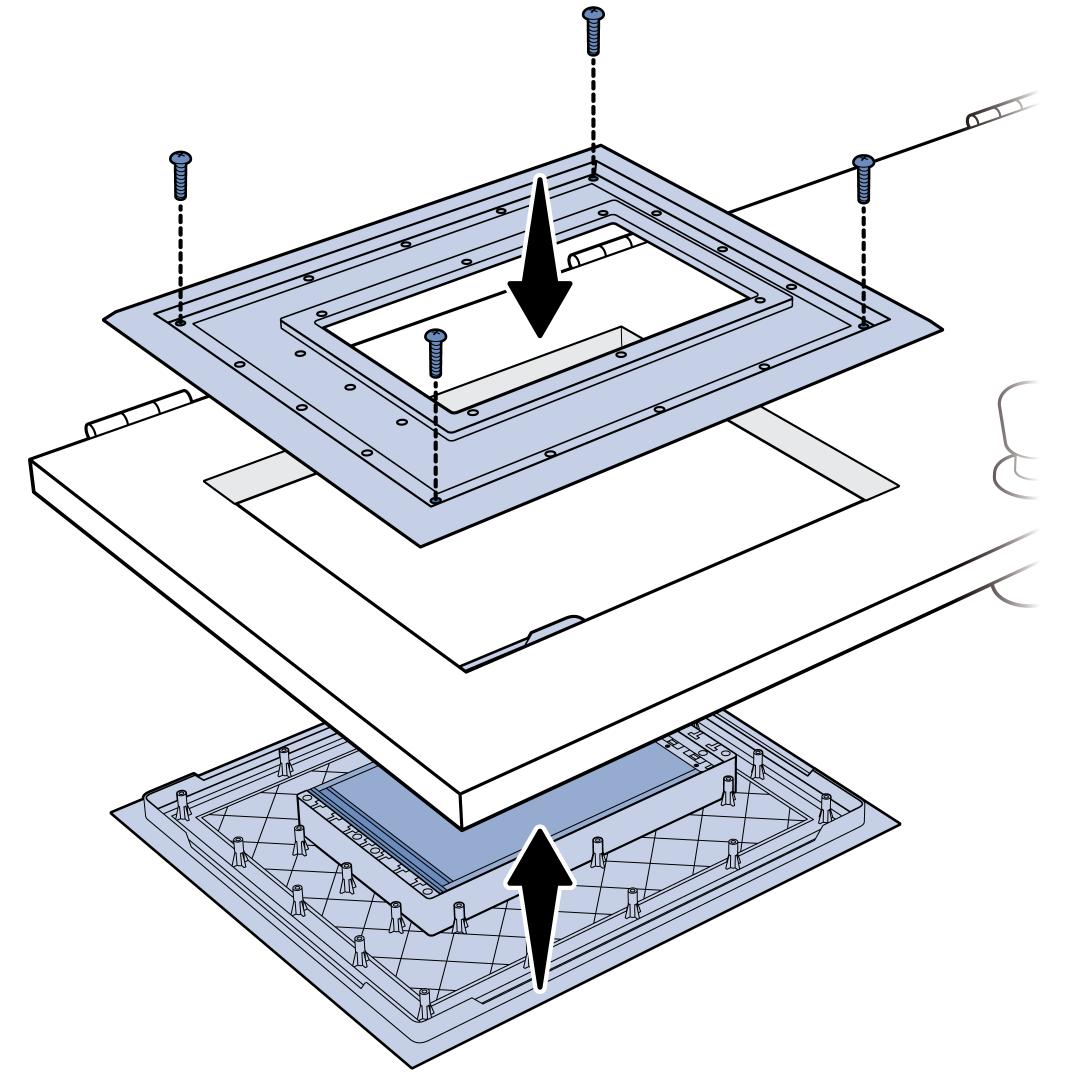
Screw the corners of the Panel Pet Door Insert™ together. Then screw the remaining 12 screws into place around the perimeter of the pet door.
Place the door back on the hinges and check the flap height. Adjust the flap so that it rests in place without any gaps. Visit How To Adjust the Flaps on My PetSafe® Panel Pet Door Insert™ for help with this step.
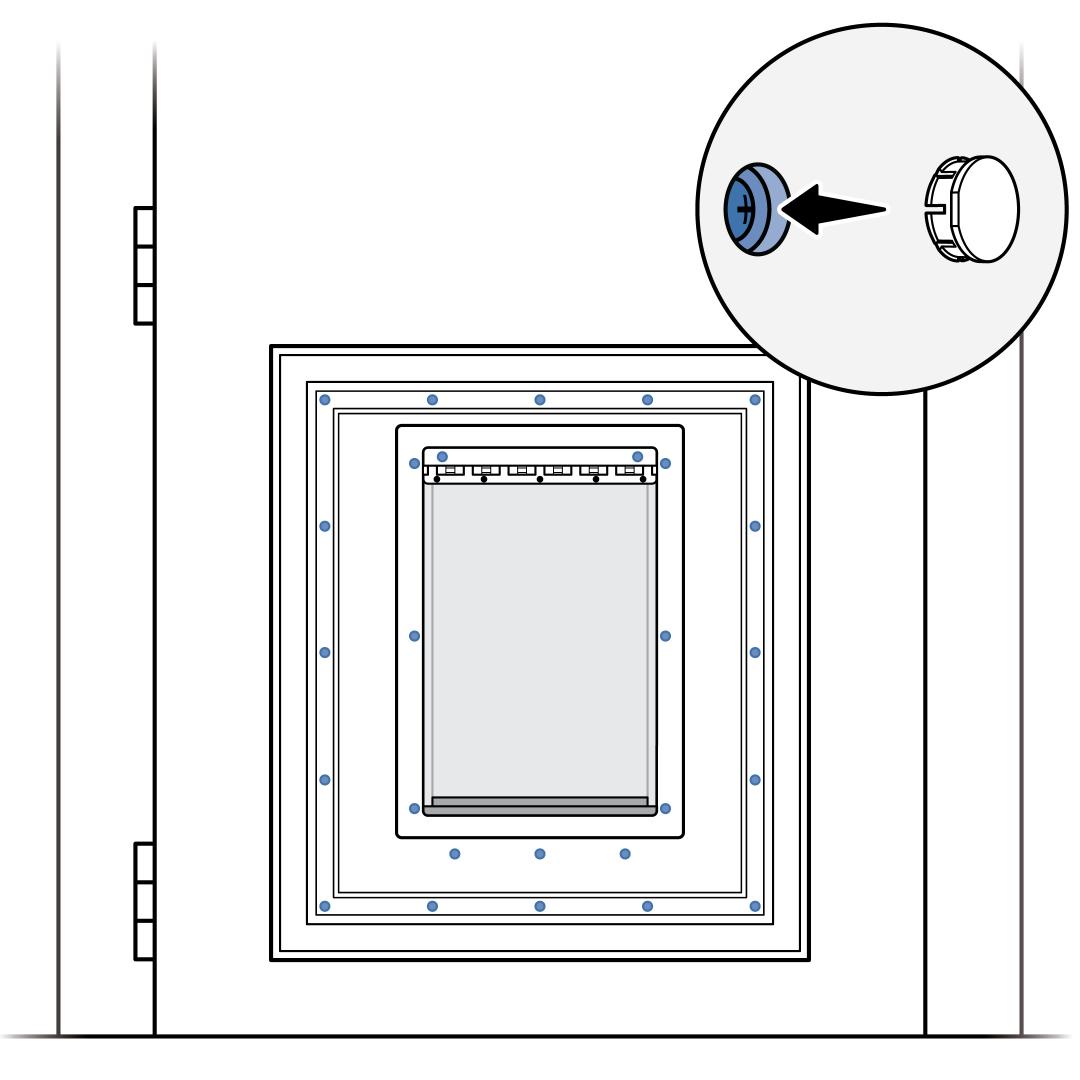
Add the finishing plugs to the exposed screw heads.