How to Test the PetSafe® Rechargeable Bark Collar
Testing your collar to ensure that it is working properly can be done easily. You will need the collar, the charger, and a power source for your charger to complete the process.
Always remove the collar from your pet before completing any troubleshooting or testing.
Plug the charger into a power source.
Place the collar on the charger the same as you would if you were going to charge the collar.
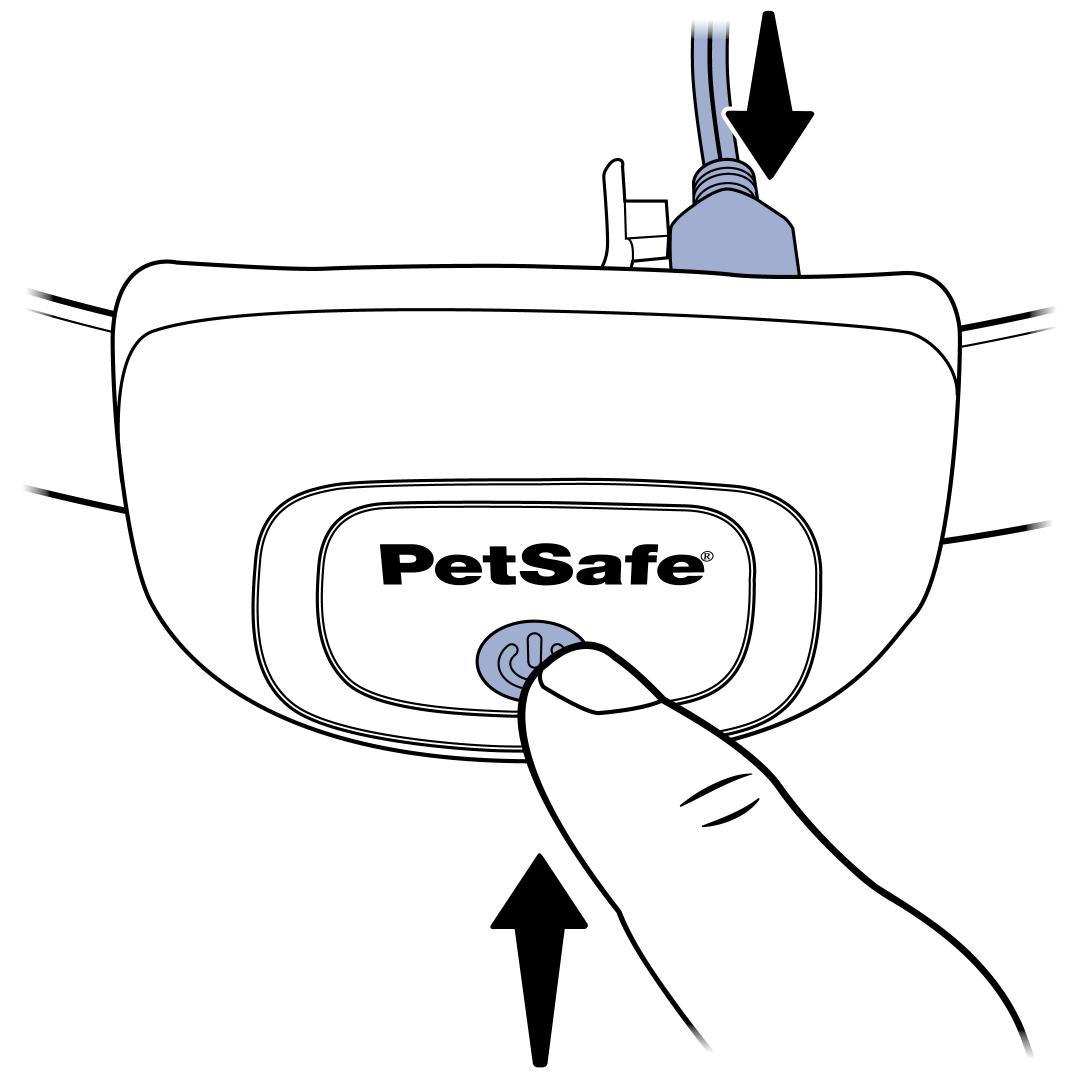
Press and hold the power button on the collar while it is still attached to the charger.

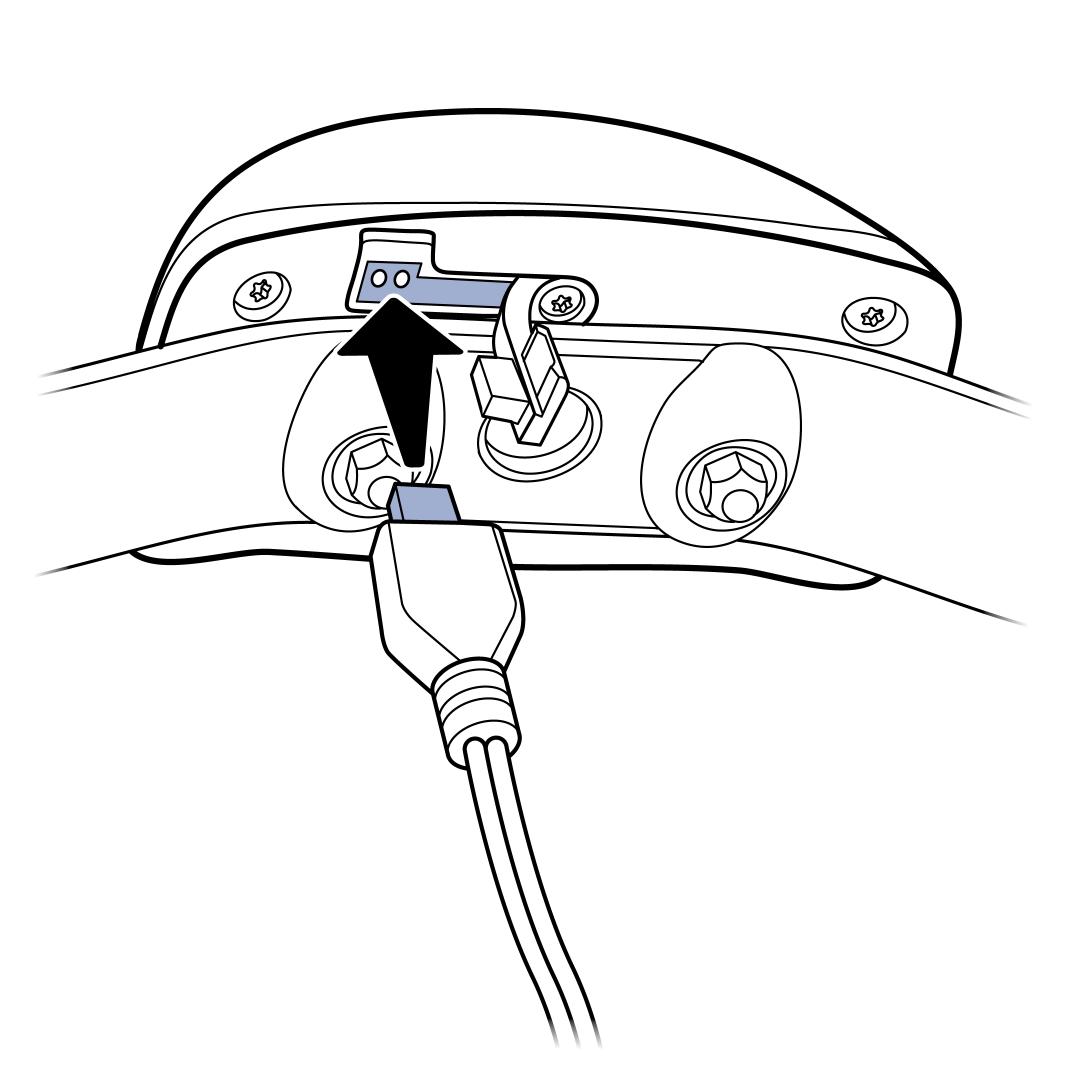
Remove the charger from the collar.
Release the power button once you see the blue light on the collar. Keep your fingers away from the contact points.
- When you release the power button, there will be a 2 second delay and the collar will enter test mode.
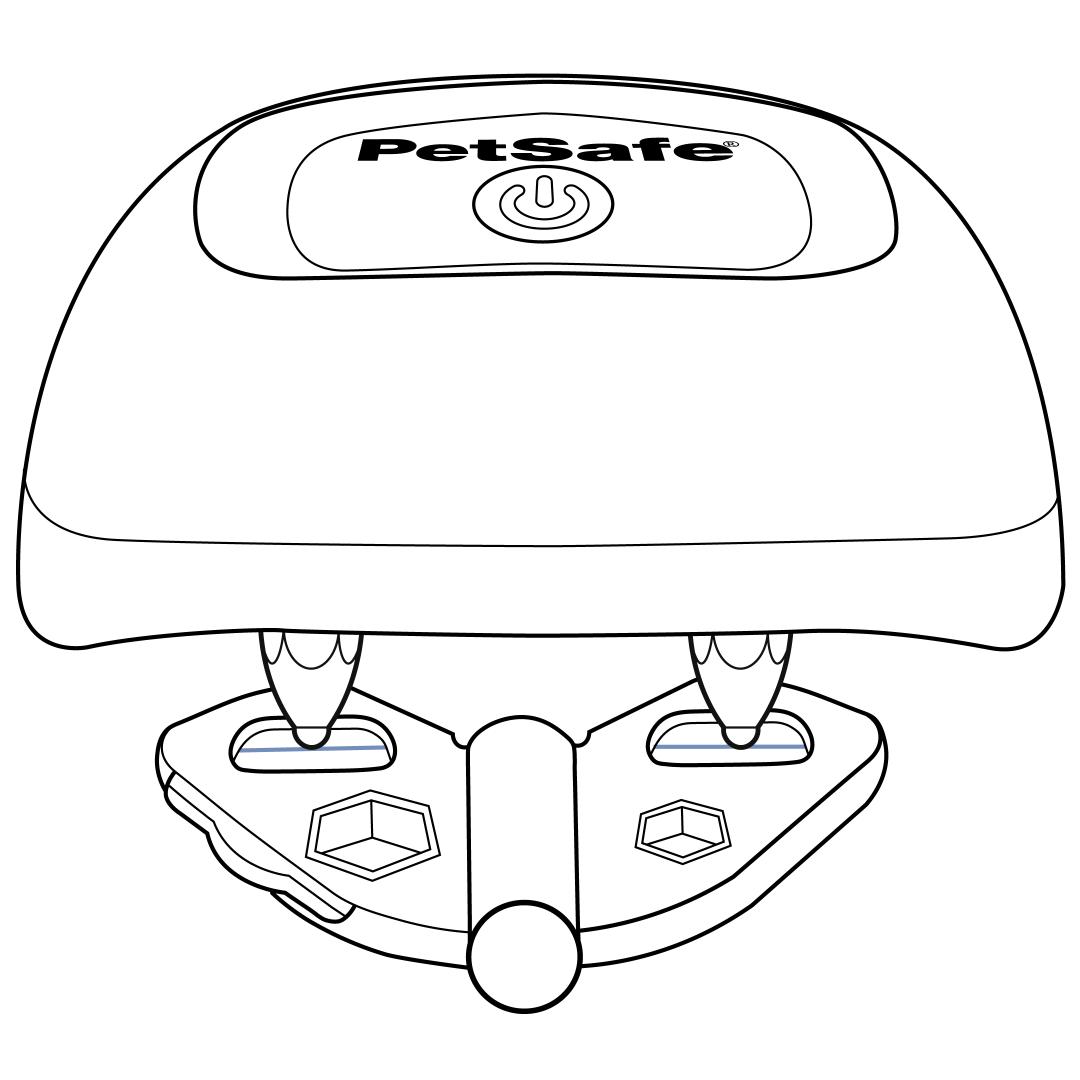
Place the contact points on the test light tool.
The collar will cycle through each level of correction while in test mode. It will emit a series of beeps indicating each level, followed by the correction, which is shown by the amber light on the test light tool. Example: Level 1 will beep once, then the amber light will flash to indicate the correction; Level 2 will beep twice, then the amber light will flash again, and so on.
- Once the collar has cycled through all the levels, it will end the test with a long beep and power itself off. The test can be stopped at any time by pressing the button.
To continue regular use, power the collar on and fit it appropriately to your pet. For assistance with proper fit, please visit our article on How to Fit a PetSafe® Bark Collar.
Contact Customer Care
If you need further assistance, please contact our customer care team.