How To Fit a PetSafe® Bark Collar
Avoid leaving the collar on the pet for more than 12 hours per day to prevent skin irritation. If redness or irritation is observed, discontinue use of the product until the skin no longer appears irritated.
Fitting a bark collar properly is necessary for the collar to be effective. Without proper fit, the collar will not work. Most pet owners are surprised to find that fitting a bark collar is unlike fitting most other collars. Follow the steps below to ensure your pet’s collar is fit properly.
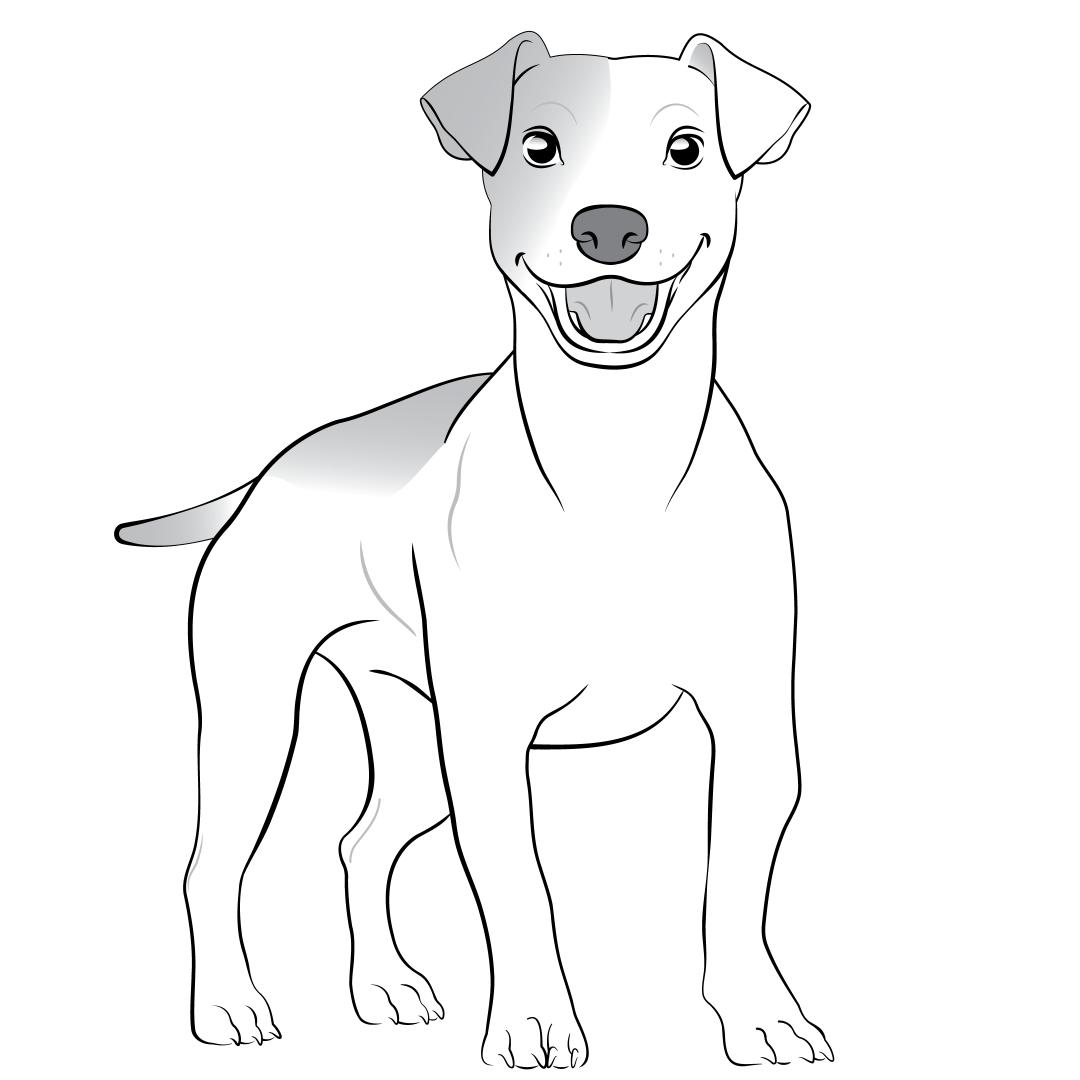
Begin with your pet in a standing position.
Proper Placement
- Place the contact points on the collar underneath the pet’s chin, directly on the vocal cords.
- The collar strap should be behind the pet’s ears and not the base of the neck.
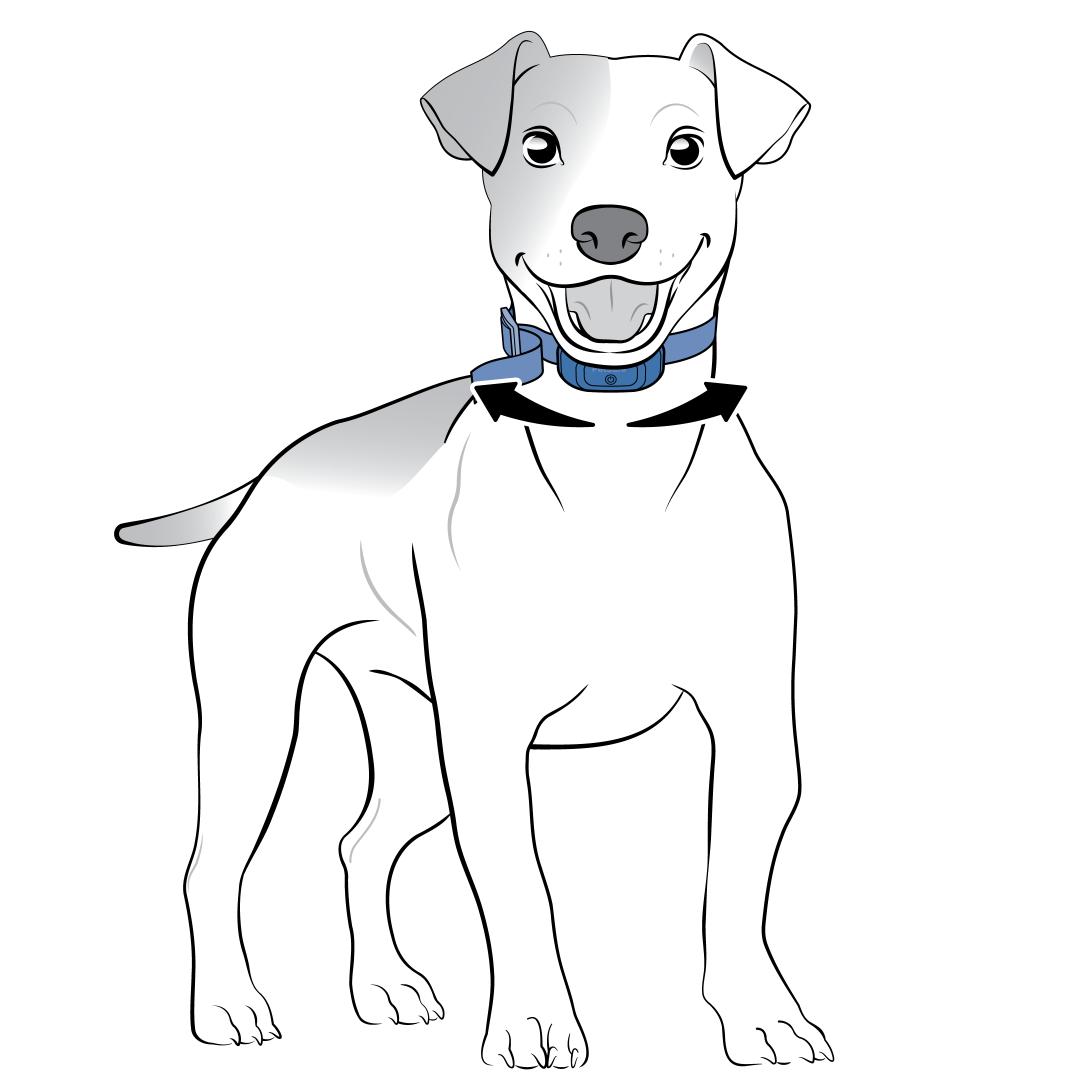
- The contact points should be contacting the skin. If the pet’s fur is in the way, try trimming (NOT SHAVING) the fur to allow the contact points better connection with the skin.
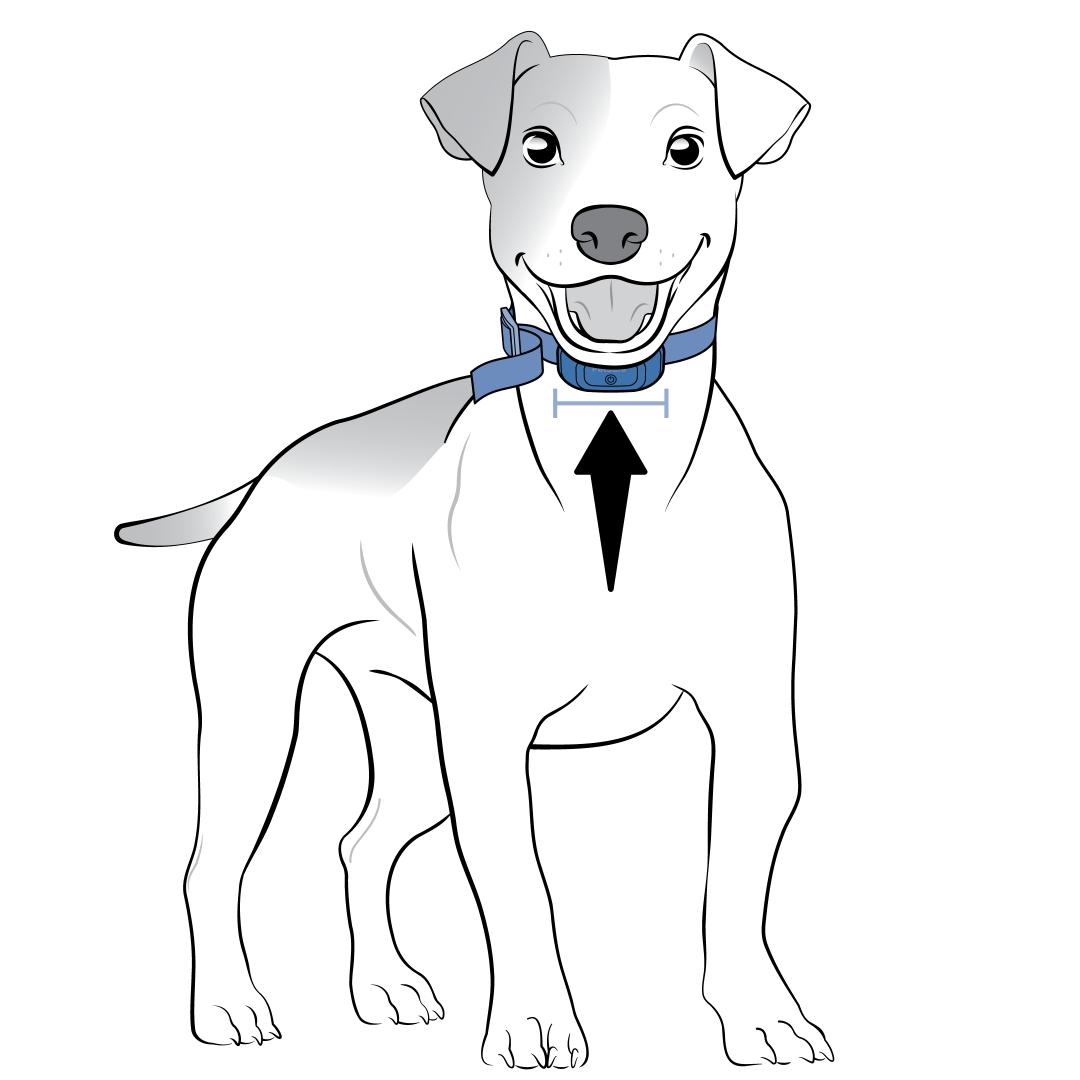
Proper Tightness
- The collar strap needs to be tight enough that the collar does not move if the pet shakes or moves. Test the fit by trying to gently shift the collar back and forth.
- If the collar moves over the skin, it needs to be tightened. If the skin moves with the collar, it is tight enough.
- You should also be able to place one finger behind the contact points. This ensures the collar is not too tight.
- Adjustments to the collar strap length are made easiest when the collar is off the dog.
Recheck fit after 10 Minutes. Pets can become tense when they are nervous or unsure of what is happening. As the pet relaxes after the initial fitting period, the collar may need to be tightened just a bit more.
Trim Strap (Optional)
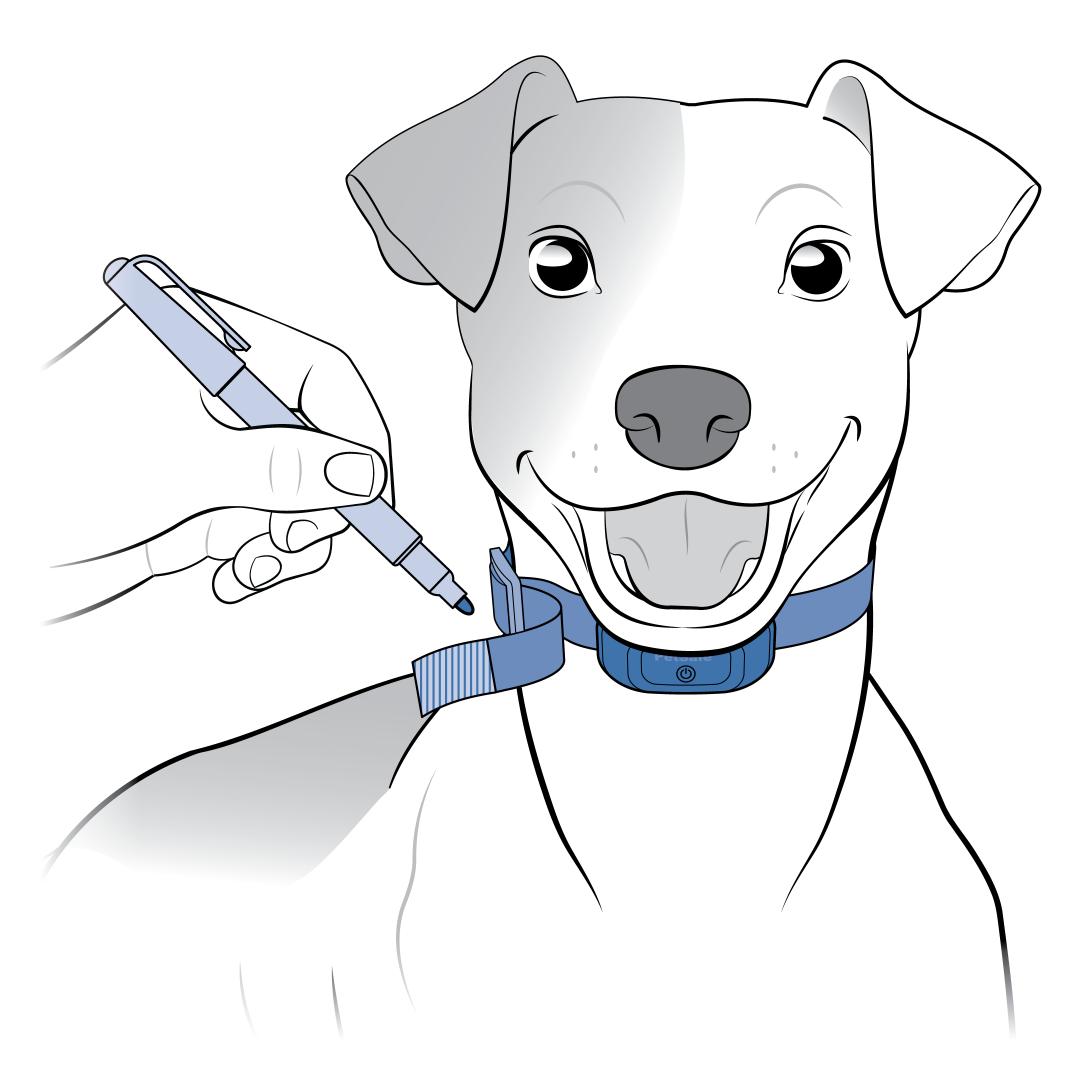
If you have an excessive amount of strap hanging after the collar has been fit, you may trim, the nylon strap. If your pet is not fully grown, you will want to leave some additional length for the pet to grow into.
Melt the cut end of the strap with a lighter or apply a clear tacky glue to keep the cut end from fraying.
Contact Customer Care
If you need further assistance, please contact our customer care team.