How To Test My PetSafe® Brand Stay & Play® Compact Wireless Fence Collar for Correction
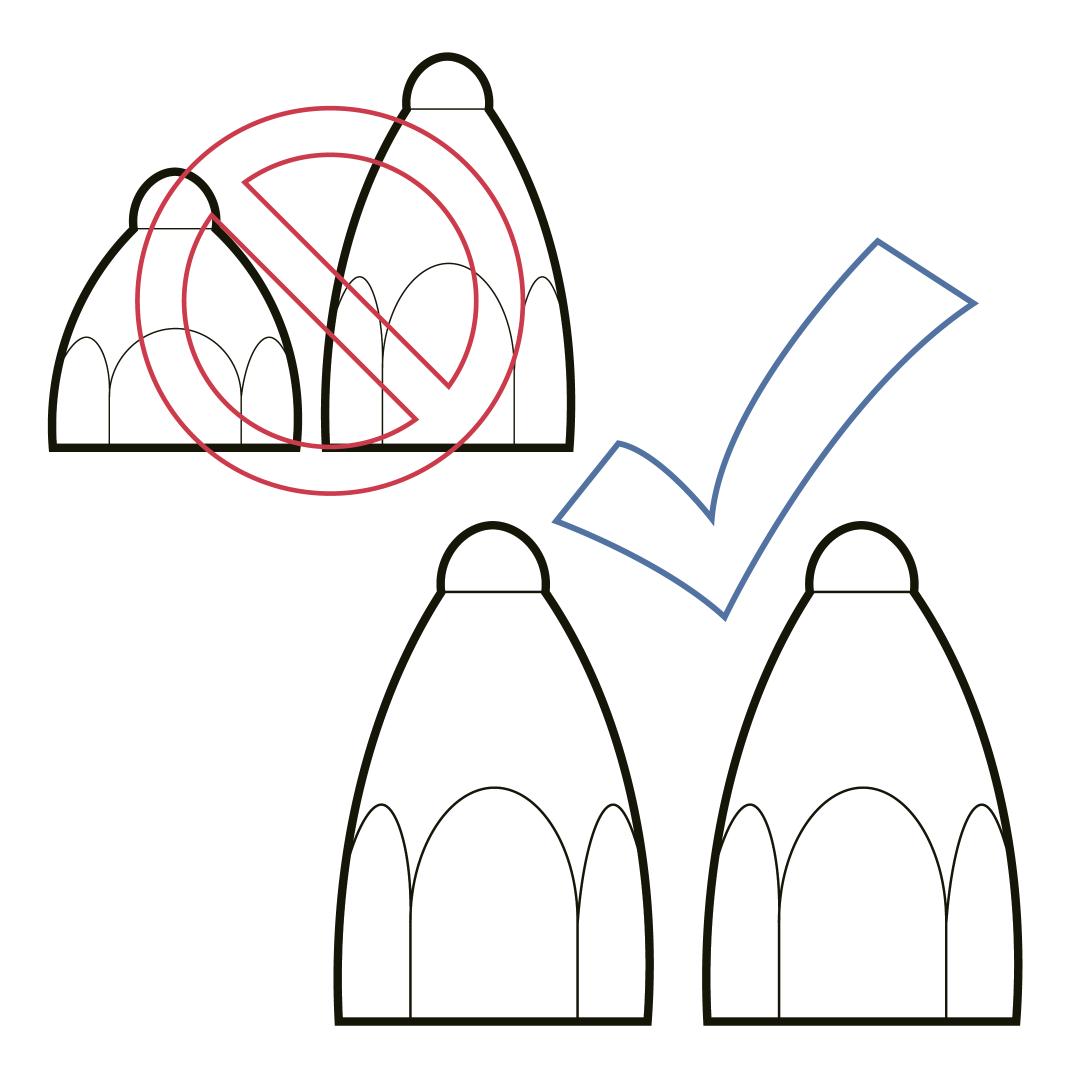
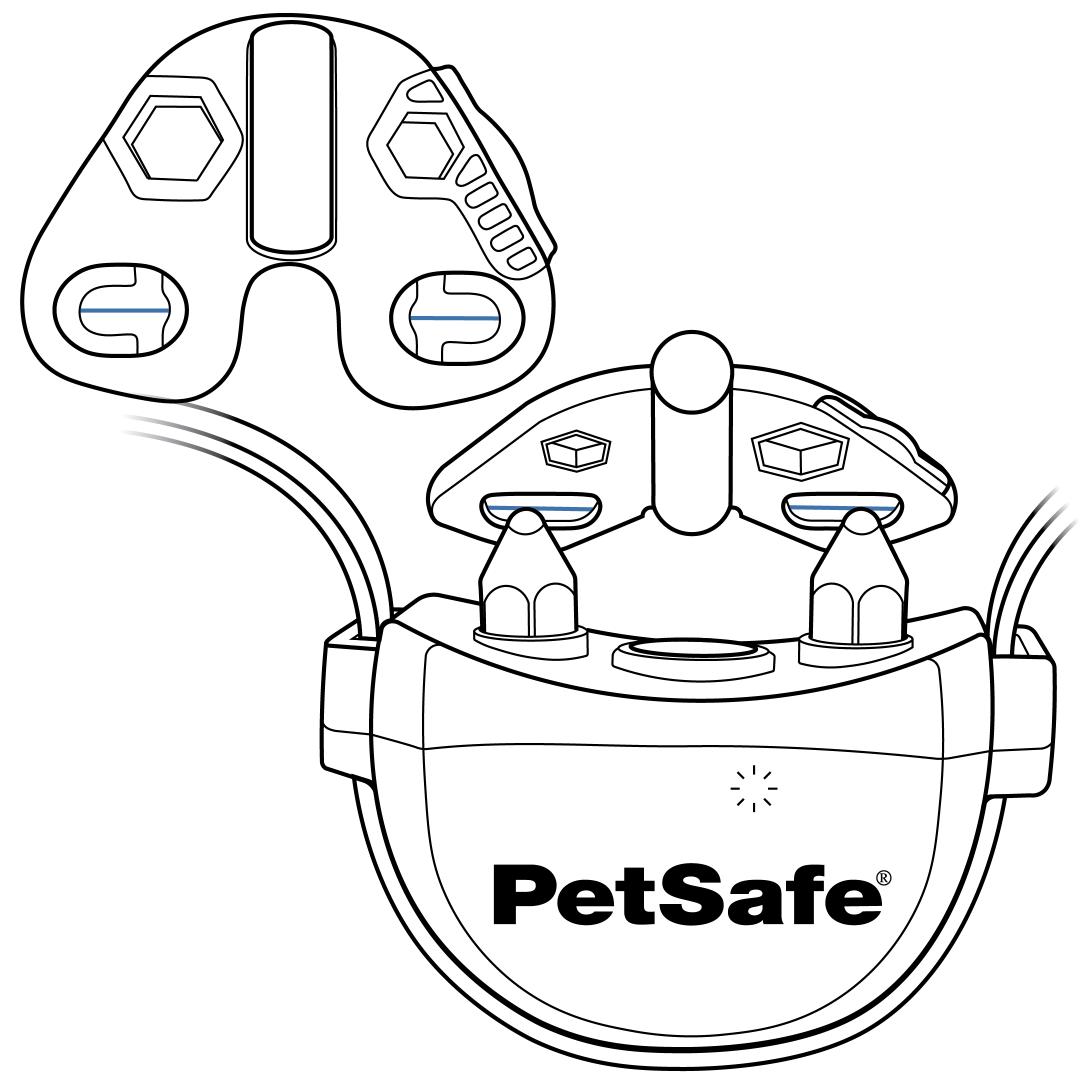
Ensure both contact points are the same length and hand-tight on the collar.
Set the collar to the highest level of static correction to ensure the light on the Test Light Tool is most visible. Visit How To Change the Correction Level on My PetSafe® Brand Stay & Play® Compact Wireless Fence Collar for more information.
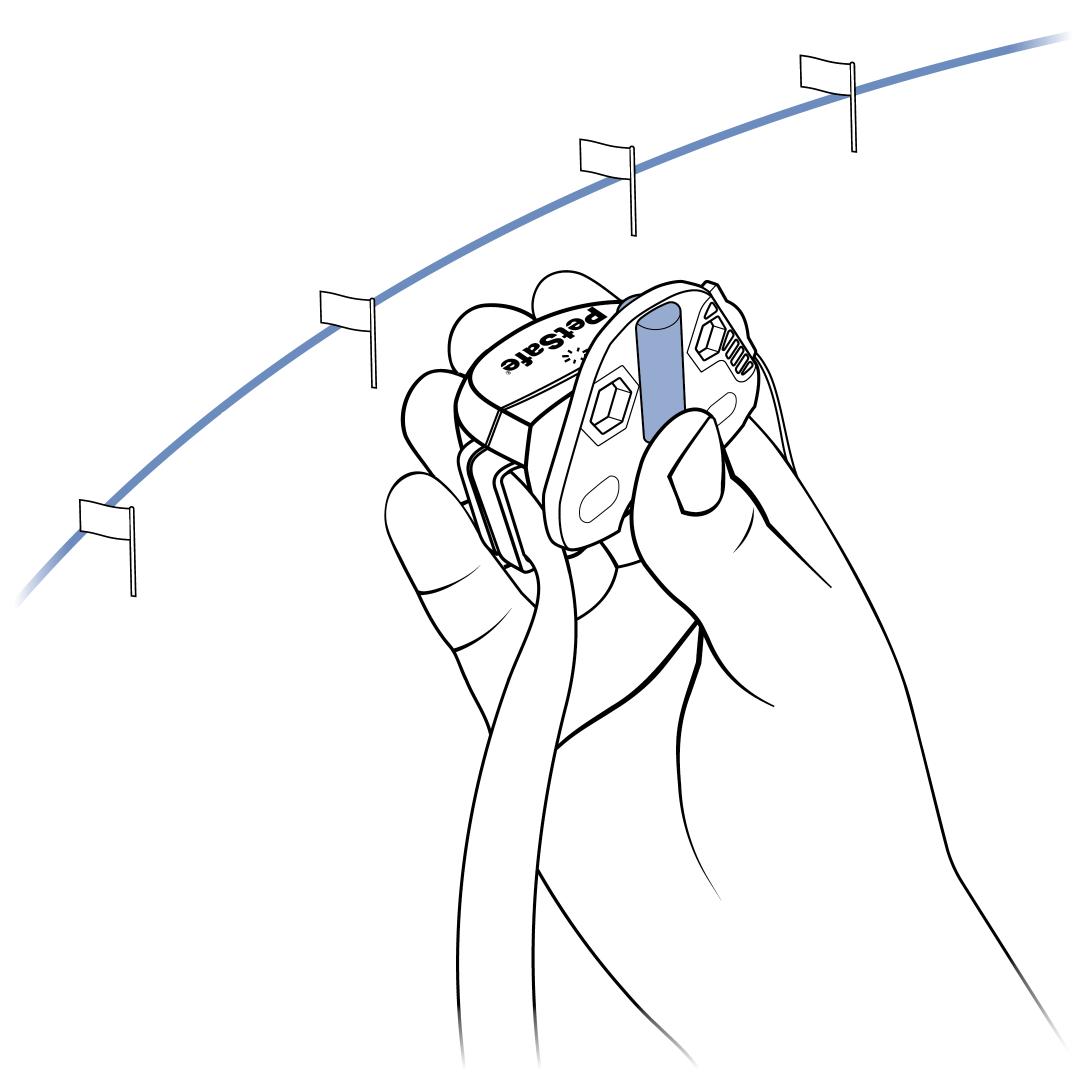
Hold the collar and Test Light Tool in hand at waist height, with the contact points facing you. Walk slowly toward the boundary.
Watch the center of the Test Light Tool as you approach the boundary. When the collar activates and delivers a static correction, the center of the Test Light Tool will flash an amber light, and the collar will beep. If you don’t see an amber light, the collar is not delivering a correction.
The light can be hard to see in bright daylight. Shielding the light on the tool with your hand will help you see the light better.
Make sure to check different spots all around the boundary.
Set your collar back to your pet’s correction level once you’ve completed testing.
Visit How To Change the Correction Level on My PetSafe® Brand Stay & Play® Compact Wireless Fence Collar for more information.