Six Meal Feeder Set Up
Table of Contents
Welcome
to your new PetSafe® Six Meal Feeder.
A few things to keep in mind:
Four D-cell alkaline batteries (not included) are required for use.
Batteries last up to nine months, depending on use.
Each tray holds one cup of food.
Use only dry or semi-moist food in the feeder.
Preparation
Materials
Have the following contents available prior to set up:

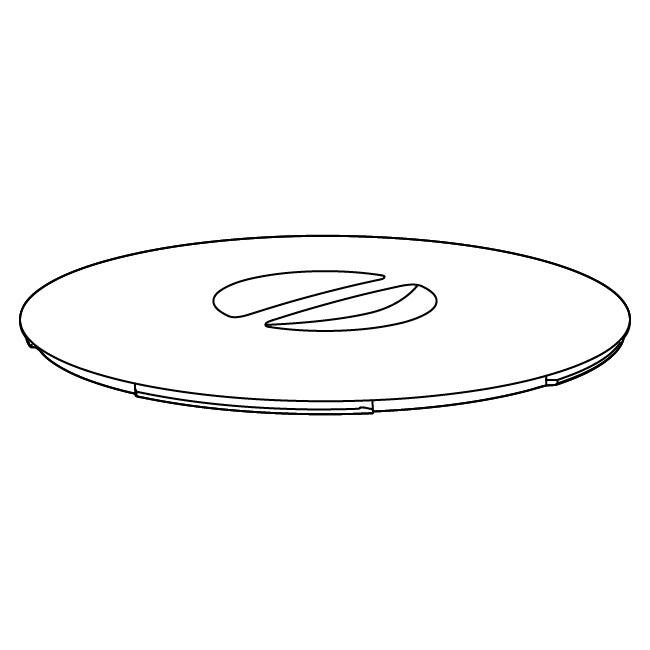
Lid

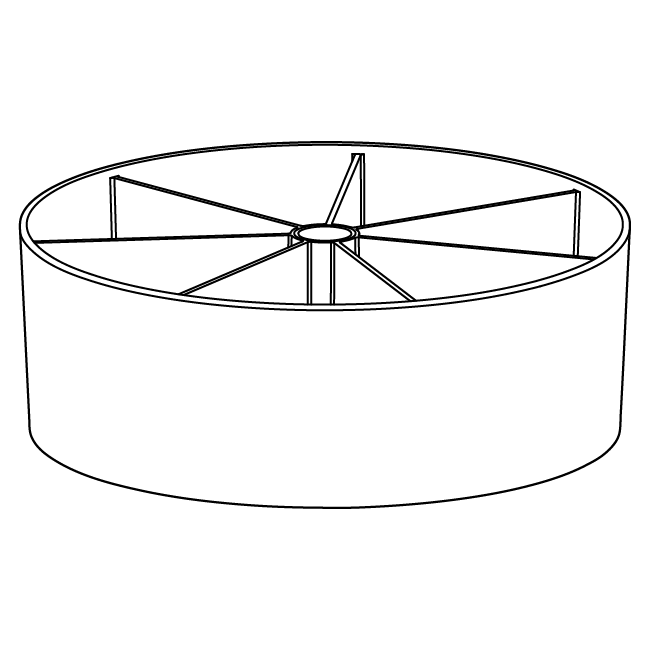
Tray Carousel

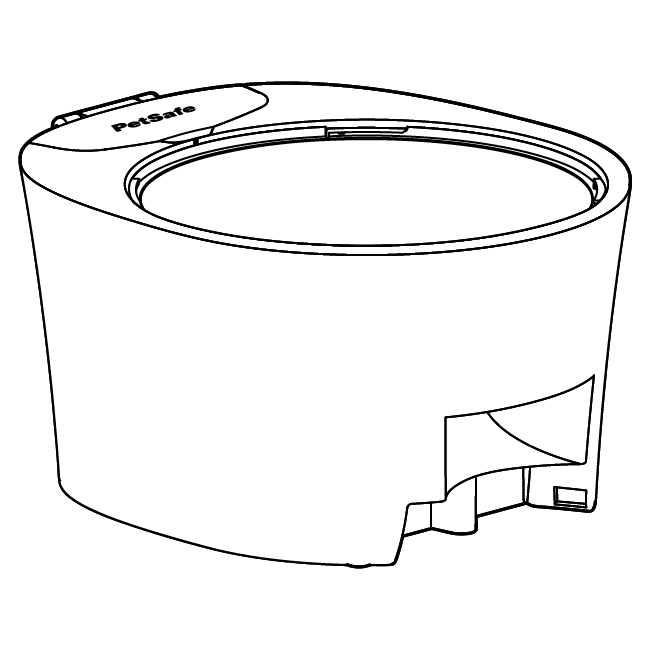
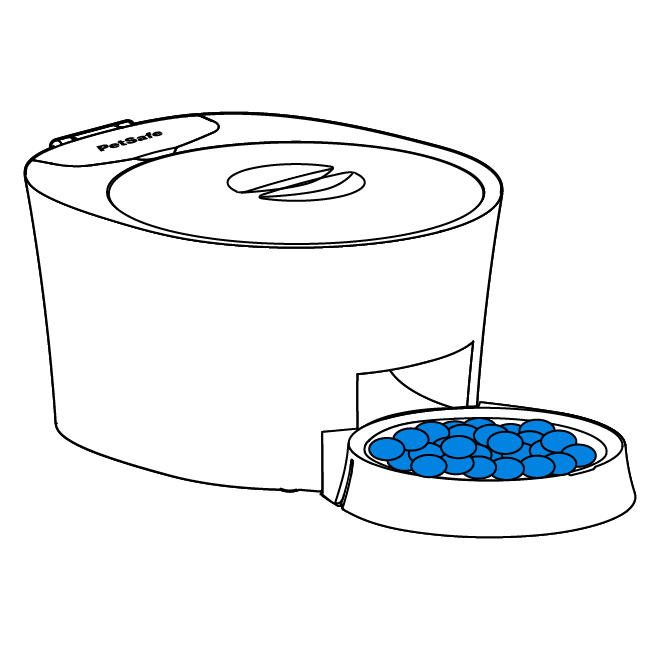
Feeder Base

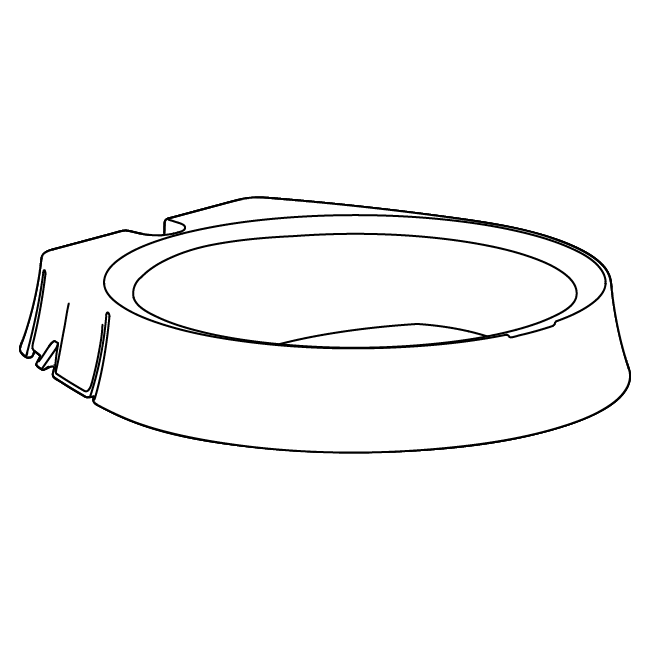
Bowl


Not included:
Four D-cell alkaline batteries
Clean the following components:
Prior to set up, clean the following parts of the feeder with warm soap and water:
Lid
Tray Carousel
Bowl
The tray carousel and bowl are top-rack dishwasher safe.
Important: The lid is not dishwasher safe.

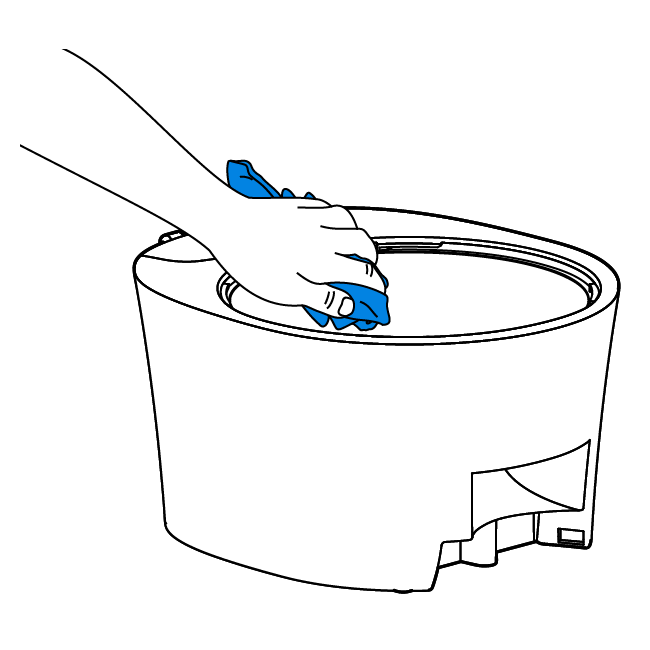
Wipe the feeder base with a damp cloth.
Note: Wait for all parts to dry completely before proceeding.
Step 1: Insert batteries
Important: Use only alkaline batteries in the feeder


Turn the feeder base upside-down. Locate and open the battery compartment.

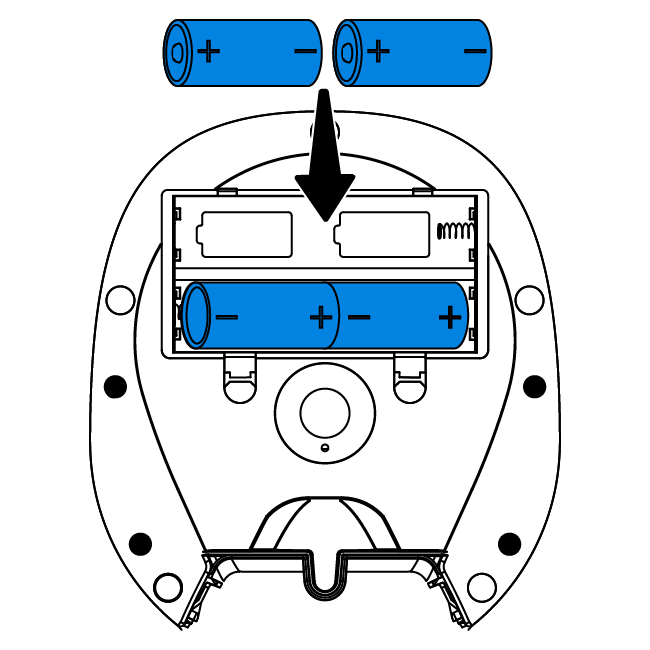
Insert four D-cell alkaline batteries (not included).
Close the compartment and turn the feeder right-side up.
Step 2: Assemble the feeder

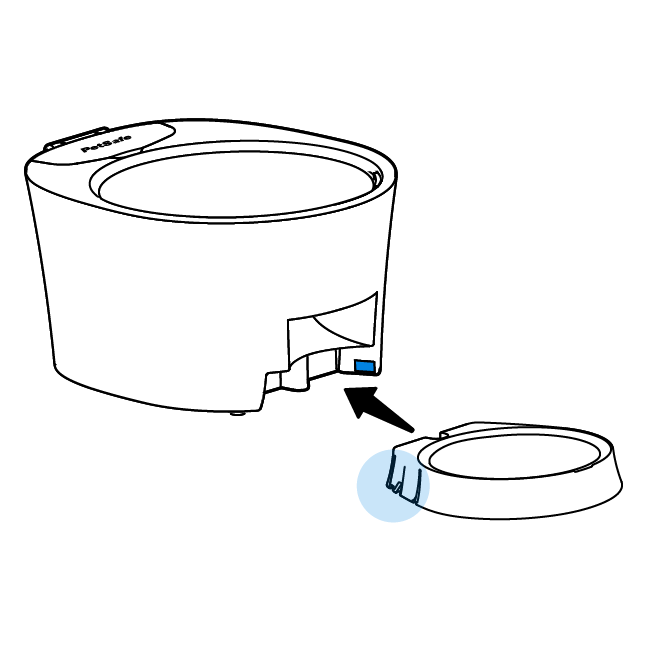
Align the side tabs on the bowl with the slots on the feeder. Press to secure.

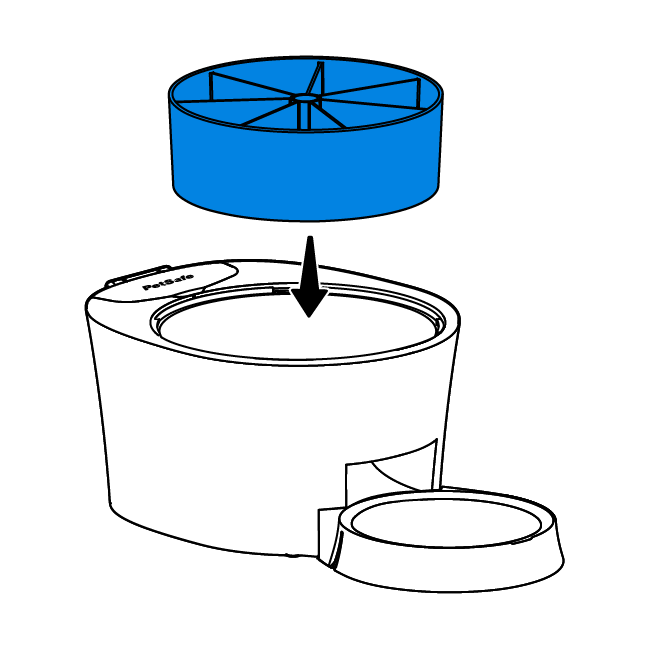
Insert the carousel into the feeder.
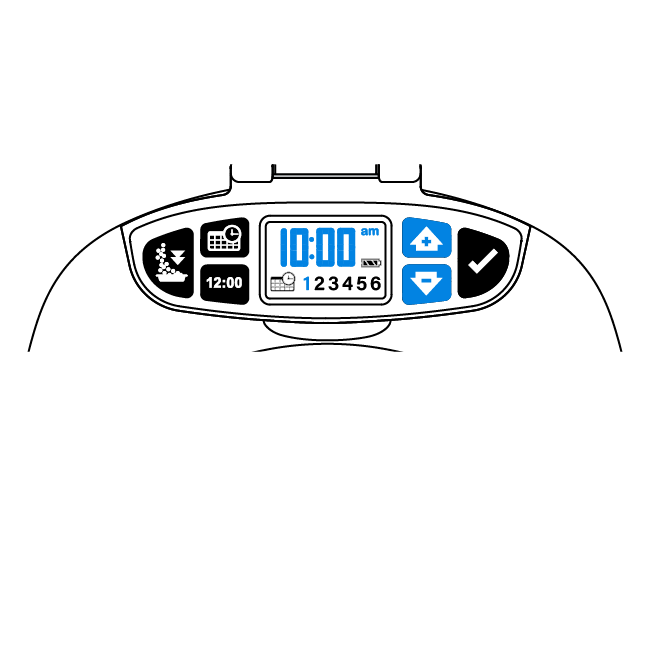
Step 3: Program the feeder

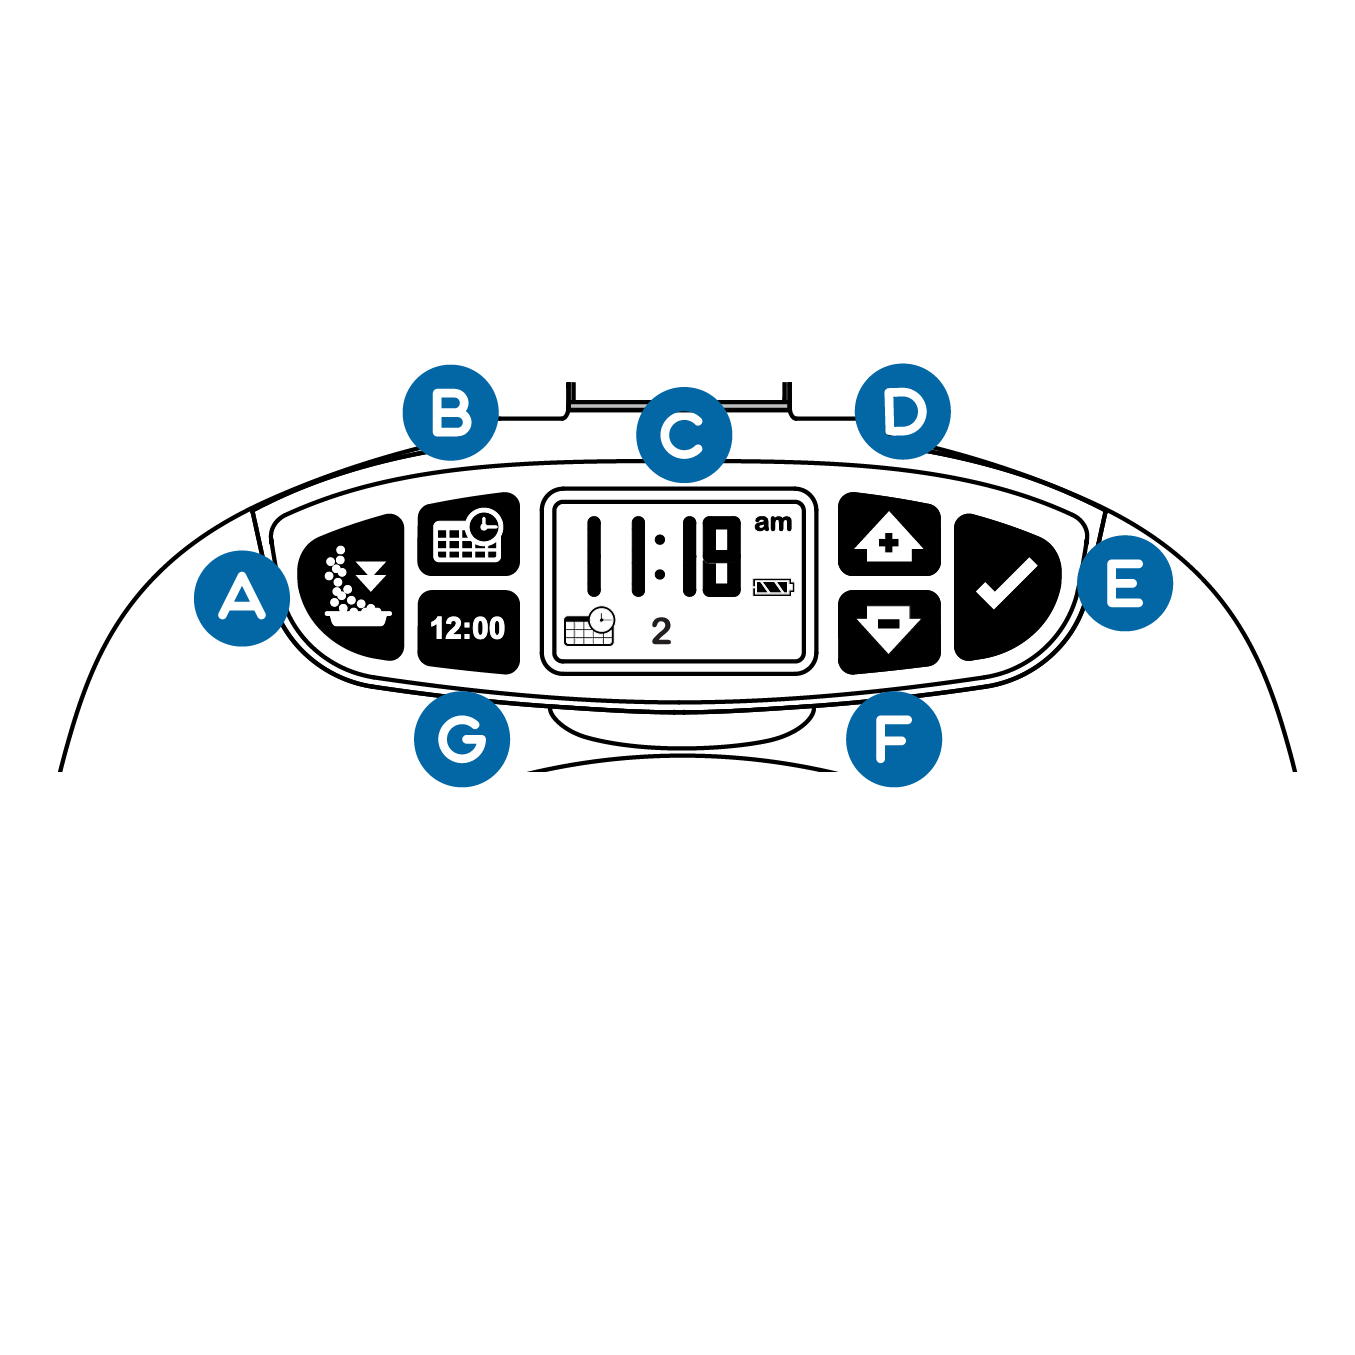
Feed Now Button
Dispenses the next scheduled meal immediately.
Meal Schedule Button
Schedules up to six meals a day.
Digital Display
Shows current time, battery status and next schedule meal.
Up Button
Use to increase selection.
Enter Button
Use to confirm selection.
Down Button
Use to decrease selection.
Clock Button
Use to set the current time on feeder.
Set the time

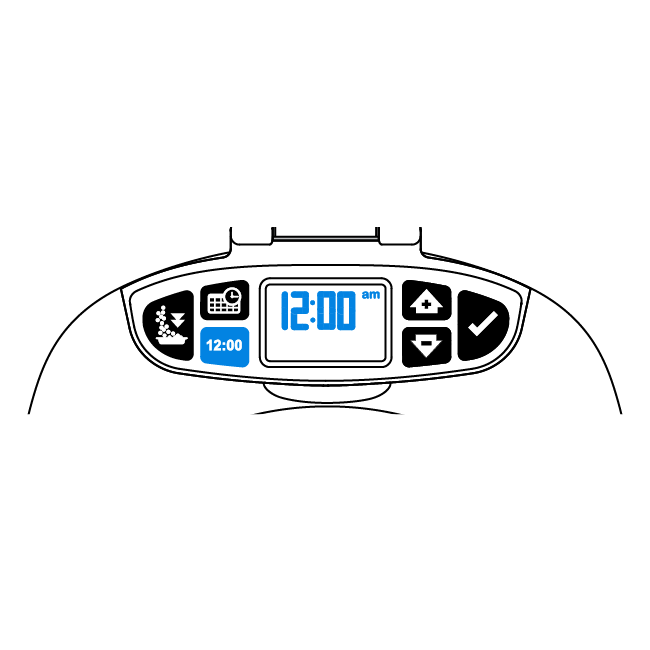
Press the clock button. The screen will flash 12:00 AM.

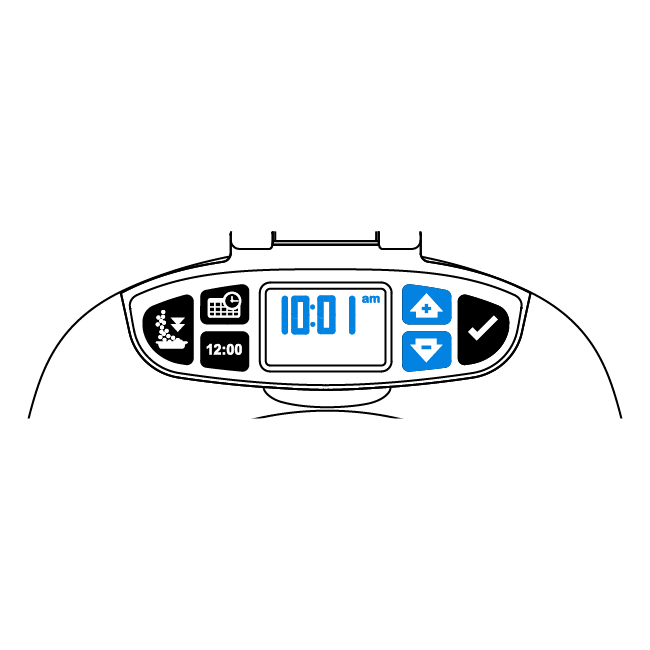
Use the up and down button to select the current time

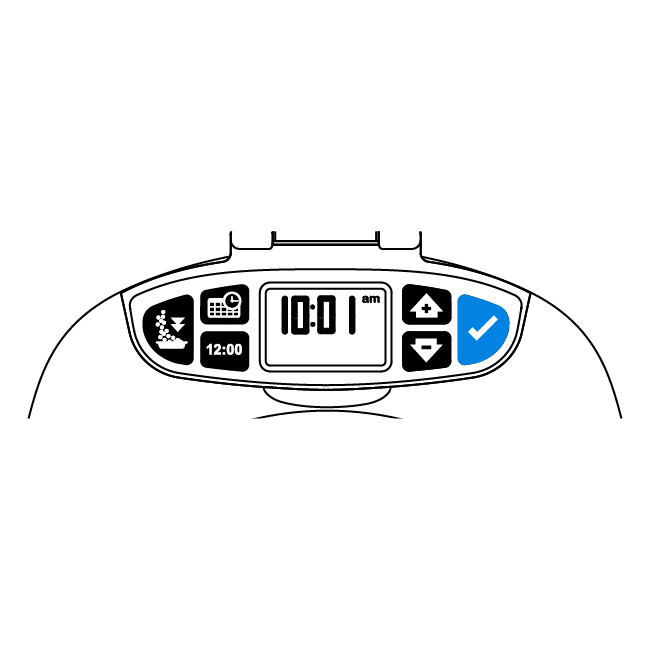
Use the enter button to confirm the time selection.
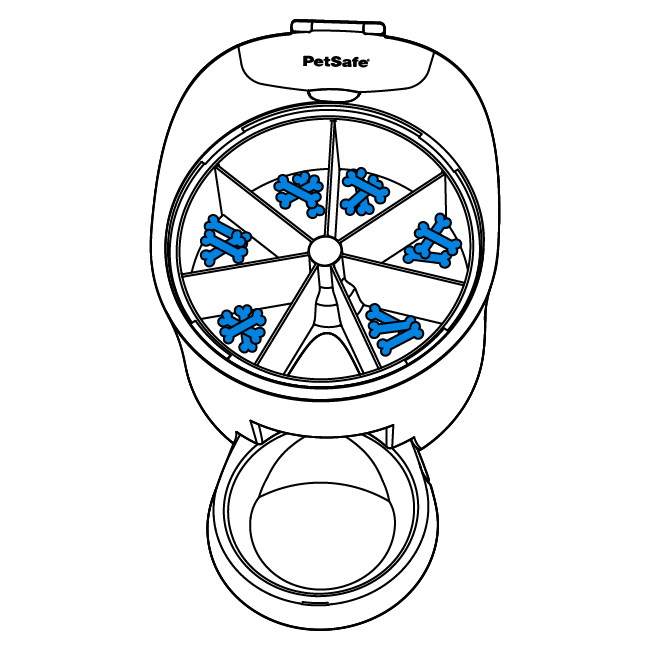
Schedule meals

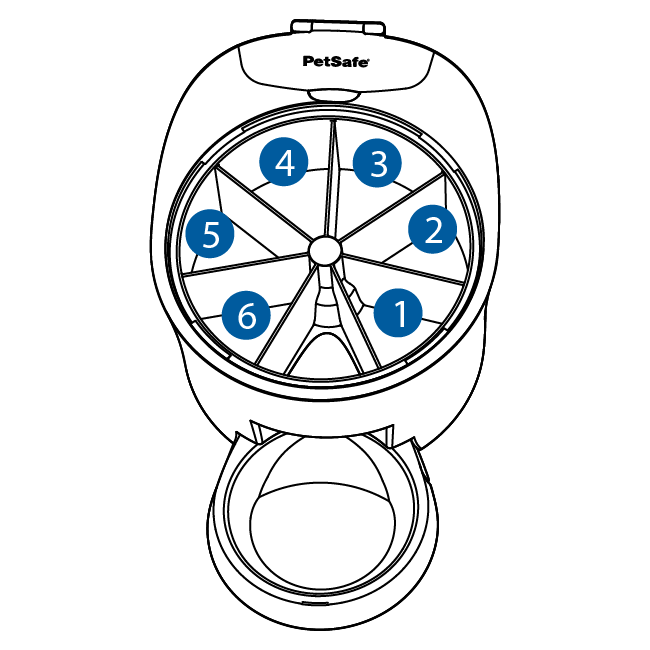
The feeder will dispense the food to the right of the opening first. The programmed meal schedule will repeat daily.

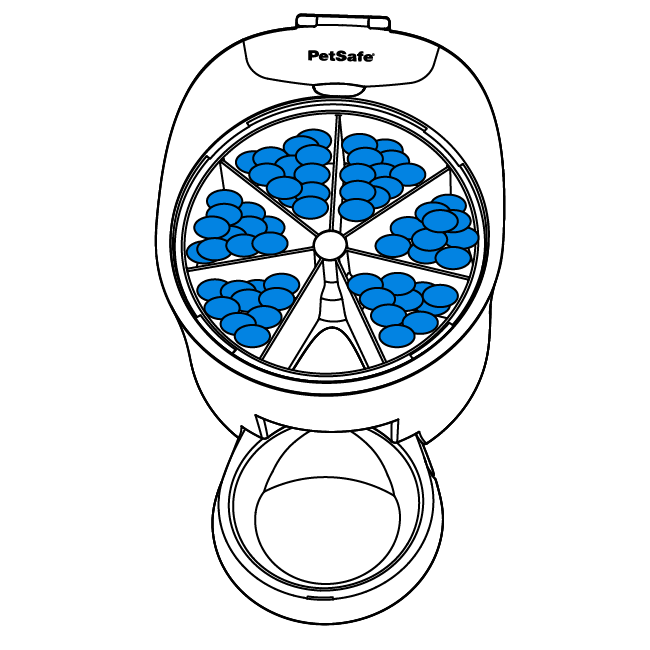
Fill the feeder with up to one cup of dry or semi-moist food.

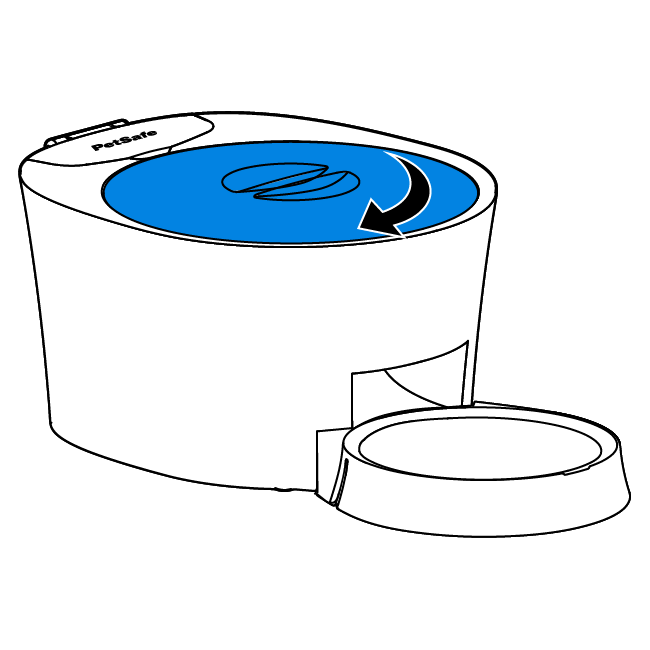
Place the lid on the feeder and twist clockwise to tighten.

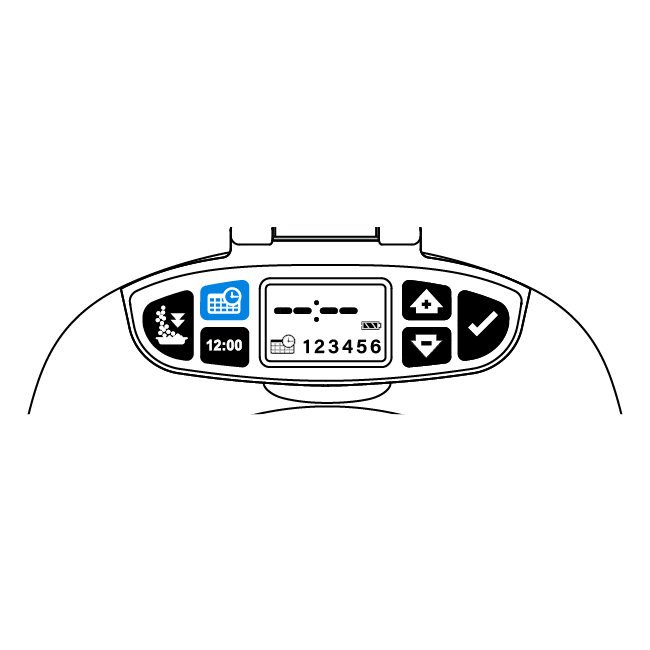
Press the meal schedule button for 2 seconds. Along the bottom of the screen the schedule icon and the six meals will be displayed. The time display will also be flashing.

Meal 1 will be flashing. Use the up and down buttons to select the desired meal time.


Use the enter button to confirm the meal time and move to meal 2.
Repeat steps 5 and 6 until all desired meals are scheduled.
Note: The scheduled meals will repeat each day.
Once desired meal times are scheduled, press the meal schedule button to exit programming.
Step 4: Acclimate your pet
There are four steps to help your pet become comfortable using the feeder. Be patient and consistent with your pet.
Your pet can take 1-3 days to use the feeder depending on his temperament.
Plan supervision for 3-5 meals.
Have treats on hand to encourage your pet to eat from the feeder.

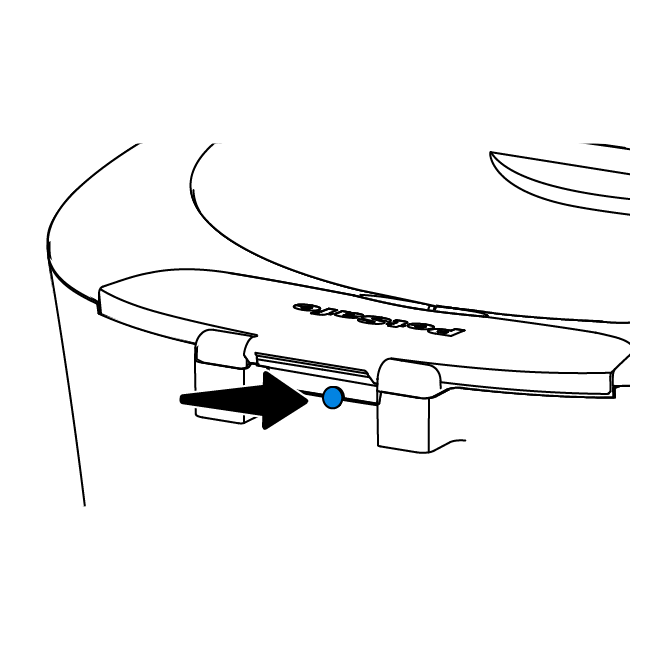
Press the sleep button on the back of the feeder to suspend the programmed feedings.

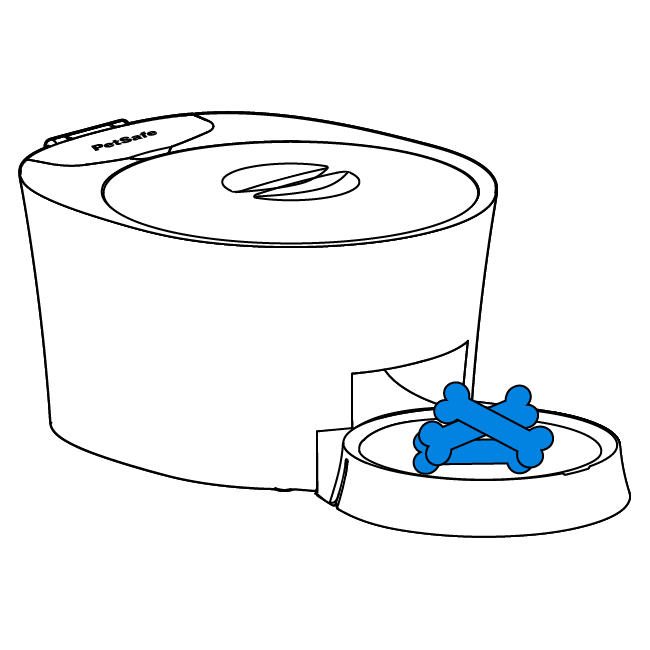
Place treats in the feeder bowl to encourage your pet to approach and eat from the feeder.

Once your pet is comfortable, place treats in the feeder. Press the sleep button to resume the feeding schedule.

When your pet is comfortable eating from the feeder, place his normal food in the feeder and let it dispense at the pre-scheduled times.