Wire Break Locator Set Up
Table of Contents
Welcome
Welcome to your new PetSafe® Wire Break Locator!
A Few Things to Keep In Mind
Locating and repairing a wire break is a hands on process.
Plan at least an hour to find and repair the break.
Read through each step to get a clear idea of the process before repairing your boundary.
How It Works
The transmitter sends a high and low frequency signal to the connected boundary wires. One boundary wire receives a continuous signal, and the other wire receives an intermittent signal.
A break in the wire is detected when the tones on the wire break locator change or disappear. The red and green lights on the locator give a visual cue for the tones.
Note: We recommend performing a systems test to confirm a break has occurred.
Understanding the System
Important: The Wire Break Locator system is only designed to find complete breaks in the boundary, not partial breaks.
Wire Break Locator
Front
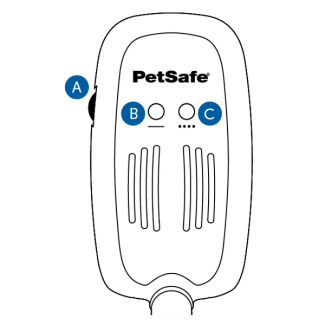
On/Off volume dial
Adjusts the volume of the locator and powers the unit on or off.
Solid line light
Emits a continuous tone and green light when a low frequency signal is detected.
Dotted line light
Emits an intermittent tone and red light when a high frequency signal is detected.
Back
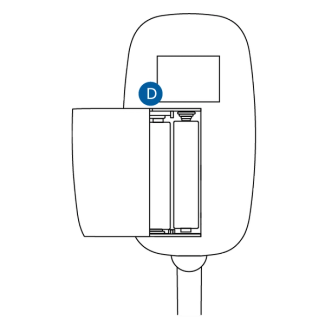
Battery compartment
Holds two AAA batteries. Batteries will last up to 20 hours of use.
Locator transmitter
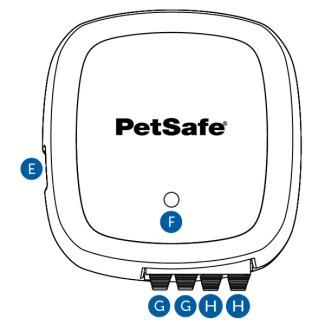
Power jack
Connects to the power adapter.
Power light
Shows a green light to indicate power.
Loop terminals
Sends low and high frequency signals to the boundary wire.
Ground terminals
Connects the system to the grounding stakes.
Step 1: Preparation
Please have the following materials for setup:
Important: Extra wire, wire caps and splice capsules may be needed.
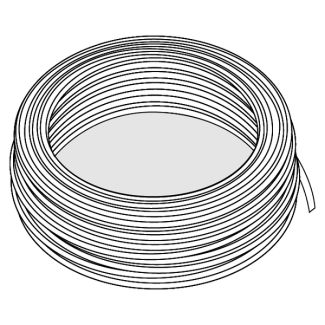
20 Gauge wire

Wire break transmitter
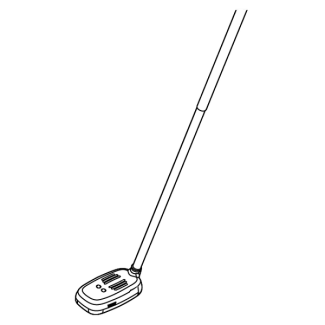
Wire break locator
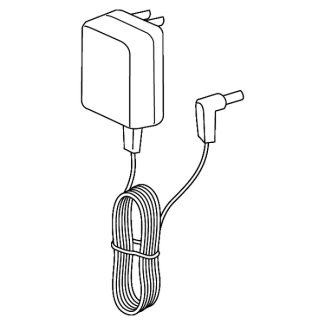
Power adapter

Wire caps
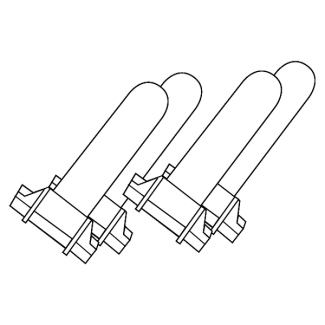
Splice capsules

Grounding stakes x2
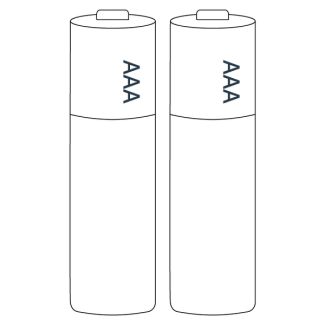
AAA batteries x2
(not included)

Hammer
(not included)
Prepare the Transmitter
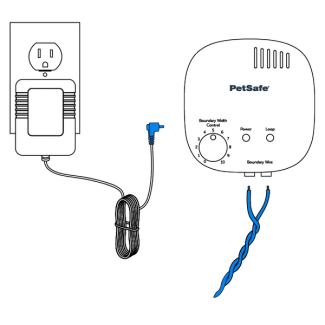
Unplug the power adapter and twisted wire from the base unit.
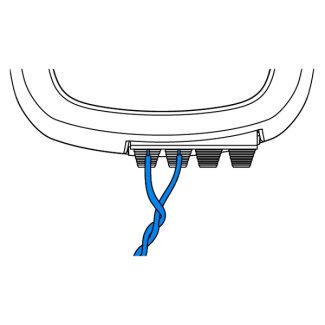
Connect the twisted wire to the loop terminals on the locator transmitter.
Prepare the Grounding Stakes
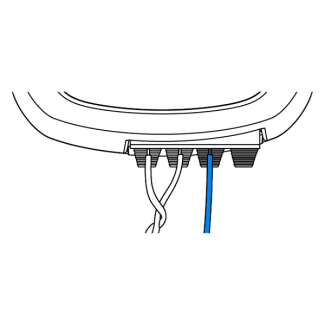
Strip 3/8 inch of insulation from one end of the wire and insert the wire into one ground terminal.
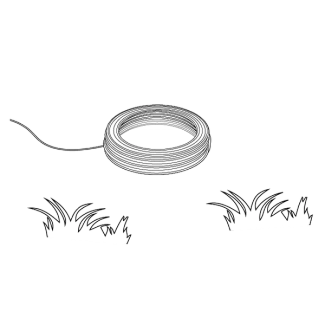
Walk the wire outside to a nearby grassy area.
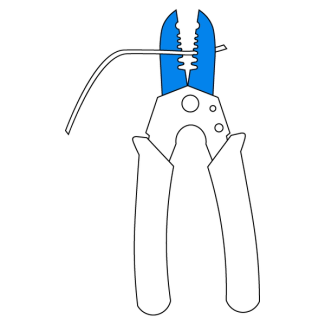
Cut the wire from the spool and strip 2 inches from the end.
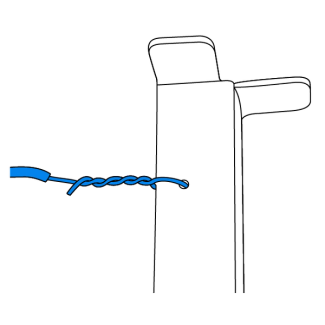
Place the wire through the hole in the grounding stake and twist to secure.
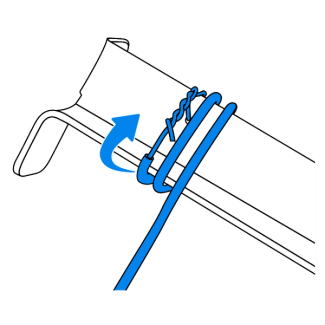
Wrap the wire around the stake so the copper makes a good connection with the metal.
Repeat steps 1-5 for the other grounding stake.
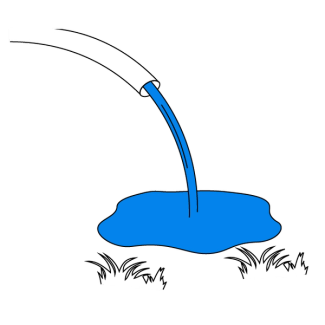
Wet the ground thoroughly.
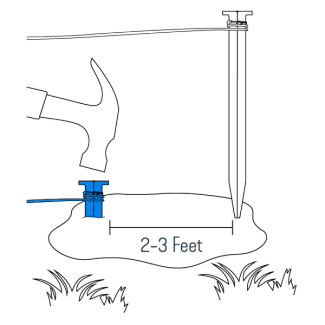
Hammer the grounding stakes into the ground until 2 inches of the stake is visible. Place the stakes 2-3 feet apart.
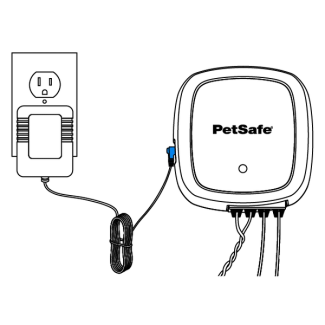
Plug the power adapter into the locator transmitter and ensure that the wires are secure.
Prepare the Locator
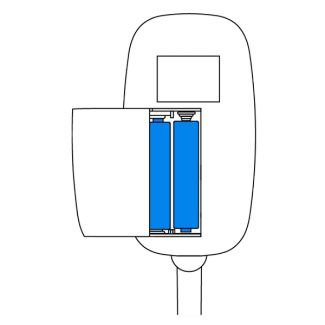
Remove the battery cover on the back and insert two AAA batteries.
Important: Do not use rechargeable batteries.
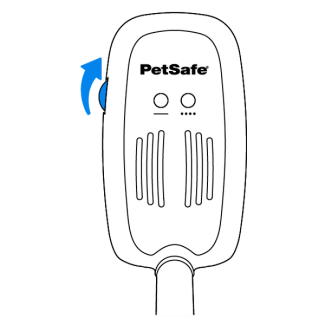
Turn the volume dial up to power on the locator.

Twist and pull the telescoping handle until it is fully extended.
Step 2: Find the Wire Break
Using the locator
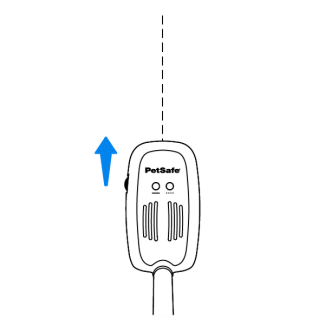
Hold the locator parallel to the buried wire for the best signal reception.
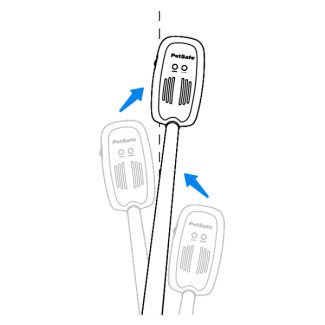
Move the locator from side to side following the path of the wire. Listen and watch for the tone and light to change.
Twisted Wire Sounds
The locator will emit both tones over the twisted wire. If the locator reaches a single break in the wire, the locator will change to a single tone. If both twisted wires have a break, the tones will decrease then stop as the locator nears the break.
Boundary Loop Sounds
If there is a single break in the wire, the tone and light will change as the locator crosses over it. If there are multiple breaks, the tone will gradually decrease then stop as the locator approaches the break.
To find the exact location of the break, turn the volume down on the locator when the tone changes. The tone will disappear when the locator is over the break.
Step 3: Repair the Wire Break
Once the break has been located, repair it by stripping and twisting the wires together. If the break is severe, a small piece of wire may be needed to connect the boundary. Repair breaks as they are found.
Note: Dig parallel to the wire to avoid causing additional damage.
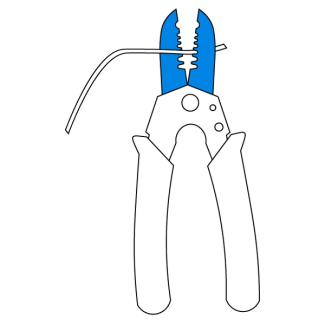
Strip 3/8 inch of insulation from the end of each wire.
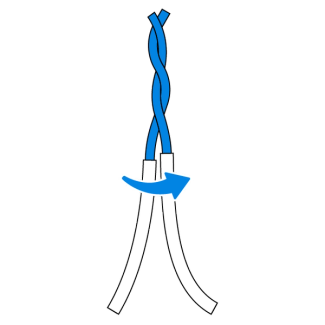
Twist the exposed wire together.
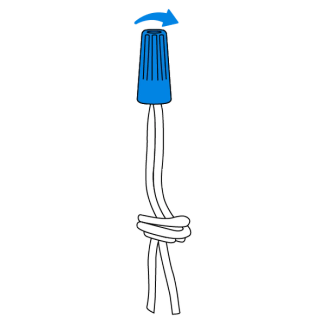
Twist a wire cap over the wires. Tie a loose knot in the wire to help secure the wires.
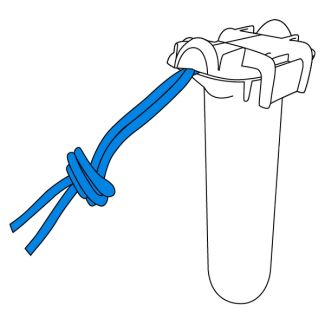
Insert the wires into a splice capsule, then close the capsule.
Important: Do not use heat shrink or crimp the wire to splice.
Test the System
Follow these instructions to ensure the system is working properly.

Hold the collar probes against the wire on the test light tool.

Position the collar under the tool and hold at the height of your pet.

Walk toward the wire until the collar beeps and the tool flashes.

Test over twisted wire to ensure no activation from the collar.
How to use the Wire Break Locator to Repair your In-Ground Dog Fence™
Contact Customer Care
If you need further assistance, please contact our customer care team.