Stay & Play® Wireless Fence with Replaceable Battery Collar Set Up
Table of Contents
How to set up the Free to Roam Wireless Fence
Welcome
Welcome to your new PetSafe® Free to Roam Wireless Fence™.
A few things to keep in mind:
Setting up the wireless fence can take less than a day.
A minimum of 14 days of training is recommended.
Environmental factors, such as metal sheds, may effect the fence signal.
The base unit must be placed indoors.
Step 1: Preparation
Materials
Please have the following contents from the box in front of you for setup:
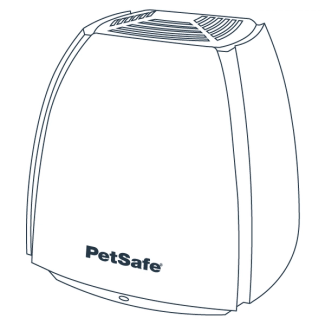
Base unit
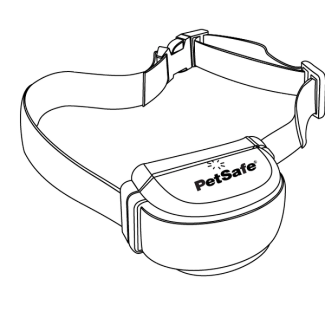
Collar

Flags
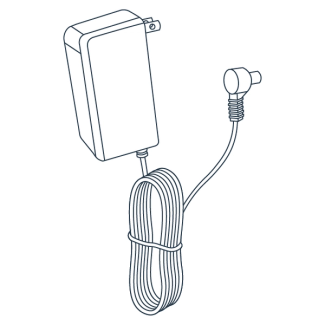
Base unit power adapter
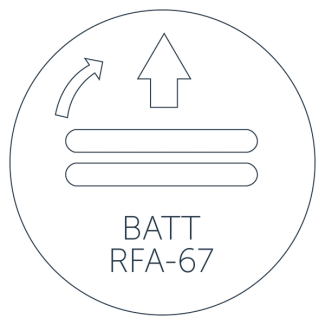
RFA-67 battery
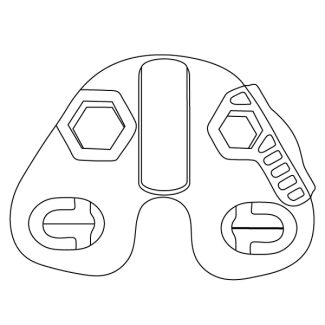
Test light tool
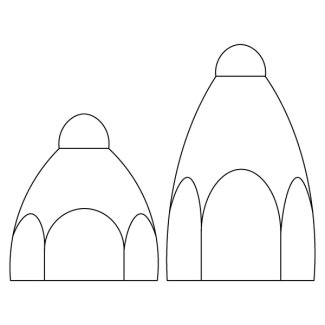
Probes
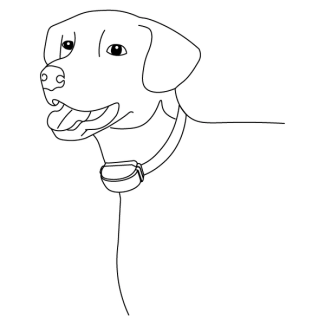
Your enthusiastic pet
Step 2: Set up your base unit
The base unit sends out a circular signal to create the wireless fence. Before placing the base unit, it is important to determine the desired pet area.
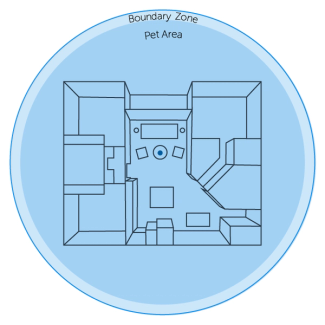
Base unit functions
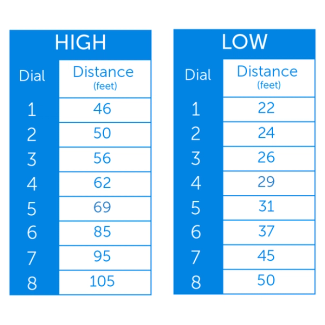
High and low switch
Correlates with the amount of coverage needed for the pet area.
Low: Less than 45 feet
High: More than 45 feet
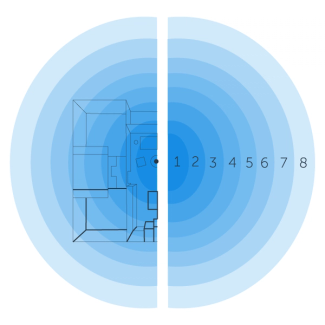
Boundary control dial
Controls the distance between the boundary and base unit.
Check out our fencing planning tool if assistance is needed.
Base unit placement
Once the size of the fence is determined, the base unit needs to be placed in the middle of the desired area.
Make sure the location for the base unit is:
Near an outlet
2-4 feet above the ground
Indoor and weatherproof area
Three feet from metal or appliances
Note: Do not place in a metal building.
After finding a location for the base unit, follow the instructions below.
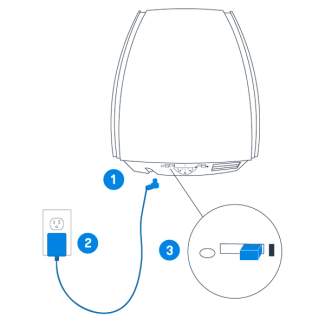
Connect the adapter to the power jack on the bottom of the base unit.
Plug the adapter into a standard electrical outlet.
Turn the base unit on.
Note: To mount the base unit, use the mounting bracket included.
Step 3: Set up your collar
Follow the instructions below to supply power and set the stimulation level for the collar.
Power
Use the battery key on the test light tool to install the battery.
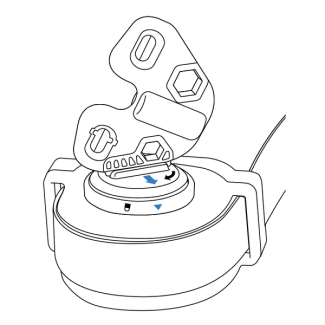
Line up the arrow on the battery and collar, then twist to lock.
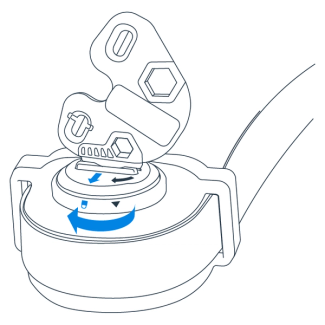
Align the arrow with the lock symbol to turn on the collar.
Change Levels
Press the button until the the light flashes red. The number of flashes on the collar indicate the current collar level.
Press again quickly to increase the collar level. To set lower levels, continue through all levels until there is one flash, indicating level 1.
Step 4: Test your system
To ensure that the system is working properly, follow the instructions below to test the collar on the boundary.
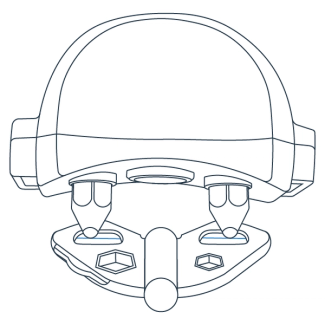
Hold the collar probes against the wire on the test light tool.
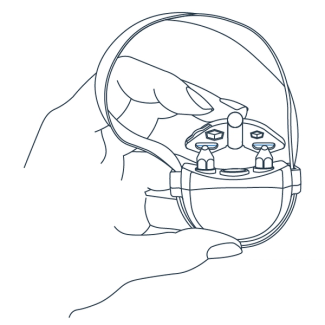
Position the collar under the tool. Hold at the height of your pet's neck.
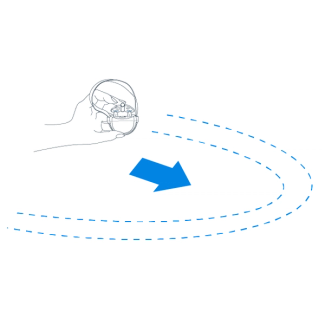
Walk toward the boundary until the collar beeps and the test light tool flashes.
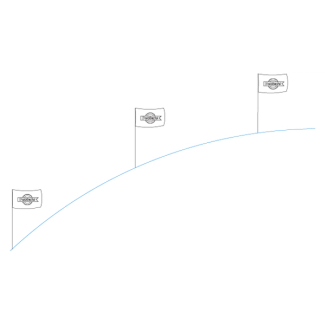
Place a flag where the collar starts to beep, then step back and repeat around the boundary every five feet.
Step 5: Fit your collar
For proper use, the collar must be adjusted to fit your pet. To make sure the fit is correct, turn the collar off and follow these steps:
Swap the short probes with the long probes on the collar if your pet has long or thick fur.
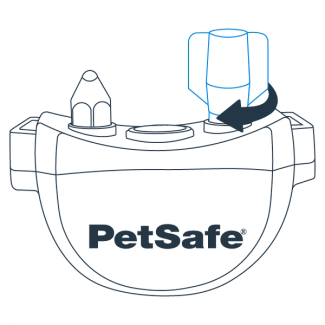
Tighten the probes using the wrench until resistance is felt.
Important: Periodically check the tightness of the probes to keep the collar secure.
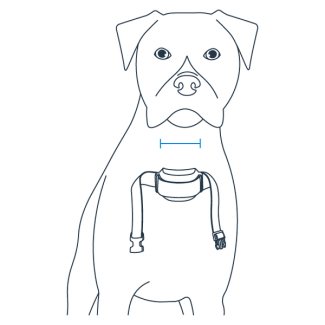
With your pet standing, center the probes on the neck.
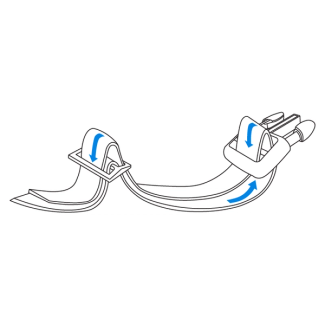
Adjust the strap until the collar is snug.
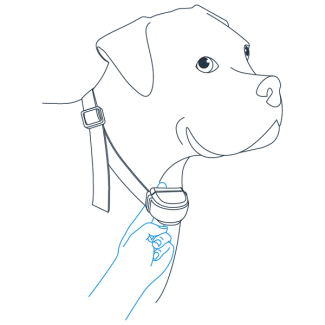
Put the collar on your pet and ensure only one finger fits between the probe and your pet’s neck.
How to change the probes on the collar
Important: Both probes must be touching skin for correction to be felt.
Trim your collar
If the strap is too long for your pet, follow the instructions below to trim the excess. The materials below will be needed to begin.
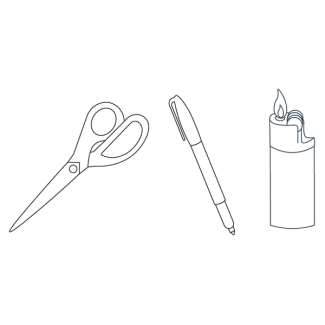
Important: Leave extra room on the strap if your pet is young or grows a thick winter coat.
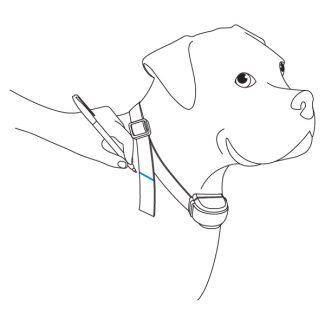
Mark the strap at least two inches past the slide buckle.
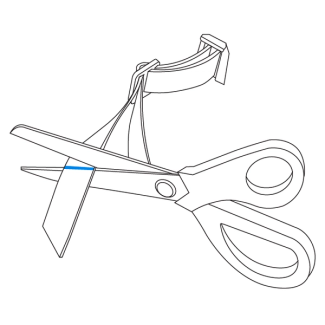
Remove the collar from your pet and trim the strap.
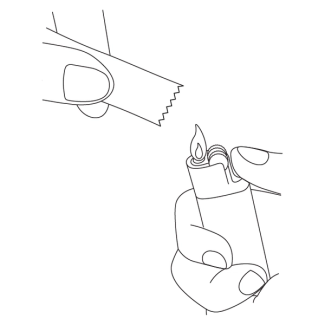
Apply a flame to seal the cut edge.
Next up: Train your pet
Training is essential so your pet becomes familiar with the pet area successfully. Training will cover collar settings, boundary awareness, distractions and eventually, off leash in the pet area.
What to expect:
Sessions will last 10-15 minutes each, 3 times a day.
A minimum of 14 days of training is recommended.
Spend at least 5 minutes of play time at the end of each training session.
The first battery may drain faster due to repeated activation during training.