Set Up Your Happy Ride® Dog Stroller Kit
Table of Contents
Note: The Happy Ride® Dog Bicycle Trailer must be assembled prior to attaching the Happy Ride® Dog Stroller Kit.
Step 1: Preparation
Have the following contents available prior to set up:
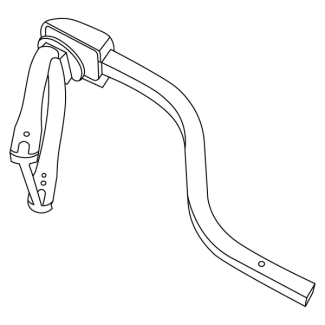
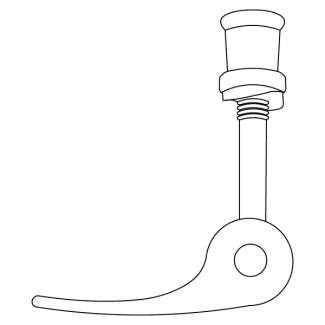
Gooseneck
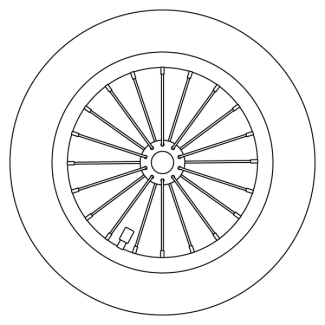
Front wheel
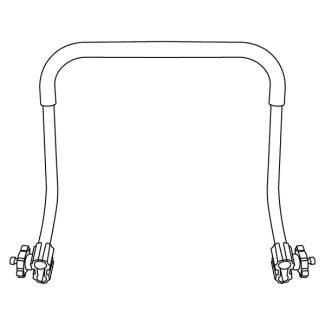
Handlebar
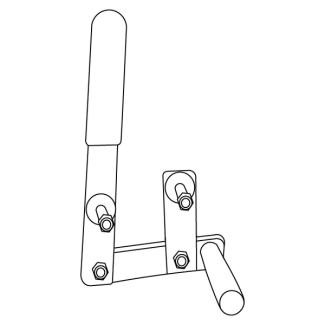
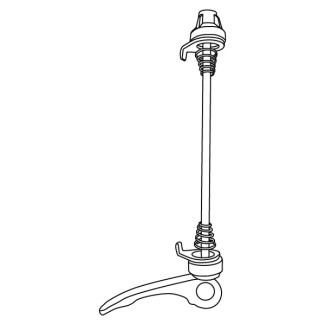
Parking brake assembly
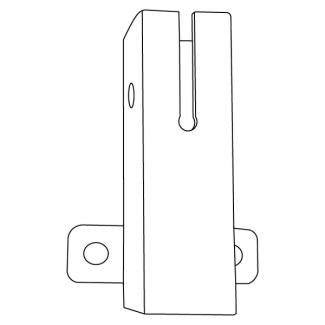
Gooseneck mounting plate
Cup holder
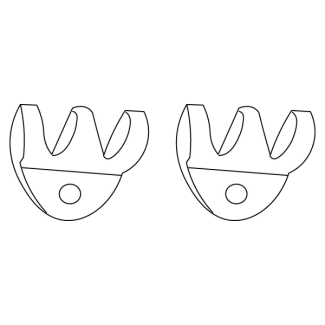
Cup holder clamps
Large x1
Small x1
Front wheel spindle assembly
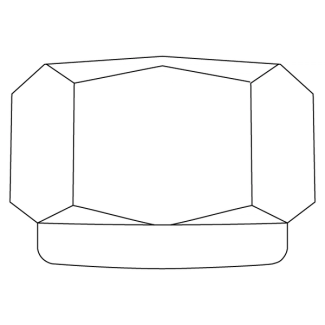
Gooseneck quick release
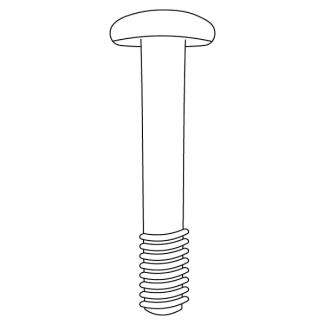
Screw x2
Screw x2
Nut x2
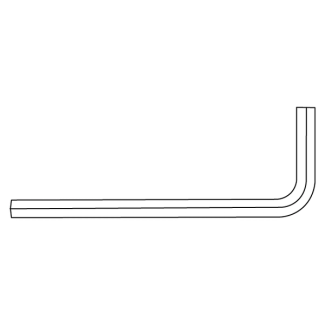
Allen wrench
Not included:
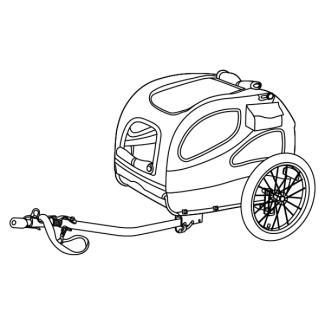
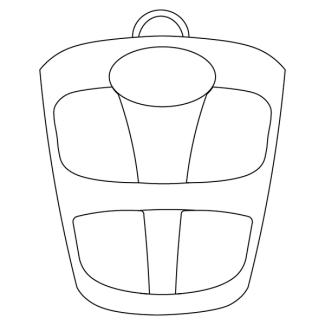
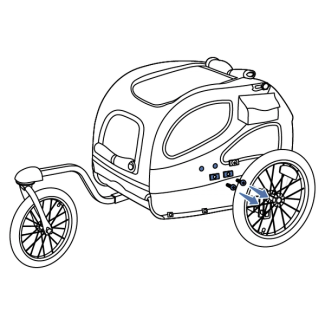
Assembled bike trailer
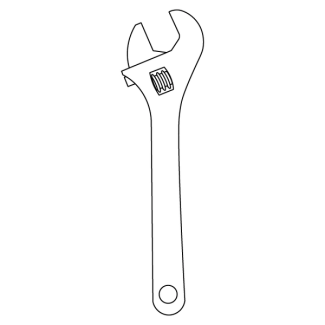
Adjustable wrench

Phillips screwdriver
Stow the Tow-Bar
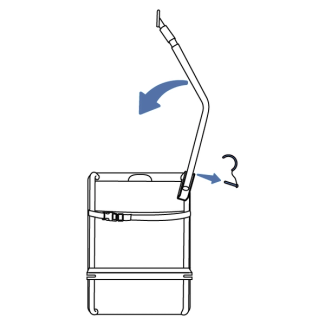
Remove the clevis pin. Fold the tow-bar under the cabin.
Note: Keep the bolt in the middle of the mount connected to the tow-bar to keep the tow-bar attached to the cabin.
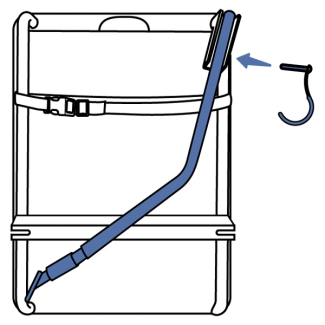
Place the clevis pin in the last hole on the mounting bracket to hold the tow-bar in the stow position.
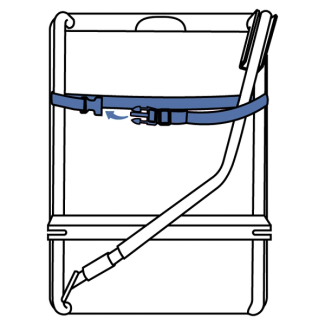
Clip the strap on the bottom around the tow-bar to keep the tow-bar in place.
Step 2: Assemble the Stroller
Align the gooseneck mounting plate with the holes at the front of the cabin. Using the allen wrench, secure with two screws and nuts.
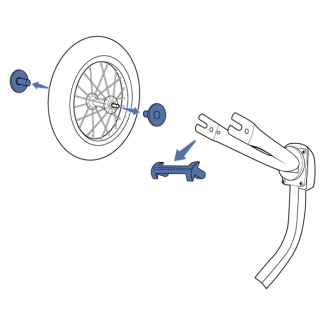
Remove the plastic caps from the wheel and the spacer from the gooseneck. Discard these pieces.
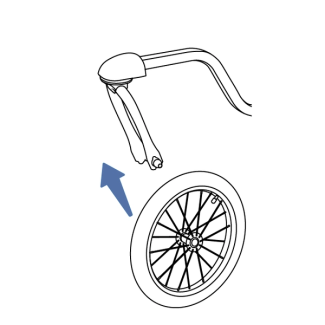
Align the wheel in the gooseneck.
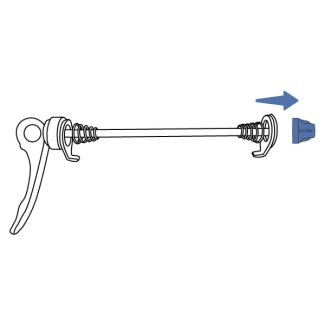
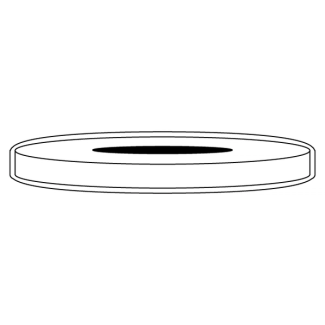
Unscrew the cap nut on the front wheel spindle assembly. Remove the washer and spring.
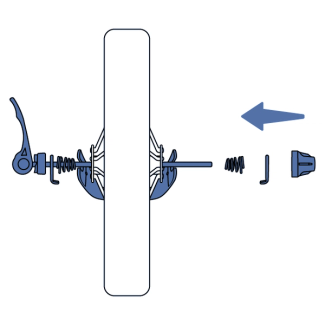
Thread the spindle through the front wheel. Make sure the springs sit outside the gooseneck. Tighten the cap nut.

Close the cam lever. Some resistance will be felt.
Note: If the lever will not close, loosen the cap nut a half turn at a time until the lever closes.
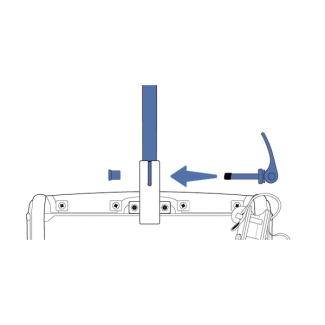
Slide the gooseneck into the mounting plate on the cabin and align the holes. Remove the nut on the quick release and slide through the aligned holes. Tighten nut, then close the cam lever. Some resistance will be felt.
Note: If the lever will not close, loosen the nut a half turn at a time until the lever closes.
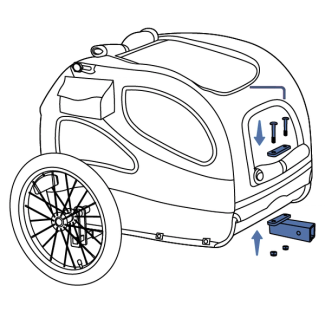
Step 3: Install the Parking Brake
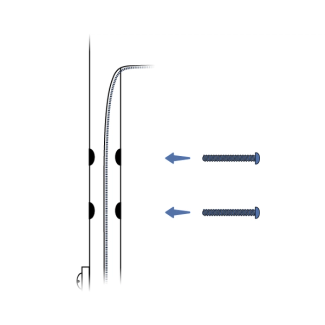
On the right side of the cabin, remove the two screws with the plastic bases.
Important: Keep the screws, plastic bases and nuts to use with a bicycle.
Remove the screws from the parking brake assembly. From the inside of the cabin, place the screws through the holes.
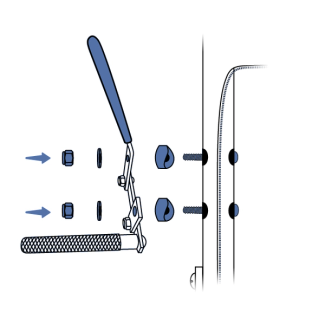
On the outside of the cabin, place a curved spacer over each screw with the curved side facing the cabin. Slide the brake assembly over the screws and secure with the nuts. The brake handle should be pointing up.
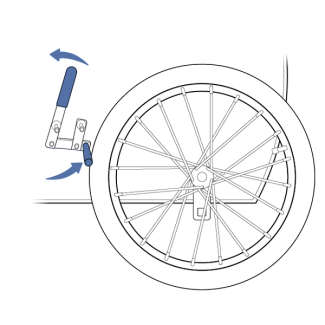
Engage the parking brake by pulling the lever towards the front of the cabin.
Note: If the parking brake does not engage the wheel, the wheel mounting bracket may be on upside down.
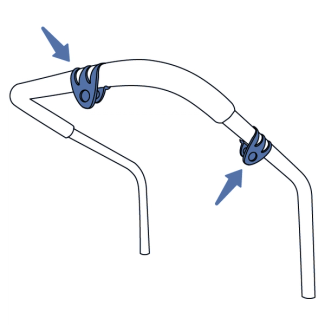
Step 4: Install the Handlebar
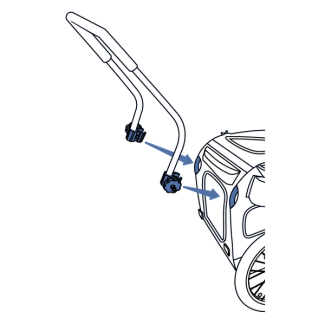
Align the clamps on the handlebar with the exposed frame on the back of the cabin. Secure the handlebar by tightening the black knobs until resistance is felt.
There are two cup holder clamps included. The large cup holder clamp fits the padded area of the handlebar and the small clamp fits the unpadded area. Choose the correct clamp for the desired location of the cup holder.
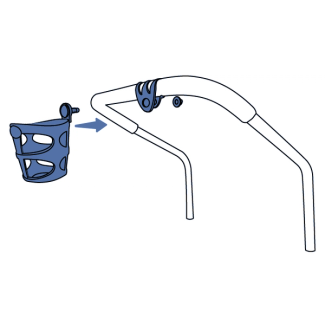
Place the correct clamp in the desired location on the handlebar. Secure with the screw and nut. Adjust tightness so that the cup holder does not tilt while in use.
Contact Customer Care
If you need further assistance, please contact our customer care team.