Set Up the Smart Feed Automatic Dog and Cat Feeder, 1st and 2nd Generation
Table of Contents
Welcome
to your new Petsafe® Smart Feed.
A few things to keep in mind:
Instructions apply to both 1st and 2nd generation Smart Feed unless noted otherwise.
Program up to 12 meals per day with portions from 1/8 cup up to 4 cups.
Understanding your feeder:
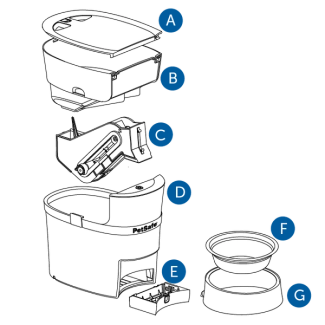
Lid
Hopper
Conveyor
Base
Battery Compartment
Bowl
Holder
Step 1: Clean the Feeder
Cleaning the PetSafe® Smart Feed Automatic Pet Feeder
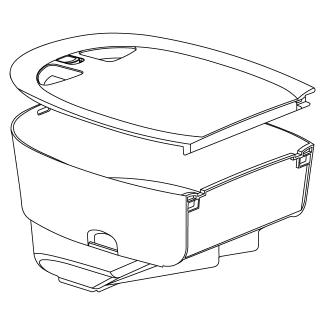
Disassemble
Remove the lid from the feeder and remove the power adapter, bowl and bowl holder from inside the hopper.

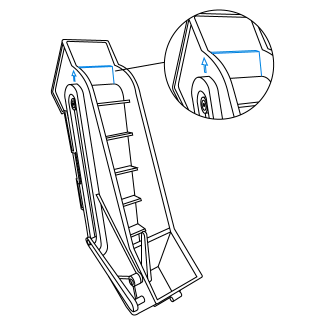
Unlatch the hopper from the base and remove.

Push back the red latch inside the feeder to remove the conveyor.
Clean the following components:
Hopper and Lid
Dishwasher safe
Bowl Holder
Dishwasher safe
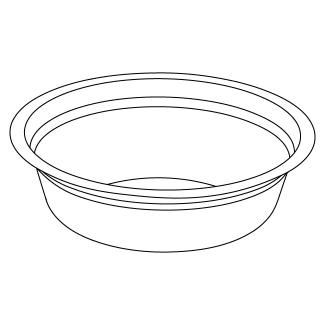
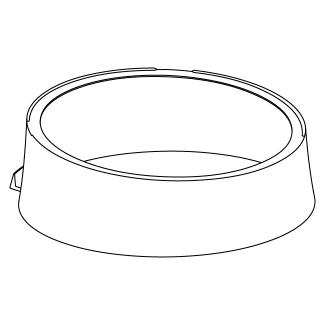
Bowl
Dishwasher safe
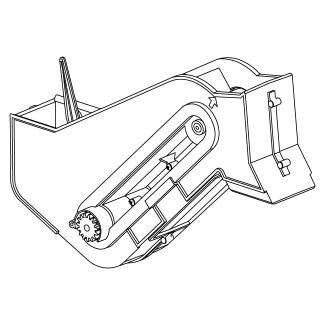
Conveyor
Hand wash with warm water
Step 2: Prepare the Feeder
Power adapter
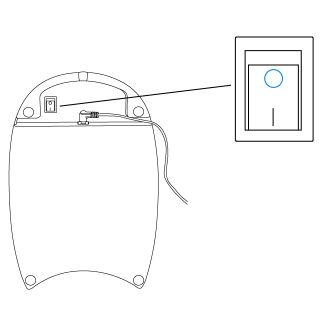
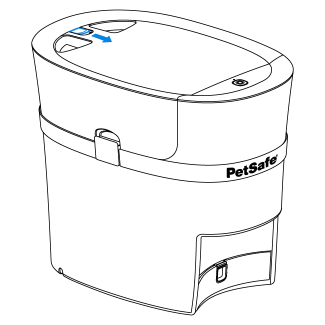
Plug the adapter in underneath the feeder. If you have the Smart Feed 1.0, next you will press the line on the switch to turn it on
Batteries (optional)
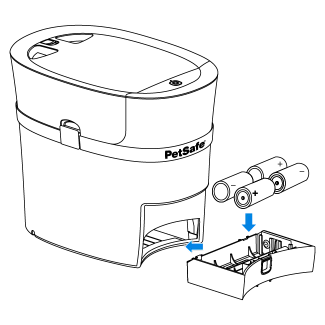
Four D-Cell batteries can be installed in the feeder to provide back up power if the power goes out. The batteries last up to seven days and maintain regularly scheduled feedings.
Conveyor
Align one lip on the conveyor belt with the alignment arrows on the side of the conveyor.
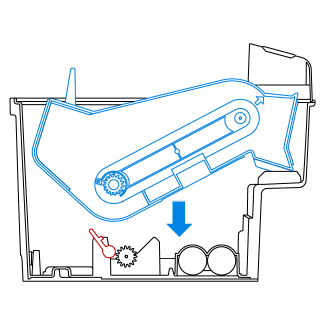
Place the conveyor back in the feeder and push the red latch back into place to lock.
Bowl and Holder

Place the bowl in the holder.
Tilt the feeder back and slide the notch on the bottom of the bowl holder under the feeder.
Step 3: Download My PetSafe® App
Wireless router 2.4GHz
Apple software version iOS 9.0 or later
Android software version 5.0 or later

For Apple users:
- Go to the App Store on your phone
- Search for "My PetSafe"
For Android users:
- Go to the Google Play Store on your phone
- Search for "My PetSafe"
Select app icon to begin download.
Step 4: Set up My PetSafe App
How to Program the PetSafe® Smart Feed Automatic Pet Feeder
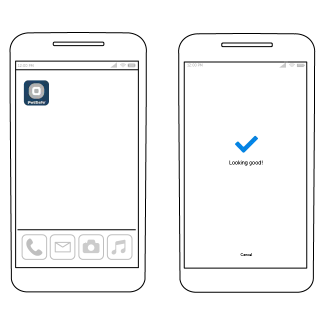
Open the app and follow the prompts to connect your feeder.
Important: Make sure the feeder is on and the button on top is blinking.

2nd Generation only: Follow the prompts to set up your Amazon Dash Replenishment.

Select Add Meal Time at the bottom of the screen.