ScoopFree® Original Self-Cleaning Litter Box
Welcome
Welcome to your new PetSafe® ScoopFree® Original Self-Cleaning Litter Box!
A few things to keep in mind:
Installing the litter box will take approximately one hour.
Acclimation time will vary depending on the cat.
Avoid placing in areas with high humidity.
Step 1: Preparation
Please have the following contents from the box ready prior to setup:
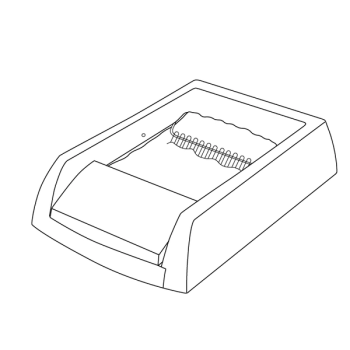
Self-cleaning litter box

Litter tray with lid
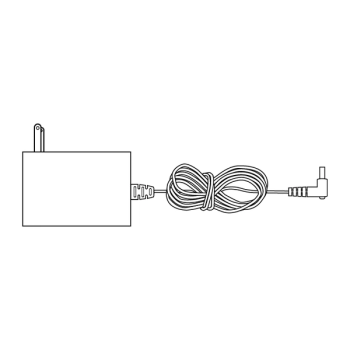
Power adapter
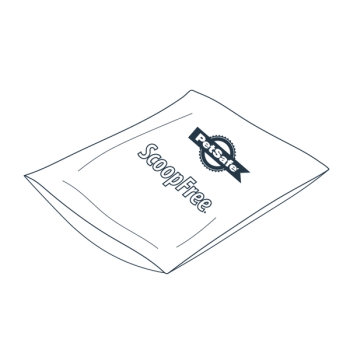
Crystal litter bag
Litter box location
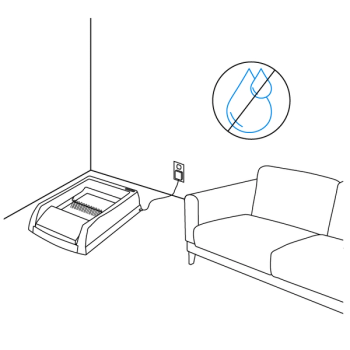
Place the litter box in an indoor area that is:
- Flat: The litter box operates best when placed on a flat surface.
- Near an outlet: The power adapter must be plugged into a standard electrical outlet.
- Dry: Moisture in high humidity rooms, such as a bathroom or laundry room, can reduce the lifespan of the litter tray.
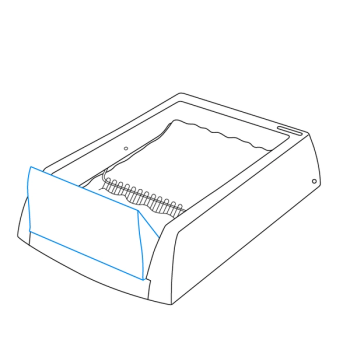
Step 2: Insert the Litter Tray
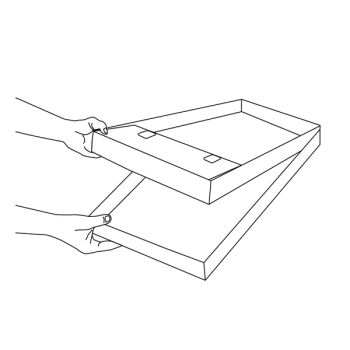
Remove the lid from the litter tray and place underneath to reduce chance for leakage
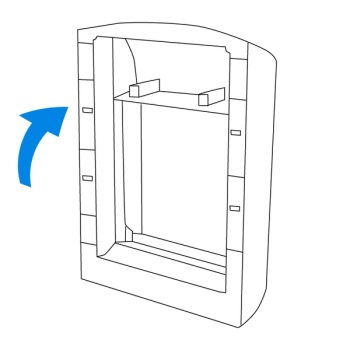
Set the litter box vertical up onto the back legs.
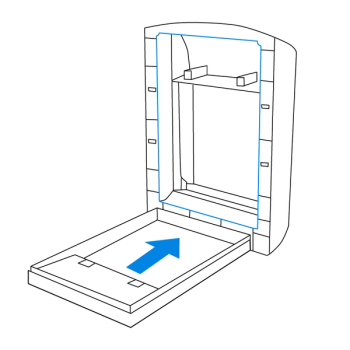
Slide the litter tray against the litter box with the waste bin facing towards the back. Ensure the tray is lined up with the inner litter box frame.
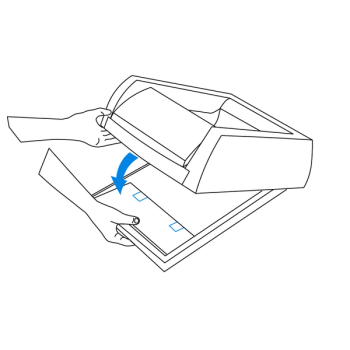
Lower the litter box over the litter tray. Listen for a click as the magnets on the bottom of the litter box touch the magnets on the waste bin.
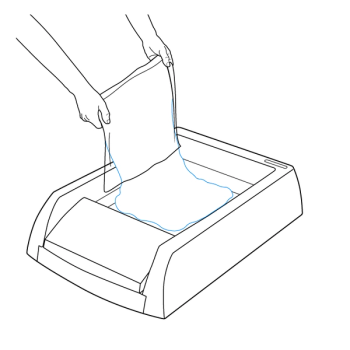
Empty the bag of crystal litter into the litter tray and spread evenly.
Note: For extra odor control, sprinkle a handful of crystal litter into the waste bin.
Step 3: Test litter box
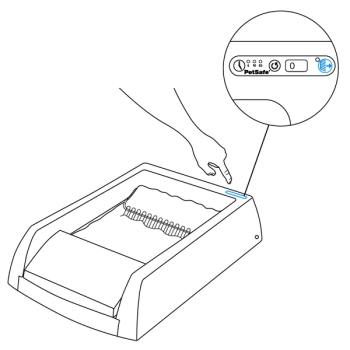
Press the manual rake button.
Confirm that the waste bin automatically rises and lowers as the rake performs a scoop cycle.
Contact Customer Care
If you need further assistance, please contact our customer care team.