Install the PetSafe® Classic In-Ground Fence™
Table of Contents
Welcome!
Welcome to your new PetSafe® Classic In-Ground Fence™
A Few Things to Keep in Mind
Installing a wired fence system takes 1 to 2 days.
A minimum of 14 days of training is recommended.
Environmental factors, such as metal structures or underground utilities, may affect the fence signal.
Call to have utility lines marked prior to installation to avoid damage to existing lines. Utility lines will need to be crossed at a 90-degree angle with the boundary wire.
Visit https://call811.com for contact information on marking utility lines at your home.
Materials
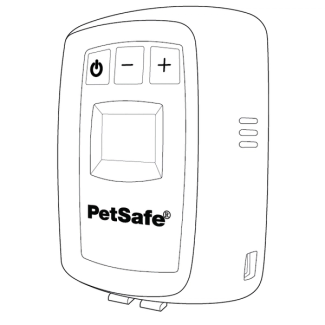
Base unit
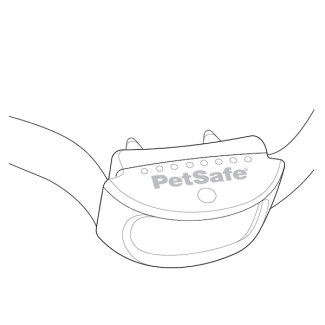
Receiver collar
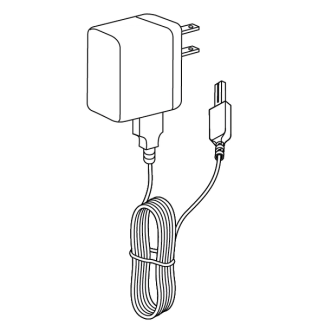
Base unit power adaptor
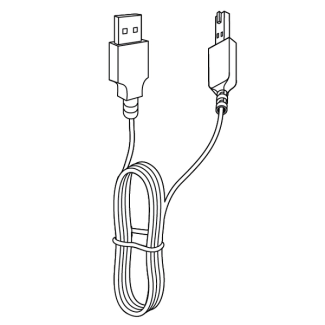
Receiver collar charging cable
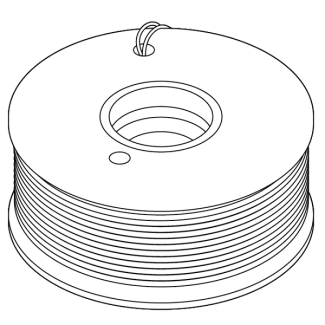
Boundary wire
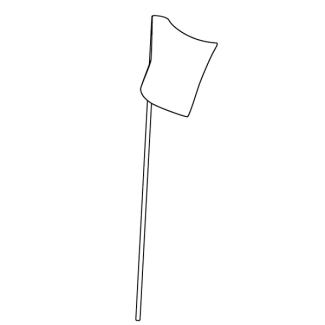
Flags
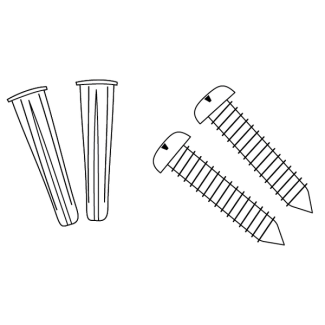
Mounting hardware
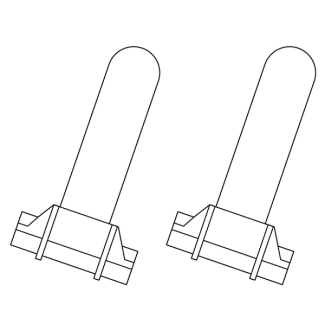
Gel-filled capsules
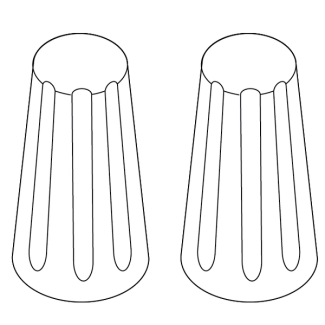
Wire connectors
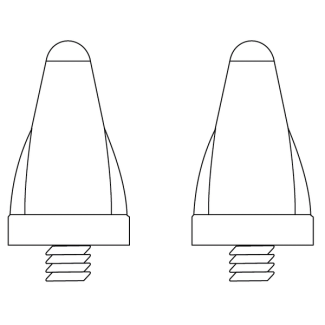
Long contact points
Optional Tools for Installation
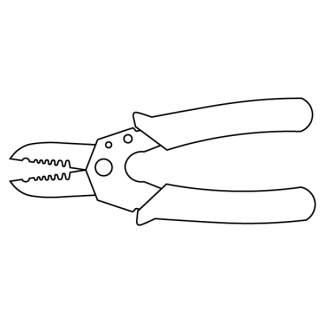
Wire strippers

Power drill
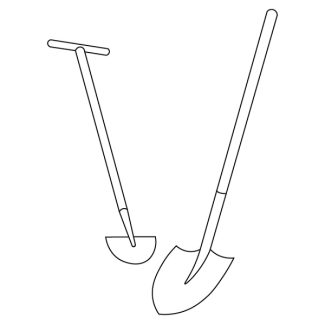
Shovel or lawn edger
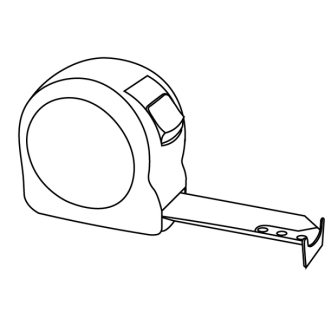
Tape measure
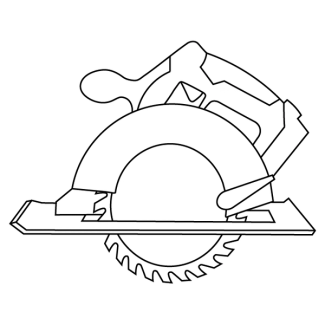
Circular saw
Only needed for driveway or other hard surface installation.

Phillips screwdriver
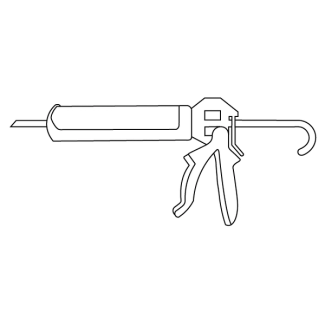
Silicone caulk
Charge the Collar
Begin charging the collar prior to starting the installation steps. This will ensure your collar is fully charged when it's time to use it in the setup process.
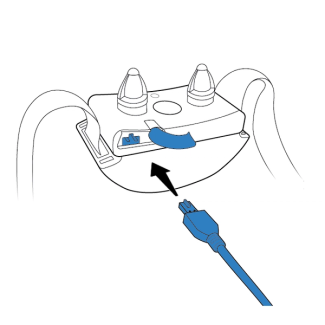
Lift the rubber plug and connect the charging cable to the charging jack.
Connect the USB end of the charging cable to a USB wall adaptor and plug into a standard electrical outlet.
Charge the collar for 3 hours. A solid green light will indicate charging is complete.
Step 1: Plan the Fence Layout
We recommend planning your fence layout prior to testing and physically laying the boundary wire. Planning will help you avoid any potential obstacles and will make the placement of the wire faster and easier.
A Few Tips:
- The fence wire needs to be in a complete loop, beginning and ending at the base unit.
- All corners of the fence wire should be rounded with a 3-foot radius to prevent signal interference.
- If your neighbor has a buried wire containment system, plan your fence wire to be 5-10 feet away to prevent signal interference.
Types of Layouts
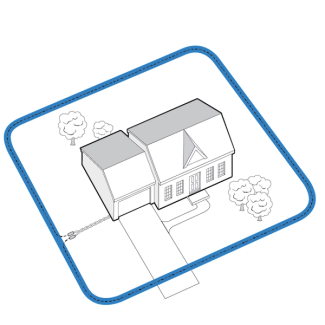
Single Loop Layout
This is the most common layout and will allow your dog to freely roam your entire property.
Use this layout to create a boundary around your entire property.
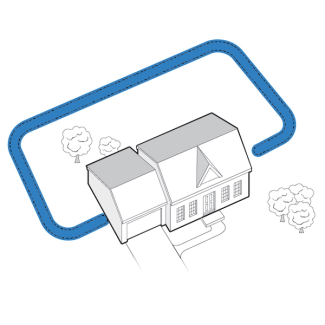
Double Loop Layout
Use this layout when a boundary area is only for a section of your yard and not covering all sides of your yard (for example, back yard only).
Remember:
A double loop layout will use twice as much wire.
The wires in a double loop layout must be separated by 3-5 feet.
Customize Your Boundary
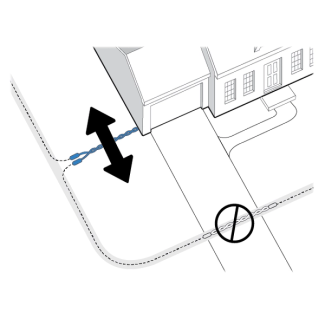
Twisted Wire
Twisted wire cancels out the boundary signal and allows your dog to cross over that portion of wire.
Twisted wire is used between the boundary zone and yard obstacles, such as a pool or garden, to create an exclusion zone.
You will use twisted wire from the base unit out to the boundary area. From there, a single wire will be used to create a single or double loop around the exclusion zone.
IMPORTANT: Do not splice a section of twisted wire to a single wire within your boundary zone. Twisted wire is spliced to two sections of single wire to work properly.
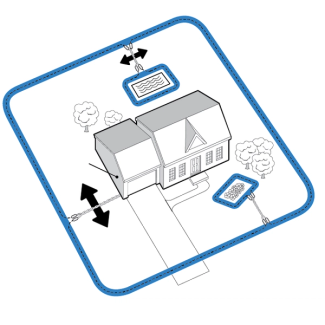
Exclusion Zones
An exclusion area is a section of your yard that you do not want your dog to have access to. This could include a pool, garden or trampoline. Create exclusion zones by looping wire around your desired object, and twist wire to where the object is located. Your dog will not be able to access this area of the yard.
Exclusion zones only prevent your dog from having access to specific areas that you have chosen. This will not prevent him from enjoying the majority of his yard.
For more assistance with your layout, view the complete list of do's and don'ts for fence planning.
Step 2: Set Up the Fence System
Place and Mount the Base Unit
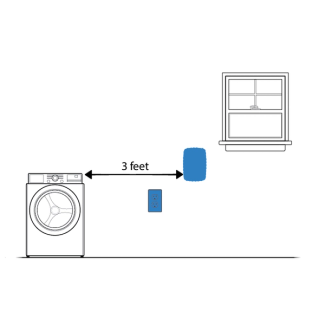
The base unit is the main hub of your fence system. Wherever you place your base unit should be its permanent home.
When choosing the base unit's location, keep in mind that it must be:
Near a standard electrical outlet.
In a dry, indoor and ventilated area.
Near a window or wall to allow the boundary wire to travel outside.
At least 3 feet from large metal objects.
We recommend mounting the base unit to a secure location.
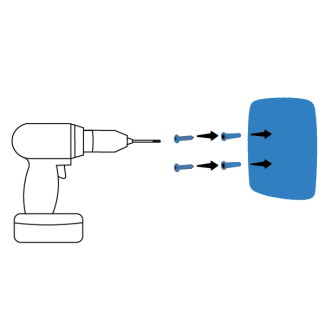
Use the provided mounting template to drill screws into the wall.
For drywall, use both the provided screws and support anchors.
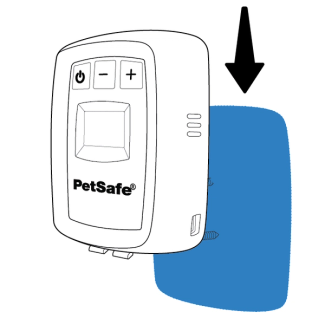
Slide the base unit onto both screws to secure it to the wall.
Position the Boundary Wire
Now that you have placed your base unit, it is time to lay out the wire. Lay the wire above ground and in the desired layout burying/anchoring the wire.
By placing the wire above ground before installing it, you will easily be able to make any necessary adjustments to your layout. The layout of the fence will be tested in Step 4, prior to burying the wire.
Remember When Placing Your Wires to:
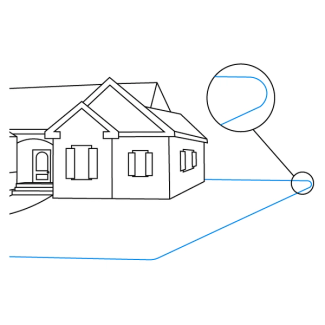
Create rounded corners with a 3 foot radius.
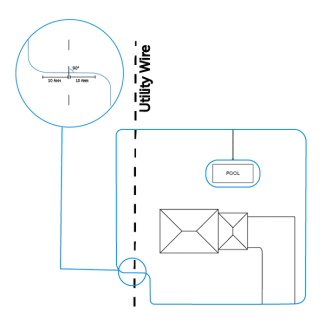
Cross utility lines at a 90-degree angle.
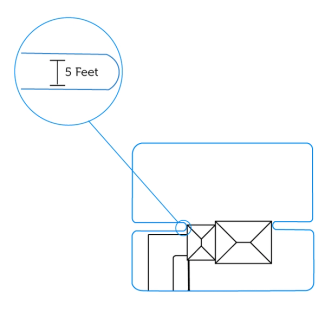
Keep 5 feet between wires that run parallel.
Attach the Wires to the Base Unit
Now that you have laid out your boundary wire, it is time to connect the wires to the base unit. The wires leading from the base unit to the edge of the boundary will be twisted, canceling out the signal and allowing your dog to walk over that section of wire.
This connection will be the first test of your fence. If the base unit does not detect a complete loop of boundary wire, it will display the wire break warning icon and emit an alarm tone.
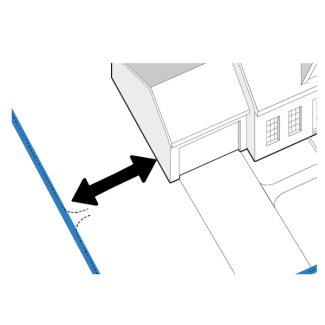
Measure the distance from the base unit to the nearest edge of the boundary wire. Add 2 1/2 feet to this measurement to account for shortening of the wire due to twisting.
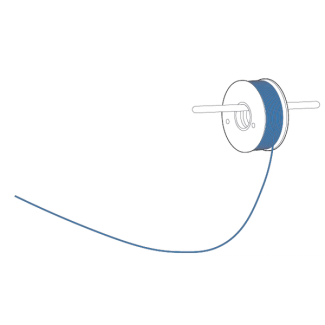
Cut two lengths of boundary wire of the distance determined in step 1.
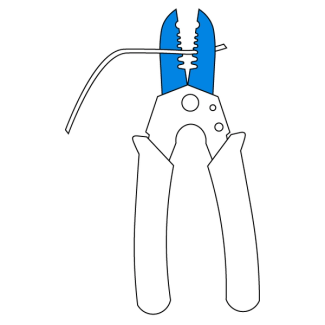
Strip the ends of each boundary wire 1/2 inch and splice one end of the twisted wire to one end of the existing boundary wire layout
Repeat this with the other available wire.

Connect the opposite end of the twisted wire to the base unit wire terminals.
Step 3: Prepare the Base Unit and Collar
It is time to prepare the base unit and collar for use. You will need your base unit power adaptor and the collar on hand.
Prepare the Base Unit
Plugging in the base unit will be the first test of your fence. If a complete loop of boundary wire has not been made, you will hear an alarm.
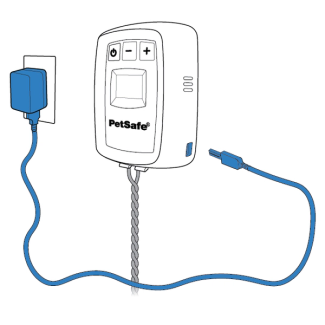
Plug the base unit power adaptor into the outlet and connect the other end to the base unit.

Press the power button to turn the base unit on.
At this point, if you hear an alarm, you will need to troubleshoot the cause of the alarm.
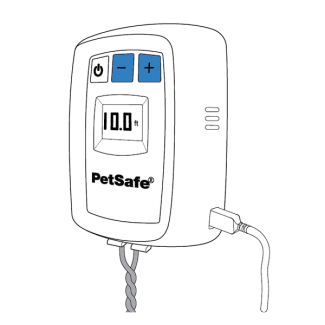
Set the boundary distance to 10 feet using the increase or decrease buttons.
A 10-foot boundary distance will be used when testing the fence.
Prepare the Collar
Ensure the collar is fully charged and displaying a green status light color.
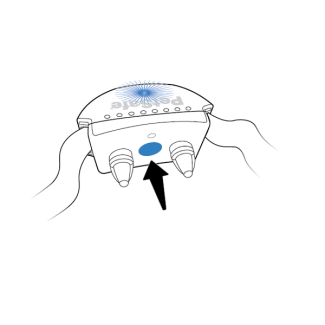
Turn the collar on by pressing and holding the mode button for 1 second.
The collar will emit a low to high tone.
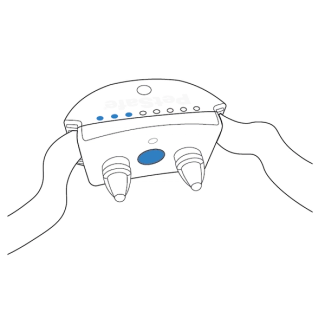
Press the mode button to see the current collar level.
The first yellow light indicates tone and vibration mode. The white lights indicate the static correction level.
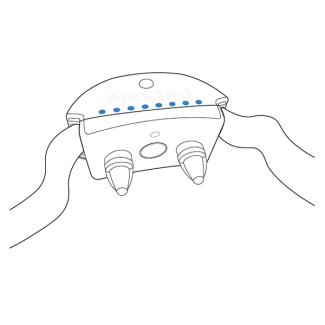
Increase the collar to level 7 (the last white light). Press the mode button to see the current collar level, press the button again within 8 seconds to increase the level.
Continue pressing the button within 8 seconds of the last press until the collar is at level 7. This level is used for testing.
Step 4: Test the Fence
Prior to burying the wire, we will test the function of the fence using just the collar. Have the collar on hand and charged.
Begin by standing in the center of the pet area, holding the collar by the strap and at the height of your dogs neck.
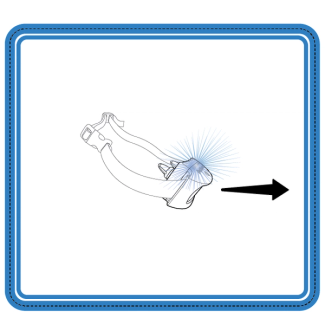
Approach a straight section of boundary wire. The collar will tone and vibrate and the correction level lights will flash. Keep note of how far from the boundary wire this occurs.
Walk back towards the middle of the pet area until the beeping stops.
Do not stand directly next to wire for longer than 15 seconds, this will cause the over correction protection to kick in and your collar to stop activating.
Adjust the boundary settings up or down to fit the needs of you and your pet.
The size of your yard, dog and his temperament are all factors in determining the width of the boundary. A small, timid dog will not need as wide a warning zone as a large and stubborn dog.
Repeat steps 1 and 2 around the entire pet area to ensure the collar activates on all sides and there are no gaps in the boundary.
It is also important to walk throughout the middle of the pet area and your home to ensure there are no unnecessary activations within the pet area.
Step 5: Bury the Boundary Wire
Now that you have tested your system and ensured that it is working properly, it is time to bury your boundary wire.
Disconnect the wire from the transmitter before burying the wire in the ground.
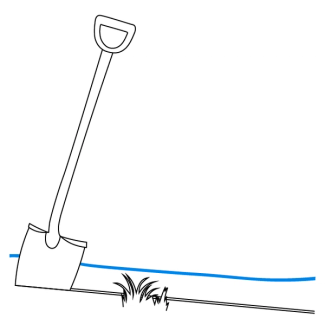
Starting at any point along the wire, dig a narrow trench 1-3 inches deep. The trench only needs to be as wide as the wire.
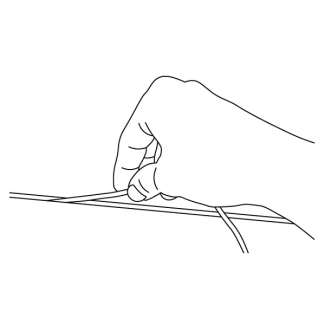
Insert the wire loosely into the trench. Be careful not to damage the insulation on the wire.
Allow enough slack on the wire so the wire can expand and contract with weather changes.
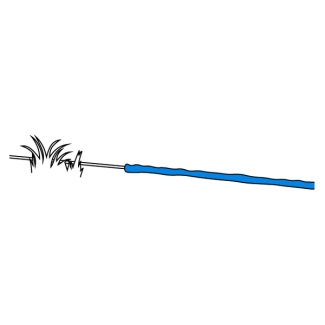
Cover the trench and wire using the previously dug up dirt.
Crossing a Hard Surface
Your wire may need to cross a hard surface, such as a driveway.
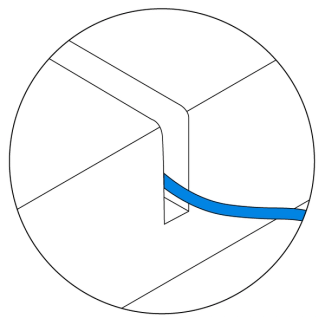
If there is an existing expansion joint, use a blunt tool, such as a wooden paint stick, to clean debris out of the joint.
Run the wire through the expansion joint.
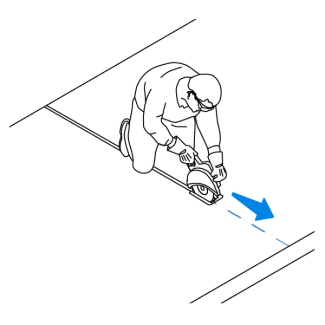
If there is no expansion joint, use a circular saw to cut a channel, then run the wire through the channel.
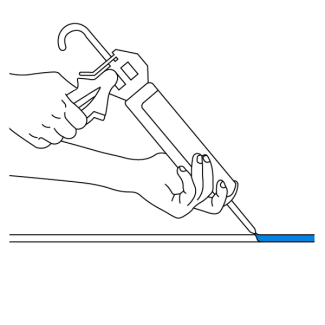
Fill the channel with a waterproof compound, such as silicone caulk, to protect the wire from damage.
Gravel Driveway
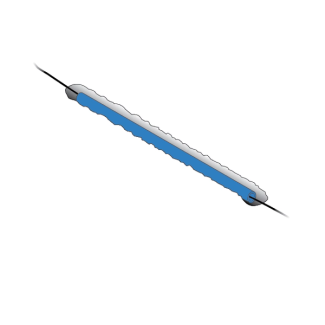
The boundary wire can be run through PVC or rubber hosing underneath a gravel driveway. Do not place in metal as it will interfere with the signal.
Attach to a Fence
The boundary wire can only be attached to a wooden or chain link fence. When laying a double loop, ensure the wires are at least 5 feet apart.
Wooden Fence
Use fence staples to attach the boundary wire to the fence. Avoid driving the staple all the way and damaging the wire insulation.
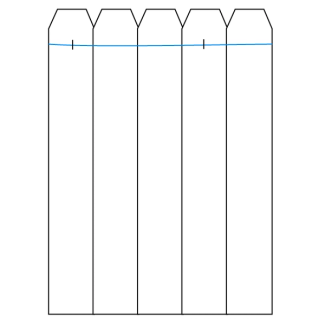
Single loop
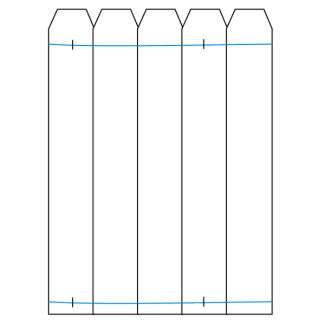
Double loop
Chain Link Fence
Weave the front end of the boundary wire through the fence to secure it in place. You can attach the wire with zip ties, but make sure to leave extra space to avoid damaging the insulation on the wire.
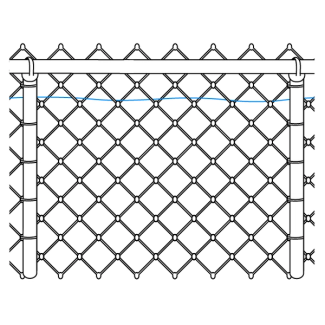
Single loop
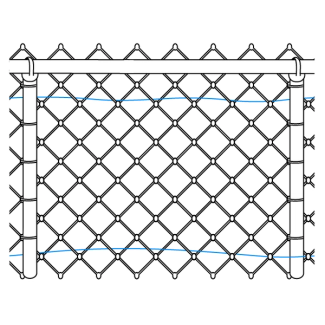
Double loop
Gates
Bury the boundary wire in the ground to cross gate openings. This will allow the signal to be active across the gate, preventing our pet from passing through the open gate.
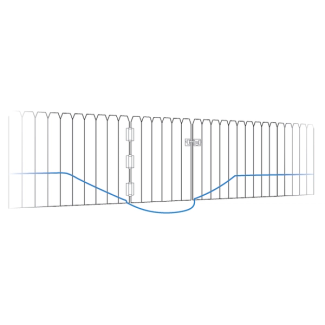
Single Loop
Bury the boundary wire in the ground across the gate opening.
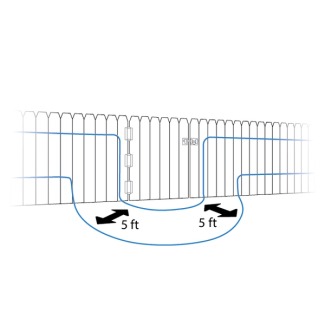
Double Loop
Bury both boundary wires across the gate opening while maintaining the five foot distance.
Place the Boundary Flags
The boundary flags are a visual reminder to show where the warning zone is located. You will only use these flags during training.
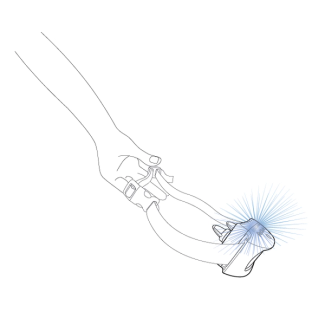
Hold the strap of the collar with the contact points facing up. Walk toward the warning zone until the collar beeps and vibrates.
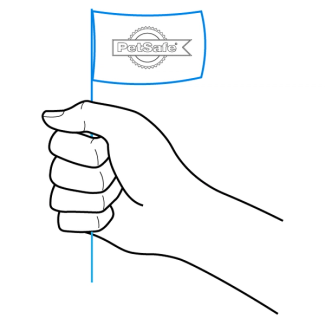
Place a boundary flag in the ground where the collar begins to beep.
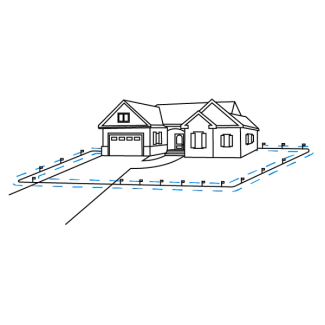
Walk back to the containment area until the beeping stops. Repeat steps 1 and 2 all around your containment zone and mark with a boundary flag every 10 feet.
Step 6: Fit the Collar
Now that your fence has been installed and tested, it is time to properly fit the collar to your dog. The collar must be fit correctly in order to function.
Turn the collar off before fitting it to your dog.
Swap the short probes for the long probes if your pet has long or thick fur.
Hand tighten the probes until resistance is felt.
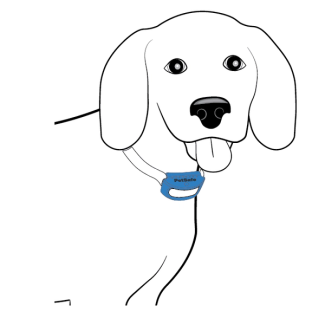
With your pet standing, center the probes on his neck.
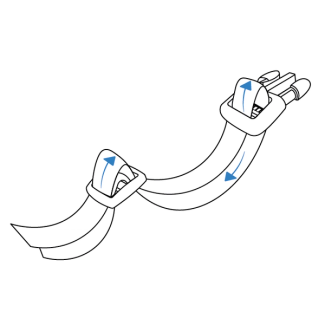
Adjust the strap until the collar is snug.
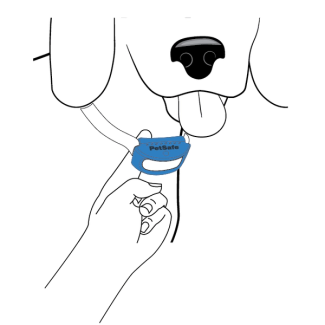
Fasten the collar to your dog and ensure that one finger fits snug between the probes and your dog's neck.
Important: Do not leave the collar on your dog for longer than 12 hours at a time to avoid skin irritation.
Trim the Strap
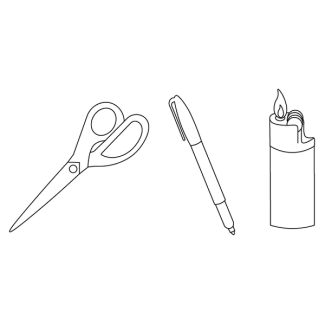
If the strap is too long for your pet, the excess material will need to be trimmed. You will need to have on hand:
- Scissors
- A pen
- A lighter
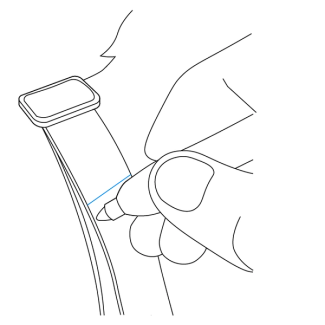
Mark the strap at least 2 inches past the slide buckle.
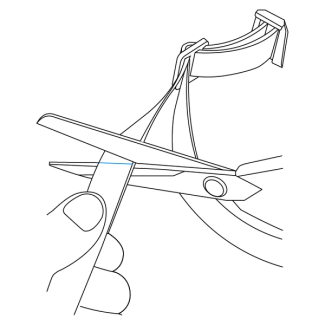
Remove the collar from your pet and trim the strap at the marked line.
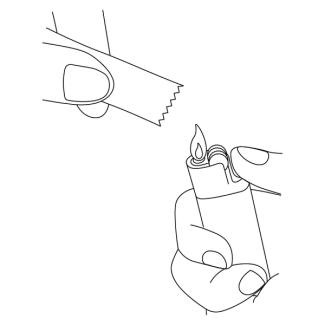
Apply a flame to seal the cut edge.
Next steps: Train Your Pet
Training is essential to familiarize your dog with his new containment area. The training article will cover how to find your dog's static stimulation level and will teach him to be aware of his new fence boundary, even with distractions.
Things to Keep in Mind:
We recommend a minimum of 14 days of training.
Sessions will last 10-15 minutes each, 3 times per day.
Spend at least 5 minutes of play time at the end of each training session.
Contact Customer Care
If you need further assistance, please contact our customer care team.