Install Guide Happy Ride® Dog Hitch Step
Table of Contents
Welcome
Welcome to your new Happy Ride® Dog Hitch Step
A Few Things to Keep in Mind:
Installation can take up to 15 minutes.
Acclimation time may vary with each pet.
Step 1: Preparation
Materials
Please have the following contents from the box ready prior to installation:
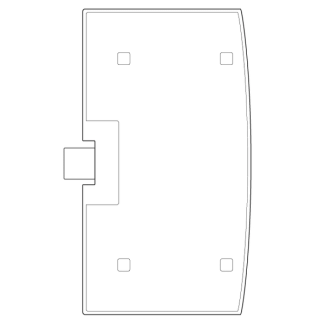
Upper Step
Lower Step
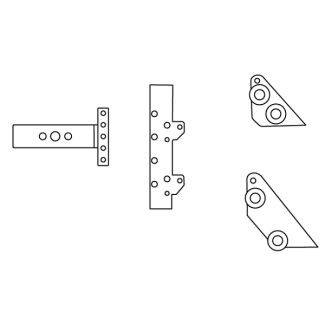
Mounting Accessories

3" Bolt x2
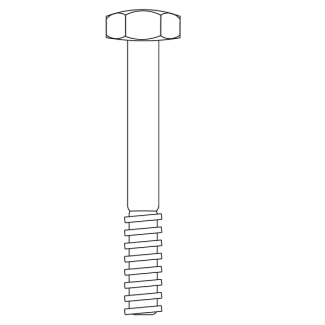
2.75" Bolt x2

13/16" Washer x4
Nuts x4
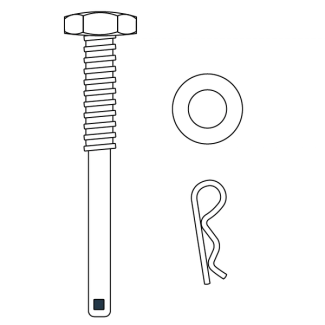
3-5/8” bolt x1
“R” clip x1
15/16” washer x1
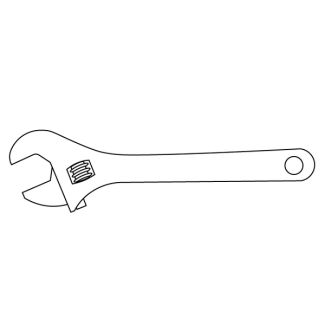
Wrench
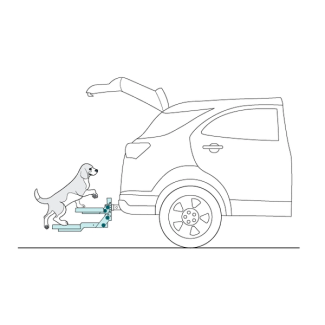
Step 2: Installation

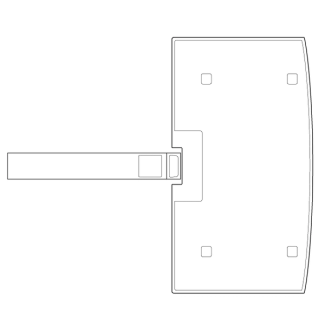
Slide the hitch insert into the hitch receiver.
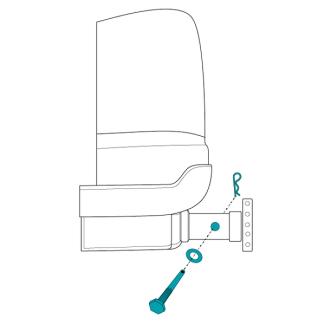
Line up the first or third hole. Insert the 3-5/8” bolt into the hole with the large washer. Secure with the “R” clip.

Line up the top holes on the vertical mount to the hitch insert. Use the 2.75” bolts, small washers and wingnuts to secure.
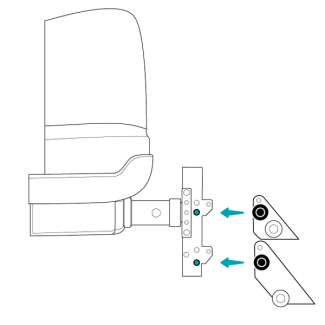
Slide the step brackets over the vertical mount. Pull and release the black cap to lock the spring pin in place.
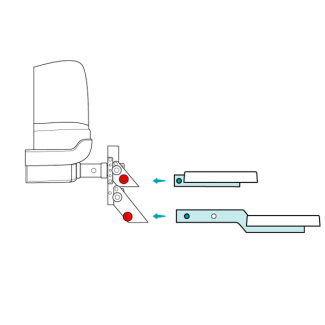
Insert each step into its bracket by pulling and releasing the red cap to lock the spring pin in place. Use the first of the two holes on the lower step for now.

Adjust the vertical mount up or down by moving the pins to set the heights of the desired height.
Step 3: Stow the Hitch
Important: Stow the hitch prior to driving the vehicle.
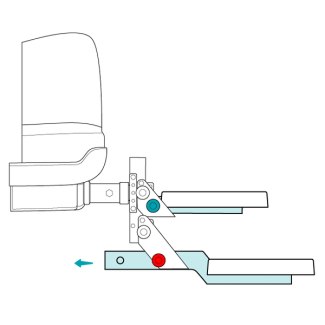
Pull the red cap on the lower step and slide so the spring locks in the second hole.
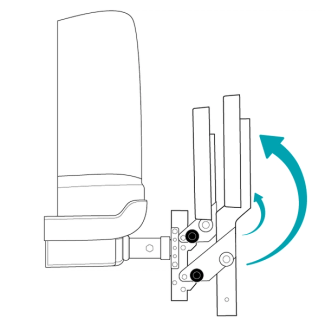
Pull the black cap on each step and fold up. Release the black cap to lock the spring pin in place.
Step 4: Acclimate Your Pet
Offer treats and encourage your dog to go up and down the stairs.
When your dog successfully climbs the steps, reward with praise and encourage back down. Repeat until your dog is comfortable.
Contact Customer Care
If you need further assistance, please contact our customer care team.