How to Test Your PetSafe® Containment Boundary
Follow the steps below to test the boundary for both PetSafe® In-Ground Fences™ and wireless containment systems.
Set the Collar Level
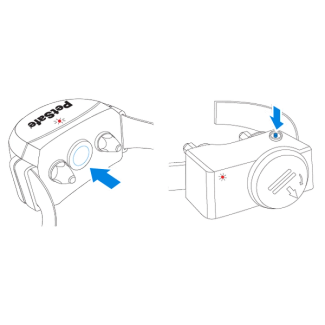
Press the collar button and count the number of flashes indicating the current collar level.
Press again quickly to increase the collar level. Set to level 4 for testing.
Important: Some containment collars have different button locations, but the steps remain the same. If the collar has a clear cap over the button, remove it with a coin.
Test the Boundary

Position the collar under the test light tool.

Walk toward the boundary until the collar beeps and the tool flashes.
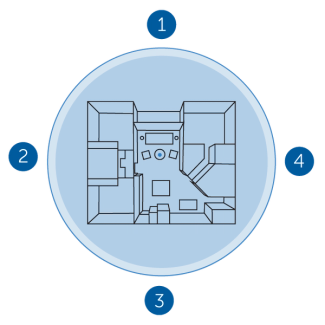
Test four different areas on the boundary to ensure it is consistent.
Important: Set the collar back to the original level after testing.
Contact Customer Care
If you need further assistance, please contact our customer care team.