How To Test My PetSafe® NanoBark™ 2.0 Collar
Always remove the collar from your pet before completing any troubleshooting or testing.
Test
To test your collar, you will need the collar, the charger, and a power source for your charger.
Plug the end of the charger into a USB wall adaptor (not included). The collar will have a solid green light.
Align the magnets on the other end of the charger with the metal contacts on the back of the collar.
Press and hold the power button on the collar while it is still attached to the charger.
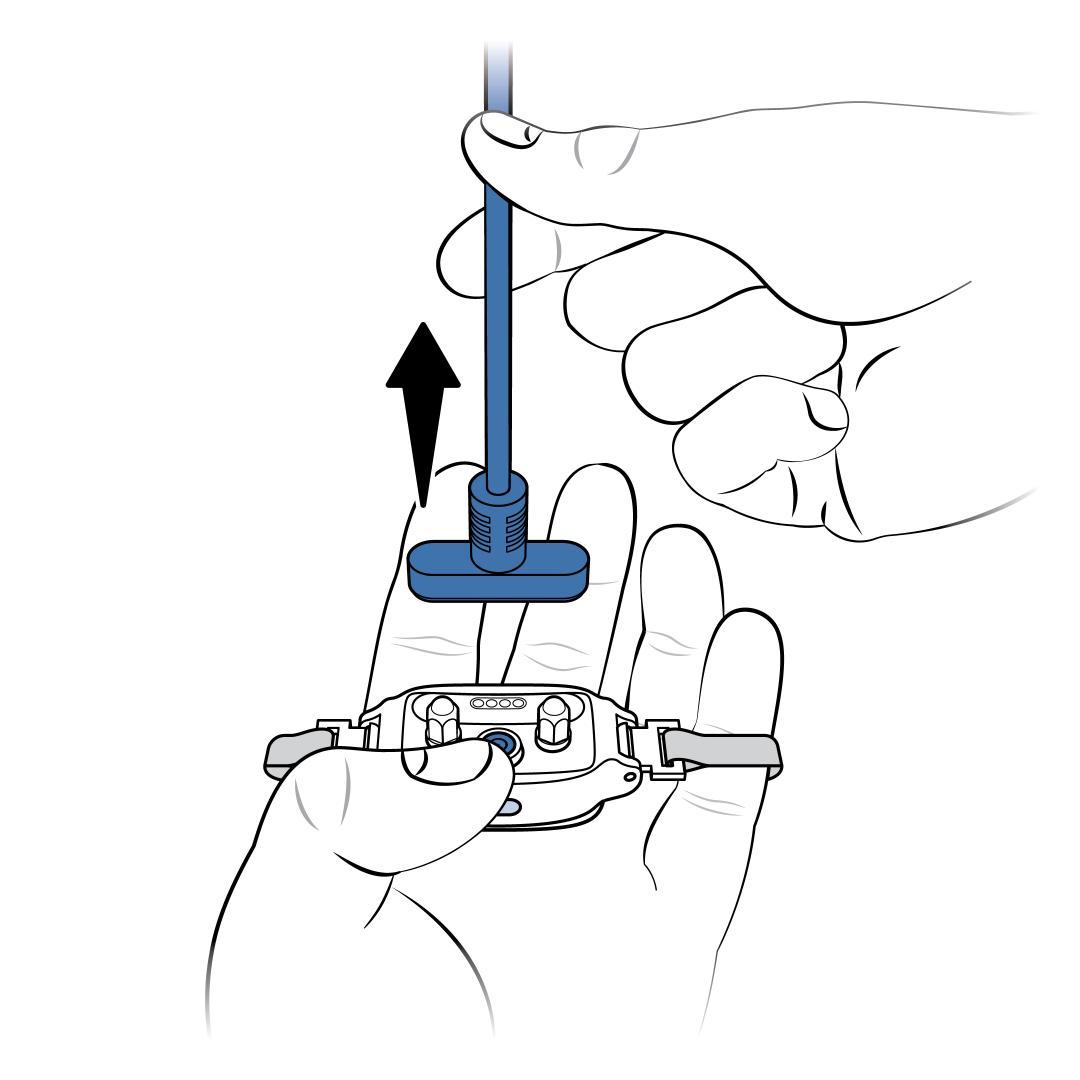
Remove the charger from the collar while you are still holding the power button.
Release the power button once you see the blue light on the collar. Keep your fingers away from the Contact Points.
When you release the power button, wait 2 seconds for the collar to enter test mode.
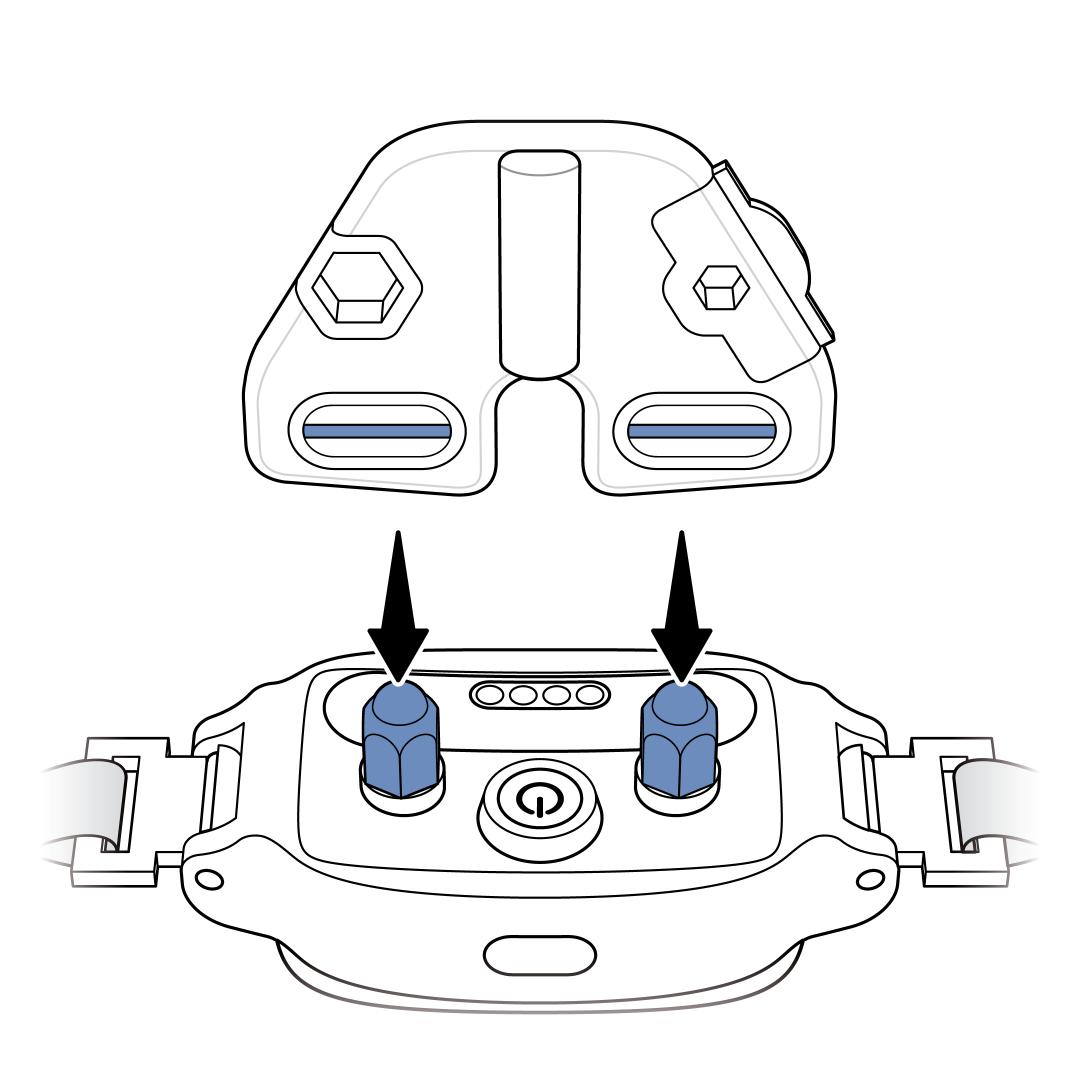
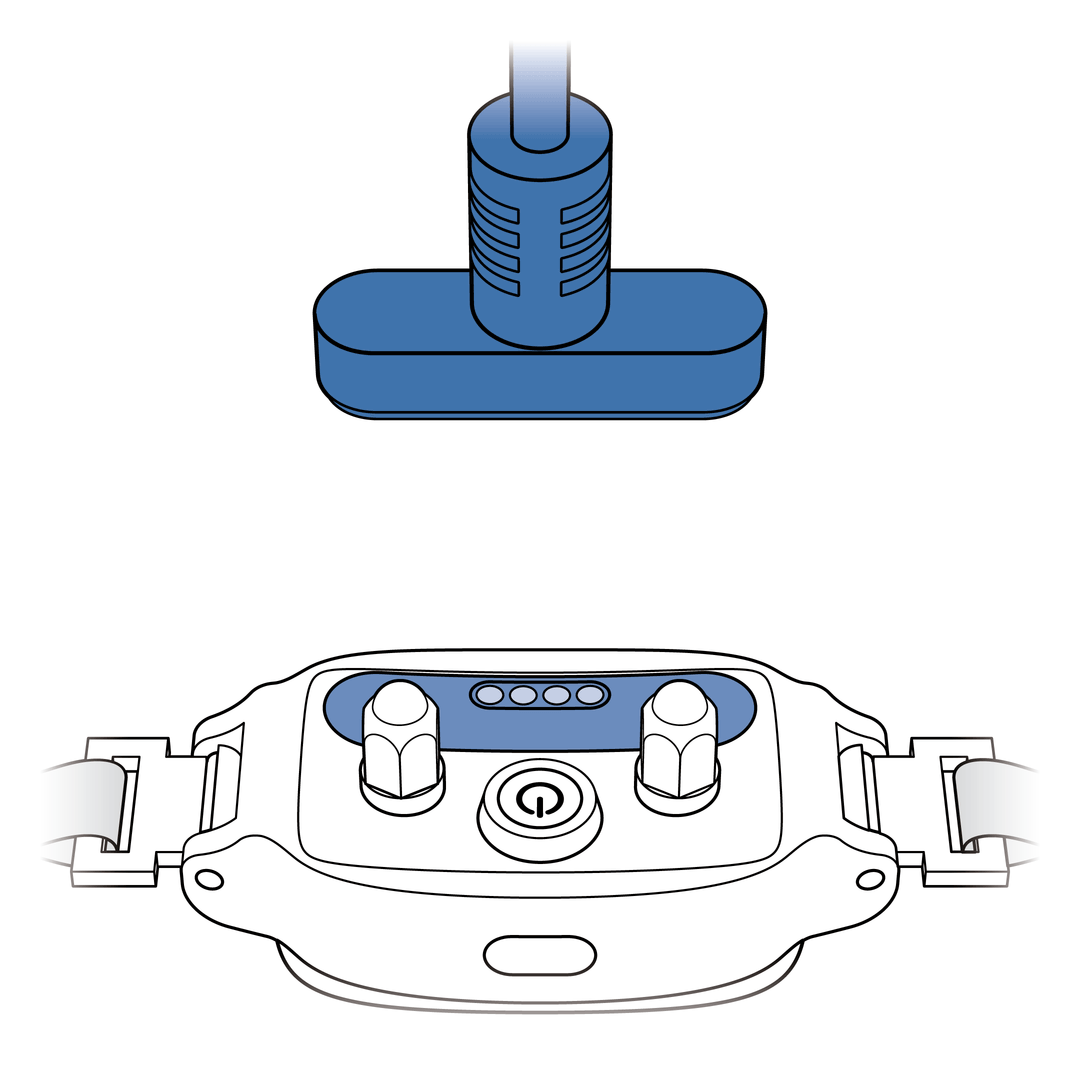
Place the wires of the Test Light Tool on the Contact Points.
The blue light on the collar will stay lit. The collar will cycle through each level of correction while in test mode. It signals the correction level with the number of beeps, then corrects.
Example: Level 1 will beep once. Then you will see an amber light in the middle of the Test Light Tool to indicate correction. Level 2 will beep twice. Again, you will see an amber light in the middle of the Test Light Tool to indicate correction.
Once the collar has cycled through all the levels, the bark collar will beep high to low and turn itself off. You can stop the test at any time by pressing the power button.
To continue regular use, power the collar on and fit it to your dog. For more information, visit How To Fit My PetSafe® NanoBark™ 2.0 Collar.