How To Test My PetSafe® Guardian® GPS 2.0 Dog Fence + Tracking Collar and Boundary
Always remove the collar from your pet before testing.
Open the My PetSafe® app and select GPS + Tracking under the products list.
Power the collar off.
To turn the collar off, press and hold the power button for 3 seconds until the collar beeps from high to low, and the Battery Status LED glows red. This LED will remain red until the collar disconnects from LTE and turns off. This can take up to 2 minutes.
Take the collar outside and clear of buildings, dwellings, and overhead coverage such as trees, but still within your boundary.
Power the collar on.
To turn the collar on, press and hold the power button located on the back of the collar until the collar beeps from low to high, and the Battery Status LED flashes green once to indicate the collar is turned on.
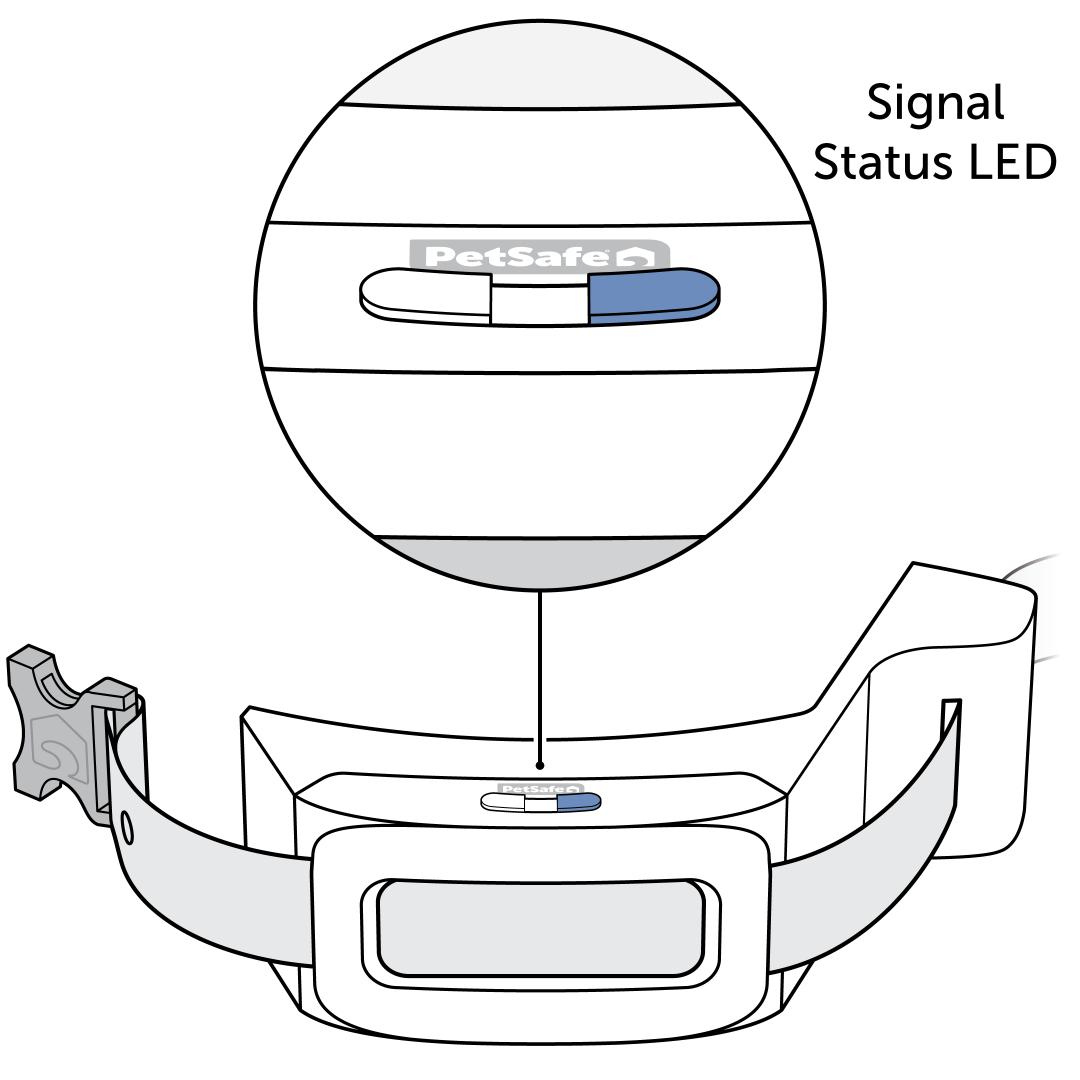
Verify that the collar is receiving GPS data. The Signal Status LED will slowly pulse green when searching for GPS and LTE and will turn off when the connection is made. If the collar is unable to connect, the Signal Status LED will slowly blink red.
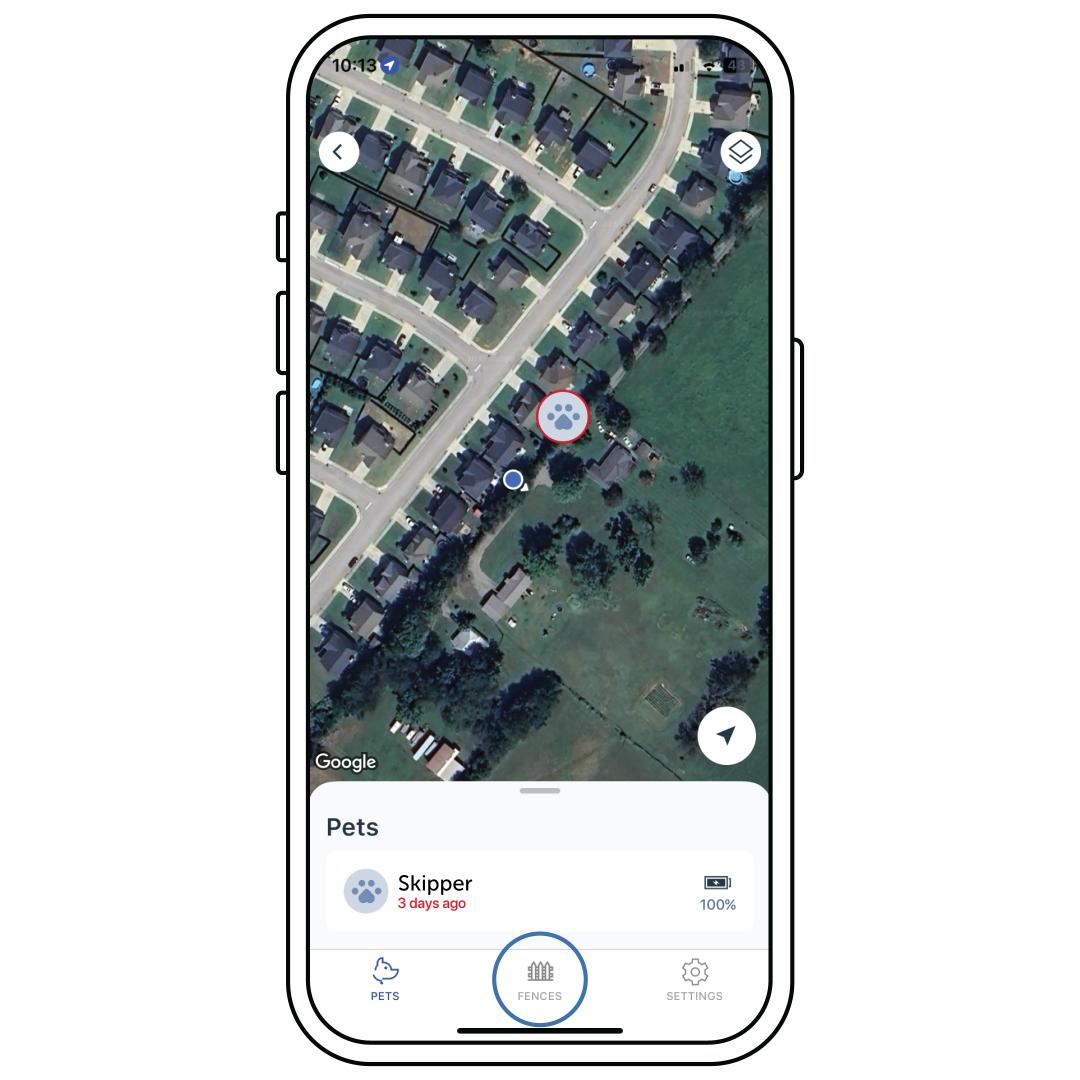
In the app, select Fences at the bottom of the screen and select the fence from the Fence List.
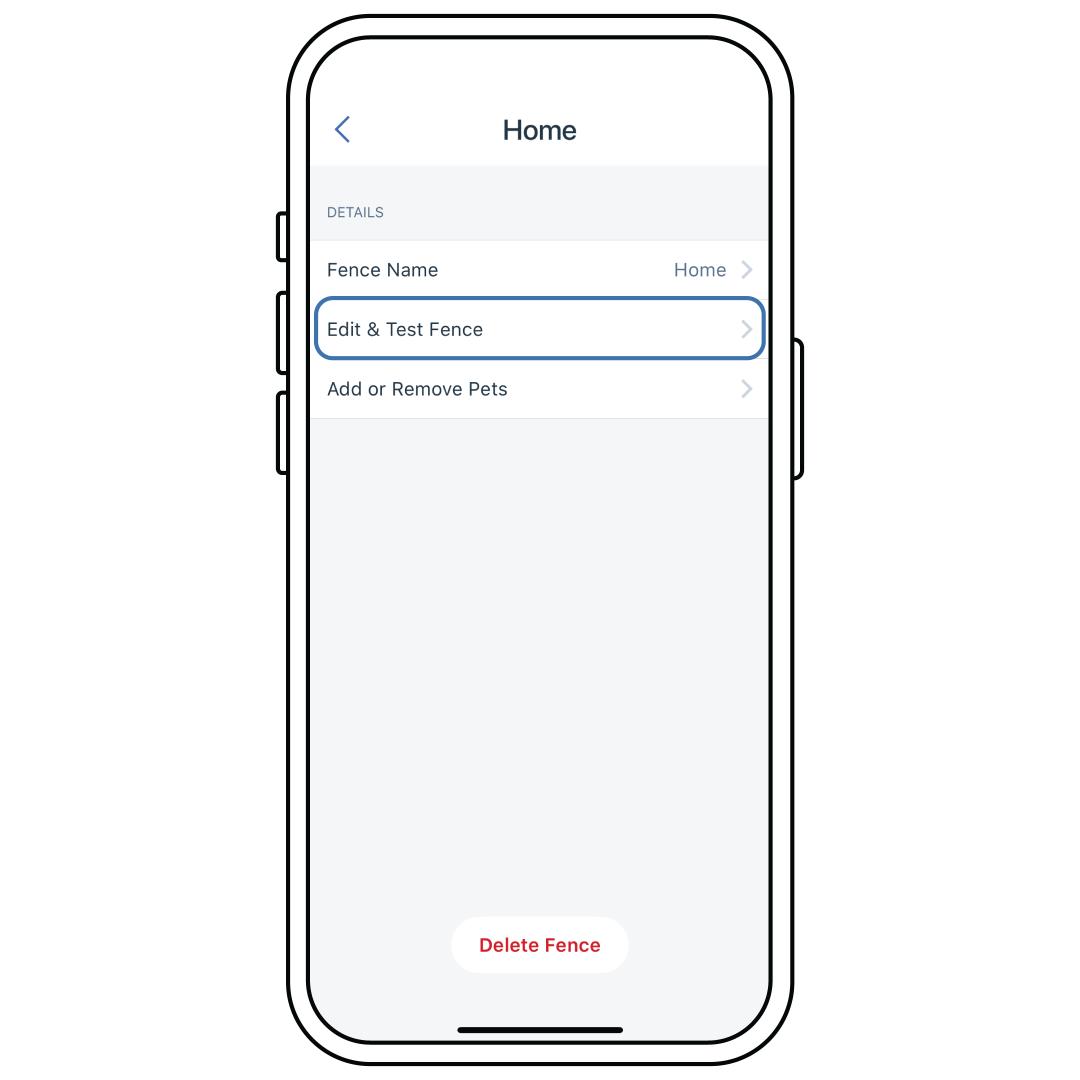
Select Edit & Test Fence.
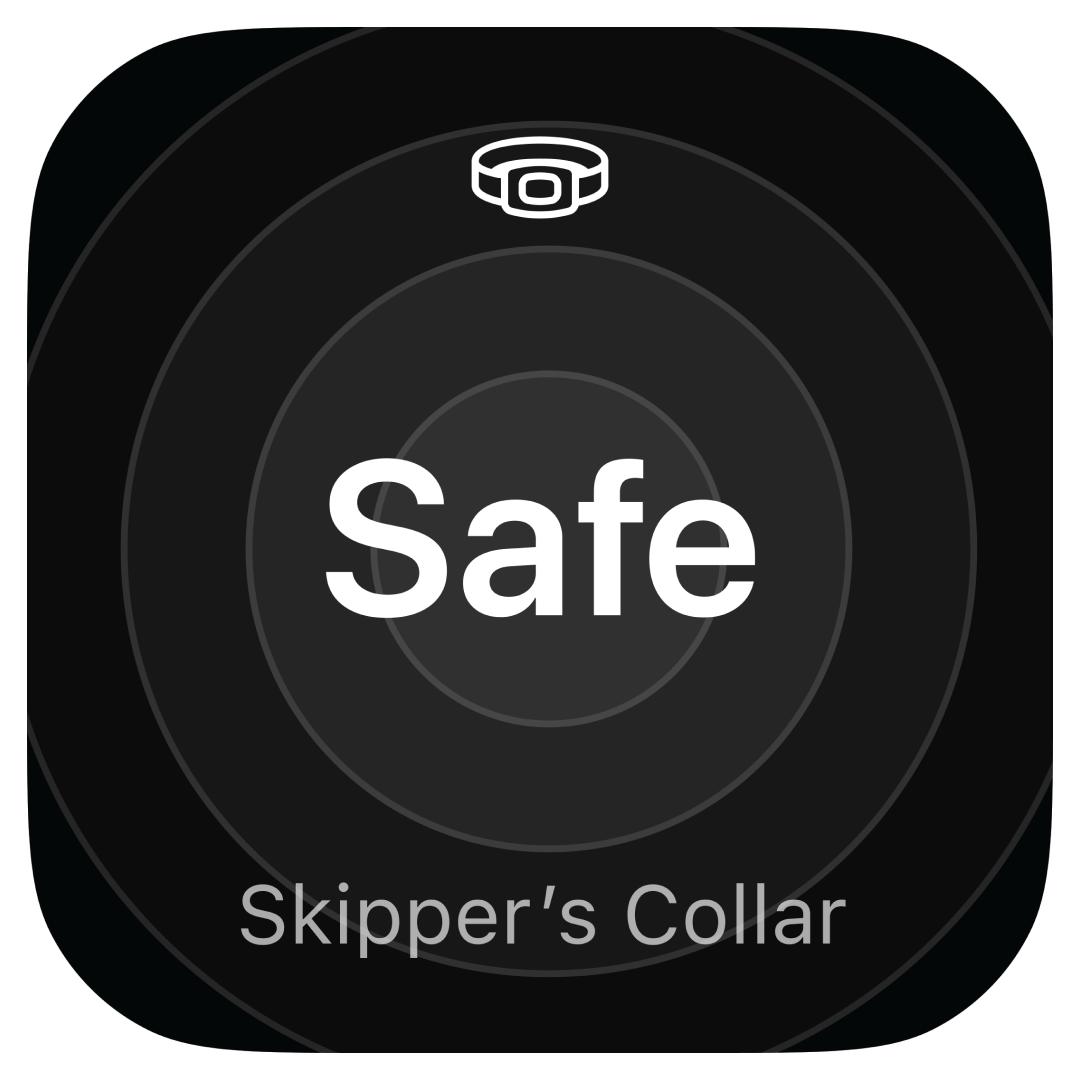
Ensure that the collar status widget states “Safe”. This icon indicates you are within the fence boundary with the collar.
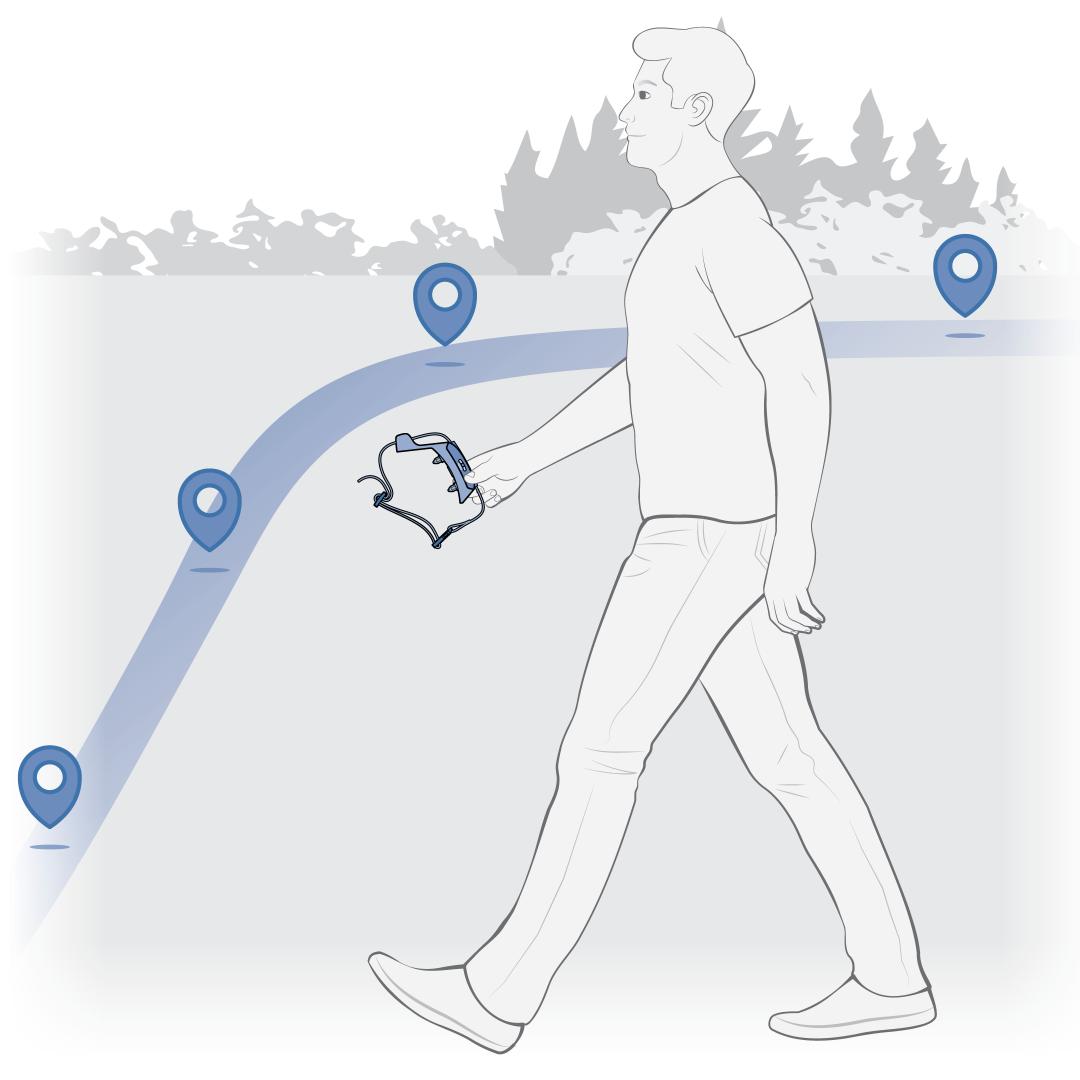
Walk toward the boundary at a brisk pace until you may hear the collar(s) beep. This indicates you have reached the warning zone.
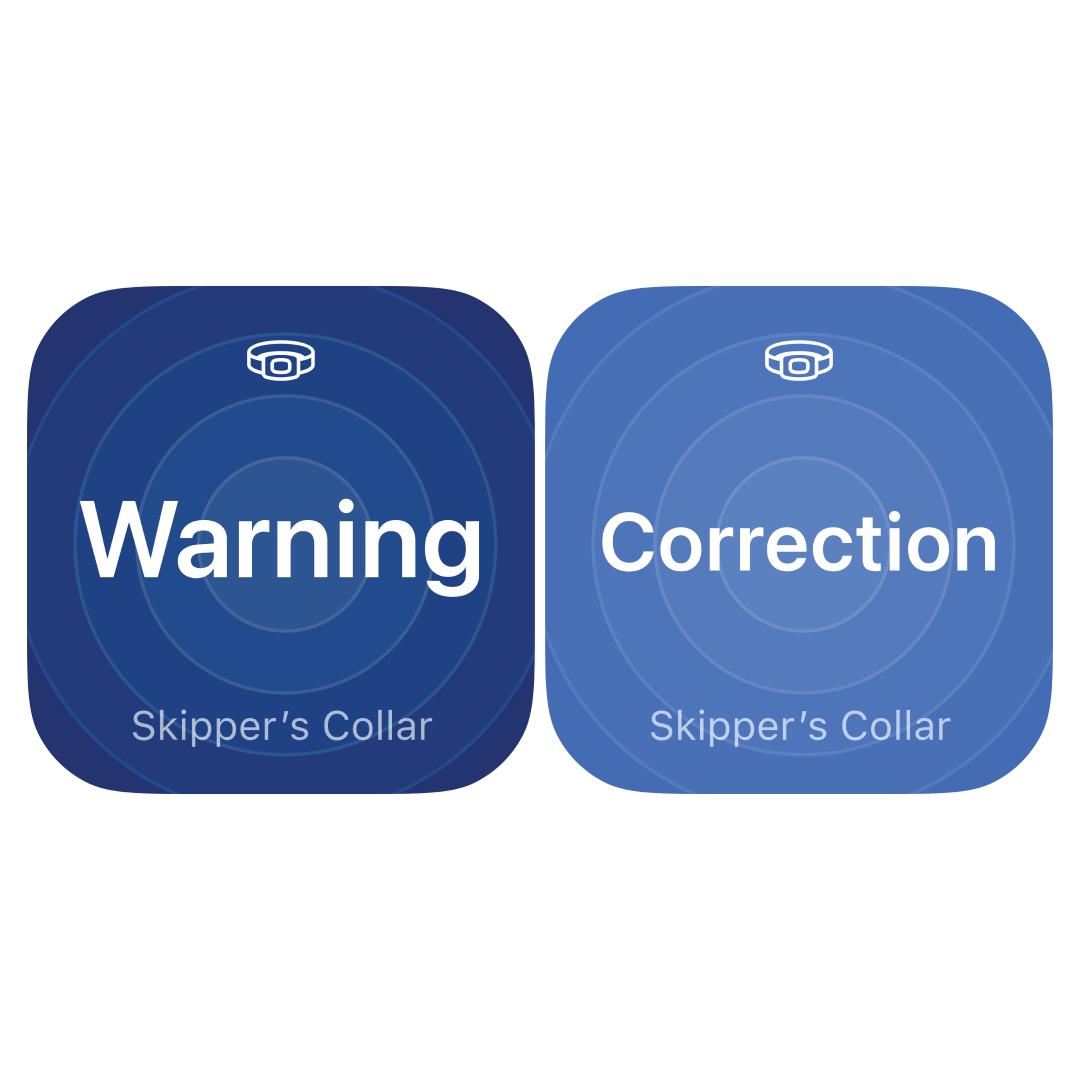
If the “Warning” or “Correction” widget icons are present, the collar is activating, and you may hear a beep. Edit the boundary if the collar does not activate in the desired area. Visit How To Edit a Fence on My PetSafe® Guardian® GPS 2.0 Dog Fence + Tracking System.
If you see any other collar status widgets, see our troubleshooting section at the end of this article.
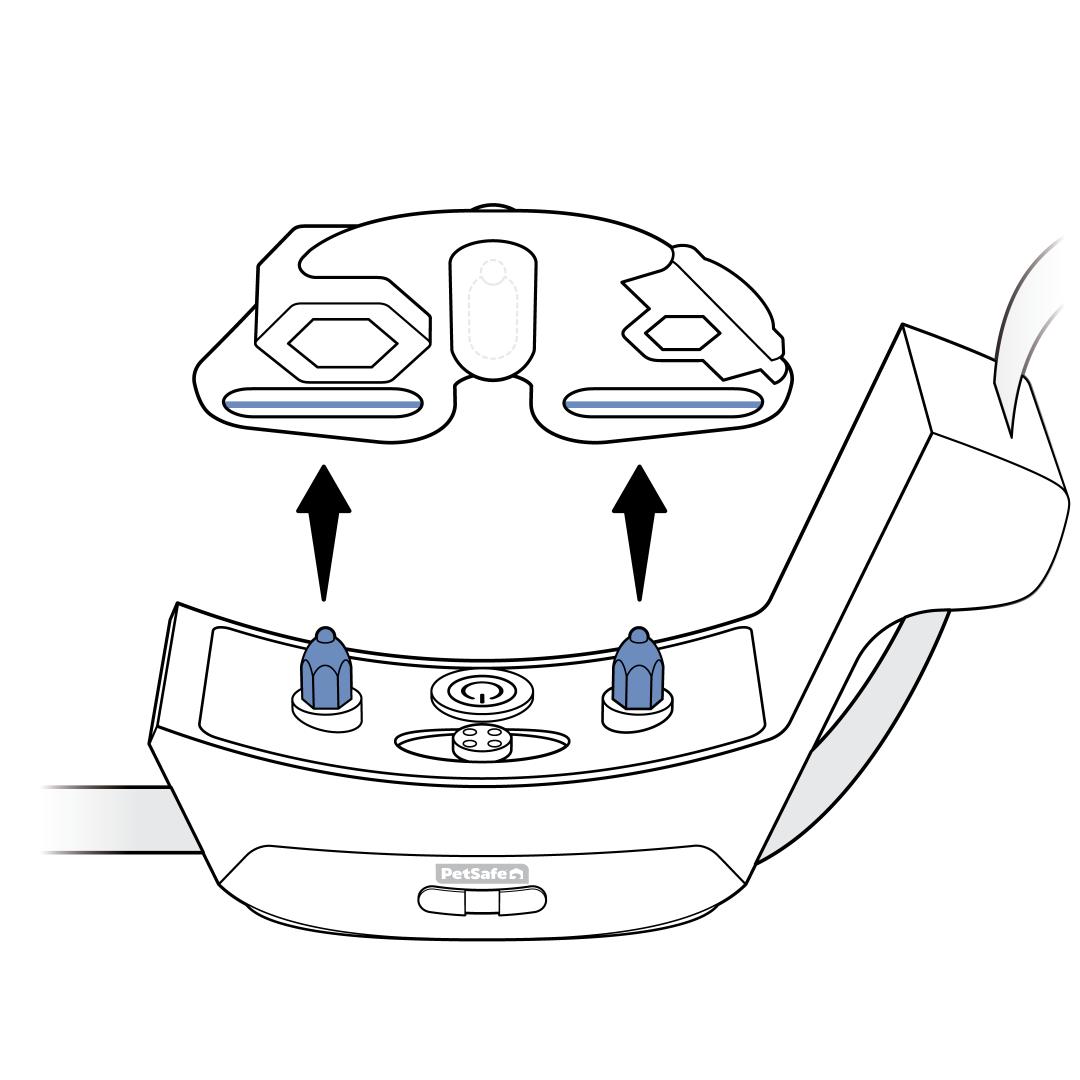
Use the provided Test Light Tool on your collar Contact Points and the collar set to the highest correction level to confirm it is providing static stimulation.
If you wish to feel the correction, we recommend turning the collar to a low level. Place both Contact Points in your palm and walk briskly toward the boundary. It is not uncommon to be unable to feel the lowest levels of correction. For assistance with changing the correction level, visit How To Change the Correction Levels on My PetSafe® Guardian® GPS 2.0 Dog Fence + Tracking Collar
Please note that if you do not have an active subscription, you will not be able to adjust your correction level. For more information, visit How To Set Up a Subscription for My PetSafe® Guardian® GPS 2.0 Dog Fence + Tracking Collars.
Troubleshooting
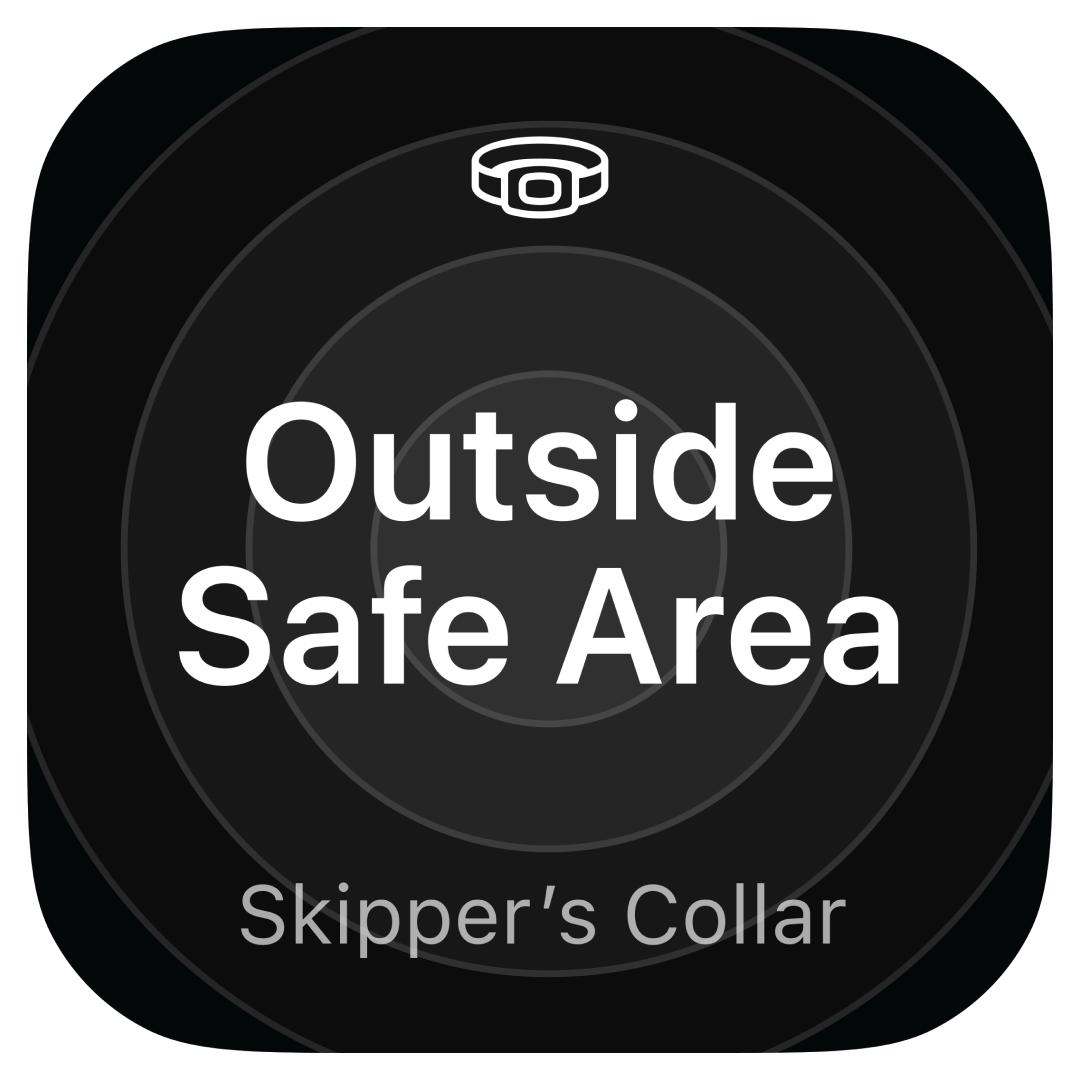
You are not within the boundary of your fence. To start testing, please move to the area where you created the fence. If the area you are in needs to be within the boundary, you will need to edit your fence. Visit How To Edit a Fence on My PetSafe® Guardian® GPS 2.0 Dog Fence + Tracking System.
Your collar has timed out for safety. Your collar will time out after 15 seconds of delivering a correction. You will need to move 15 feet back within the boundary for at least 30 seconds before testing again.
Make sure you are outside with a clear view of the sky and not under a roof, in a vehicle, or in a heavily wooded area. The antenna needs to be facing toward the sky. Make sure you are walking around, as movement helps connect the collar. Please note that it can take up to 30 seconds to establish a connection. It will take longer if the battery is low. Visit How To Plug My PetSafe® Guardian® GPS 2.0 Dog Fence + Tracking Charging Base in and Charge the Collar.
Bring your collar closer to your phone. If the collar still does not connect, make sure the Bluetooth on your phone hasn’t been turned off.