How To Test My PetSafe® GPS Customizable Dog Fence for Correction
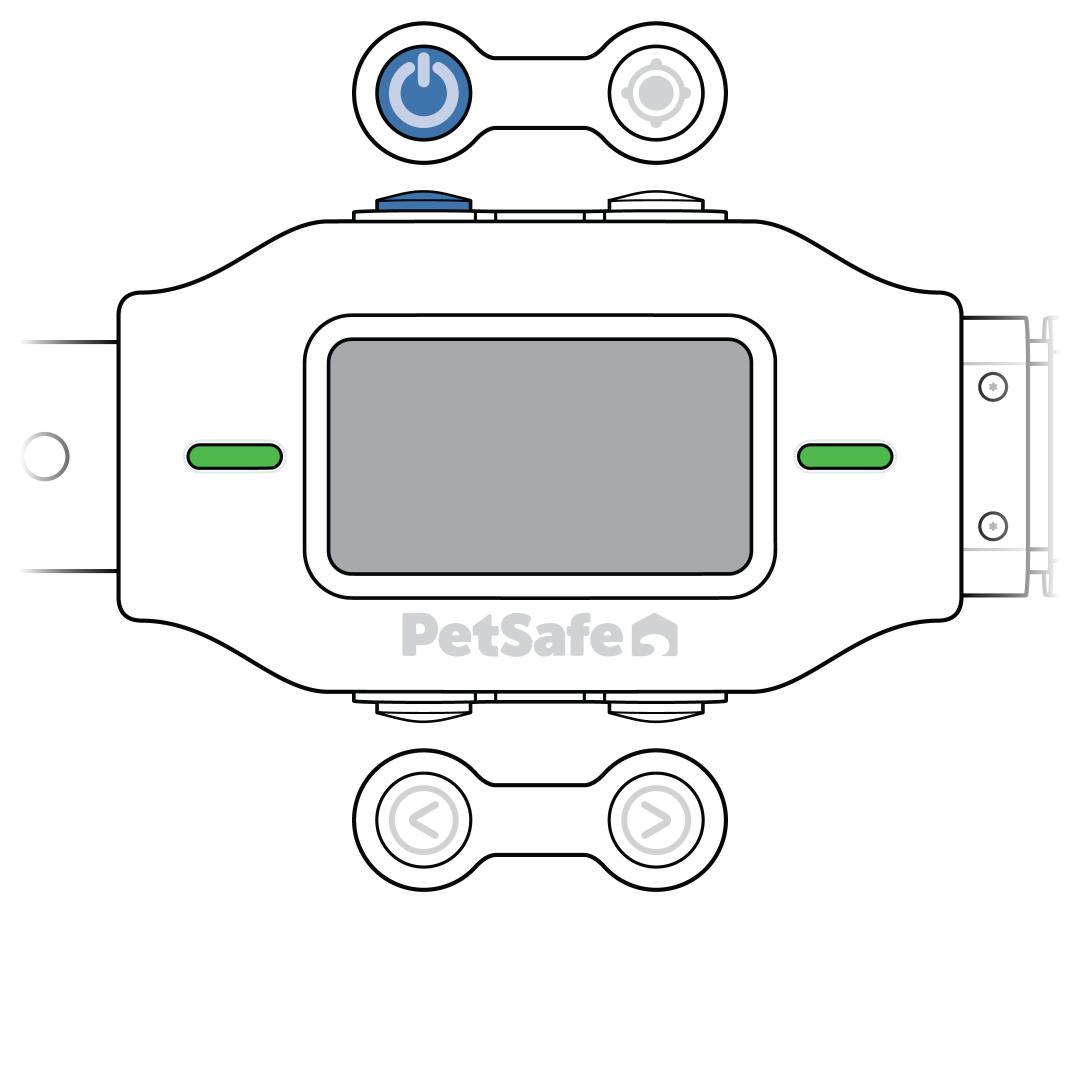
Take the collar outside to the boundary area. Press and release the power button to power the collar on. The collar tones, vibrates once and flashes green to confirm power. Allow the collar to acquire a GPS signal.
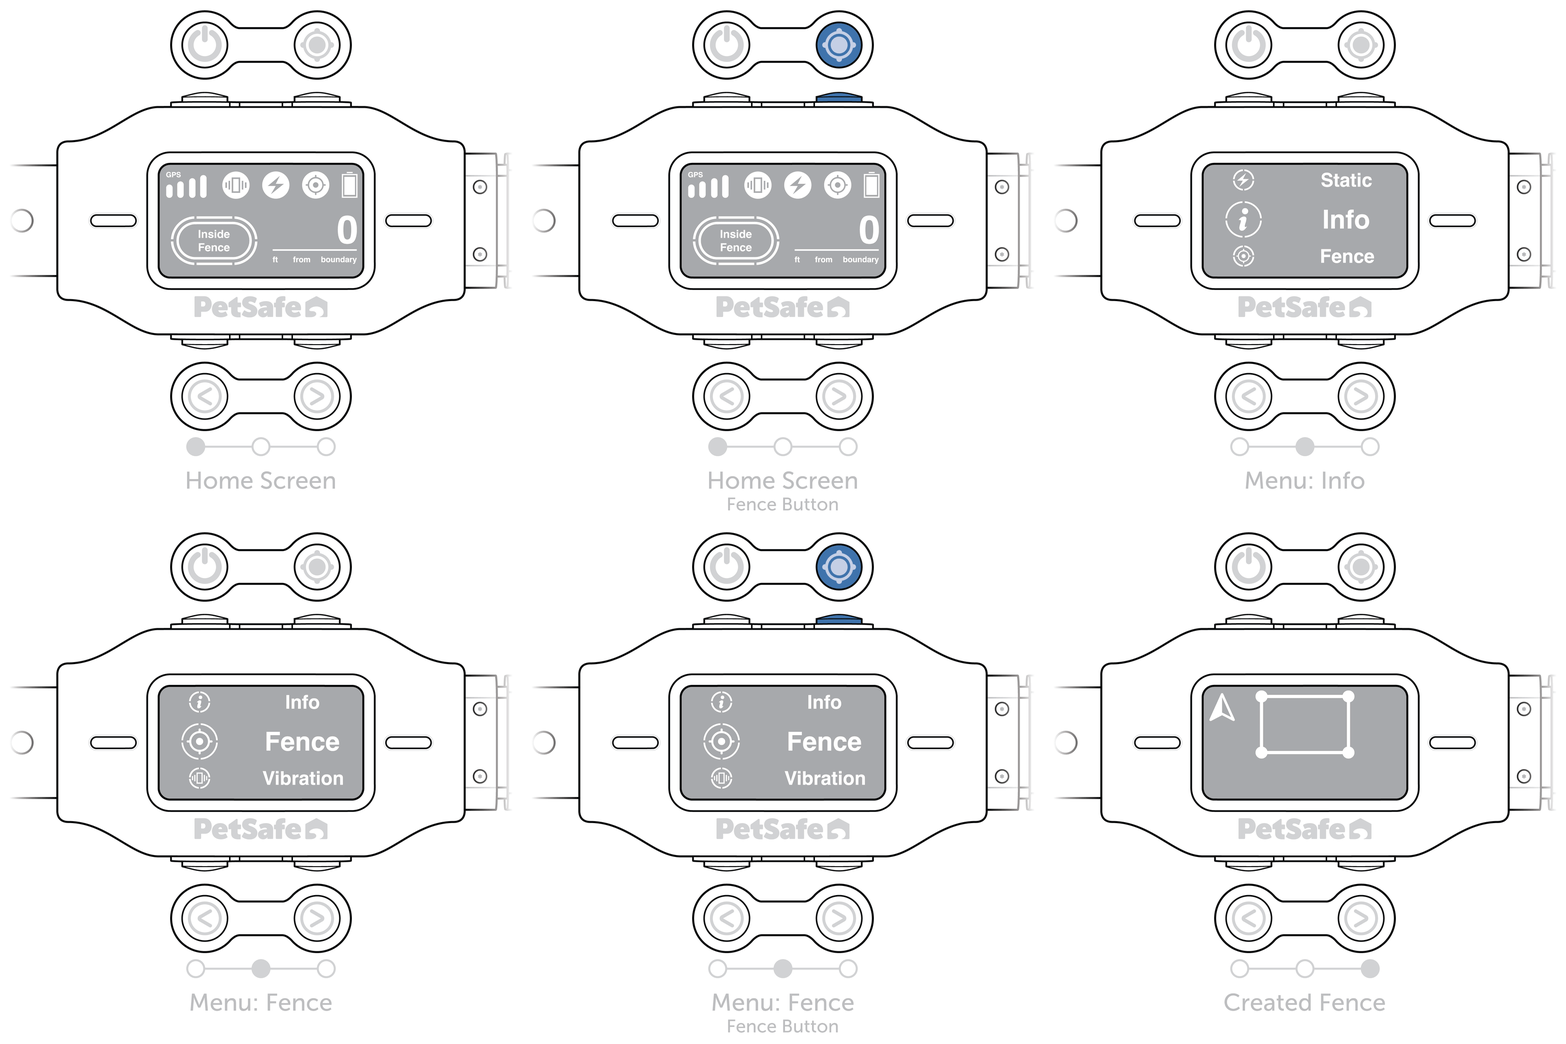
Verify a fence is set up on the collar.
- Press and hold the fence button for 2 seconds until the settings screen appears.
- Use the navigation buttons to navigate to Fence.
- Press and release the fence button to select Fence. You should see your created fence boundary.
- If there is no fence created yet, visit How To Create or Reset a Fence For My PetSafe® GPS Customizable Dog Fence.
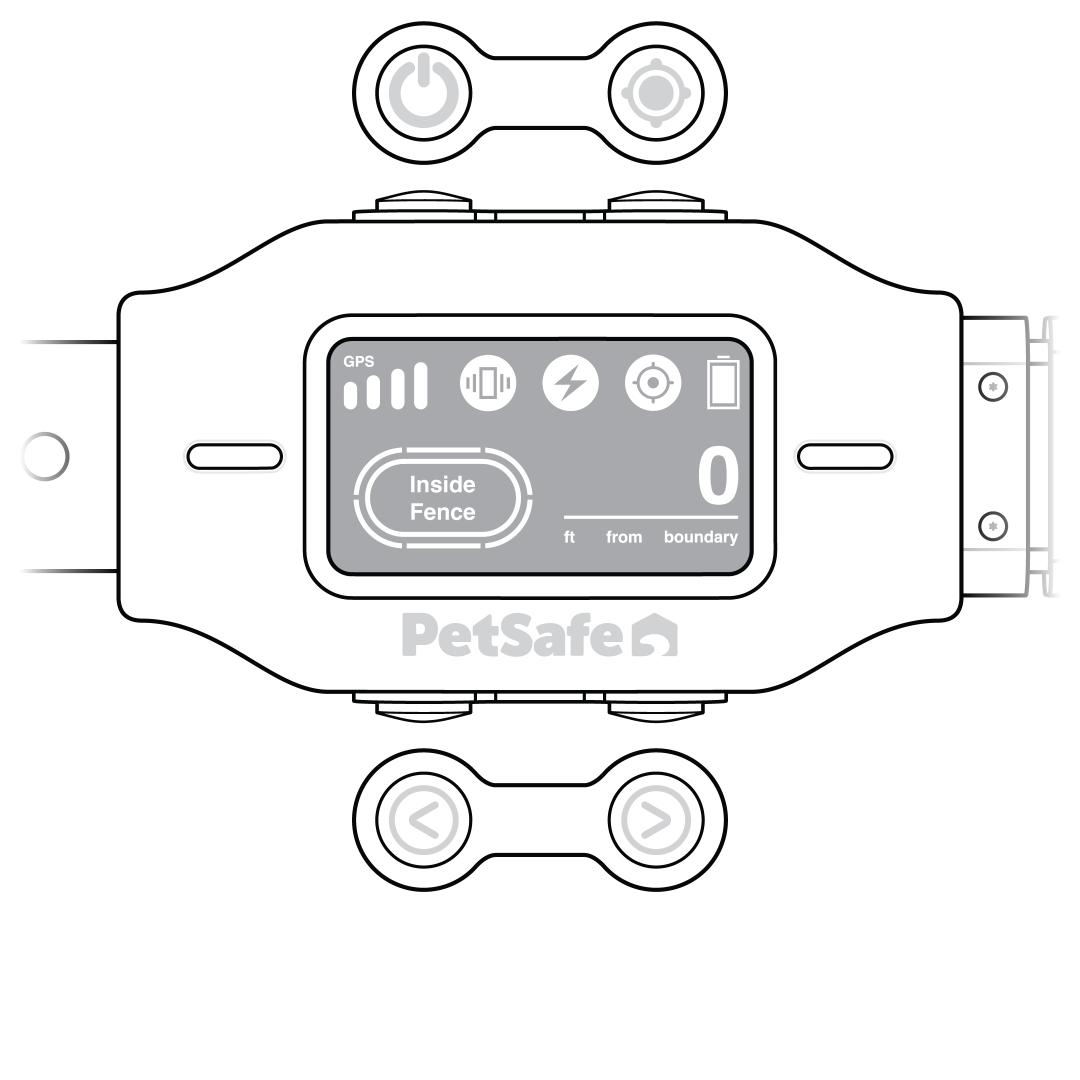
Confirm the home screen displays “Inside Fence”.
- If it says “Near Fence” or “Outside Fence”, you must walk into the safe area to test.
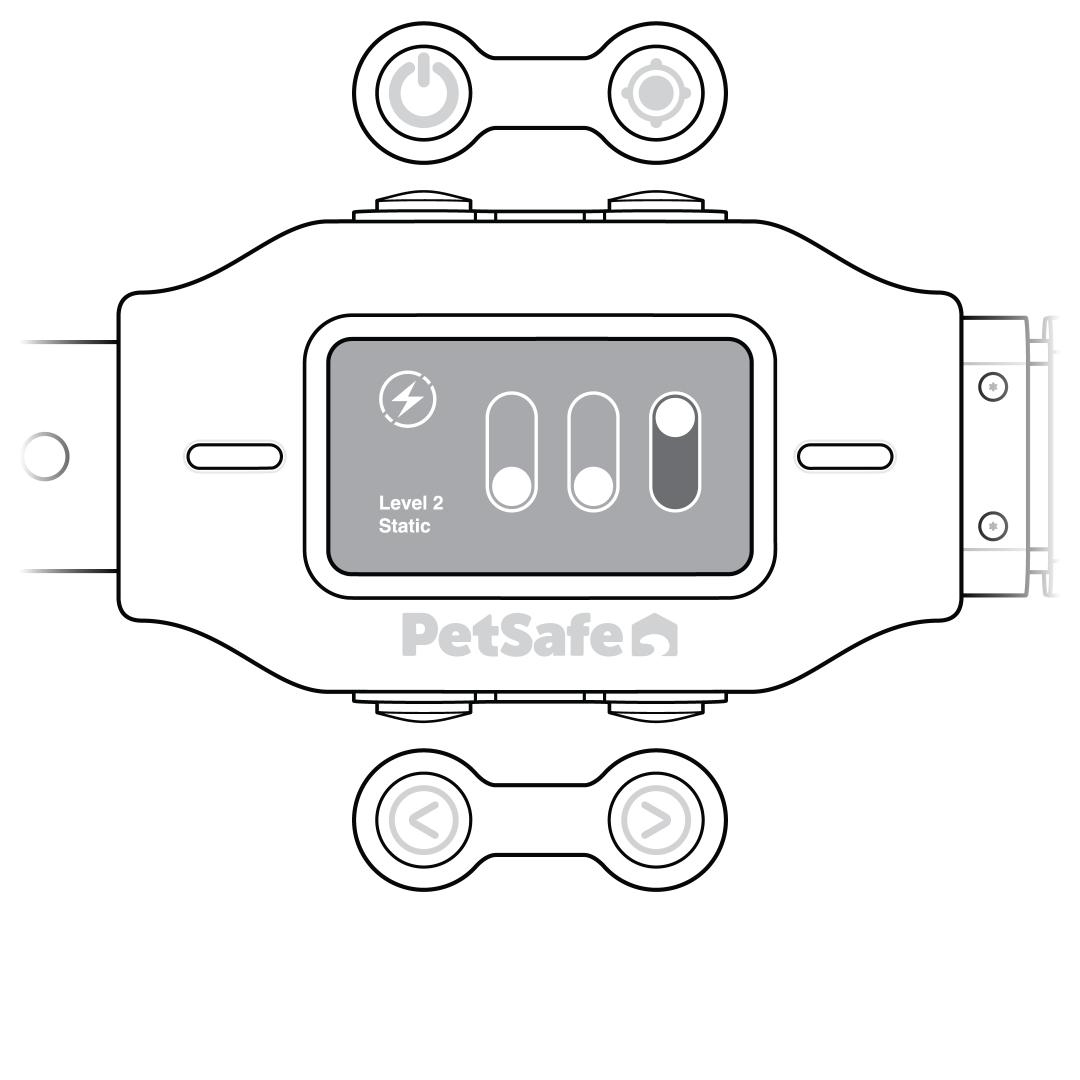
Verify the correction level setting.
- Tone Only
- Vibration (0, 1, or 2)
- Static (0, 1, or 2)
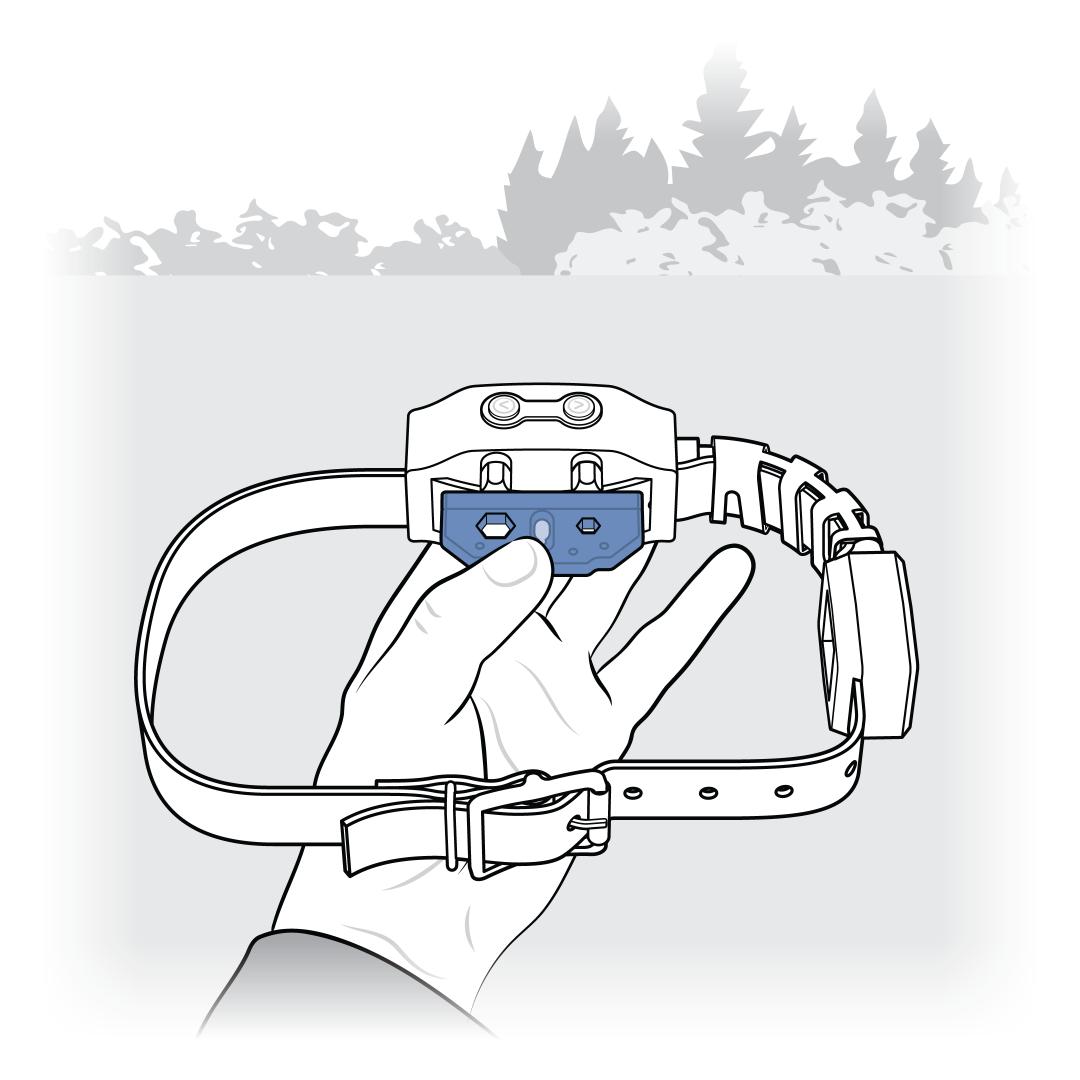
Slowly walk toward the boundary in several different areas while holding the collar at waist height.
- Tone Only - Listen for the tone on the collar when crossing the boundary.
- Vibration - Feel for the vibration when crossing the boundary.
- Static - Hold the Test Light Tool to the Contact Points on the collar. Watch for the amber light in the center of the Test Light Tool when crossing the boundary.
- If you are using Static, set it to the highest level to ensure the light is bright enough to see. The test light can be hard to see in bright daylight. Cup your hands around the tool to make the light easier to see.
- For more information, visit How To Change the Correction Level on My PetSafe® GPS Customizable Dog Fence.