How To Set Up My PetSafe® Pawz Away® 2.0 Indoor Wireless Pet Barrier
Important Information
- Choose an appropriate location for your Pawz Away® 2.0 Indoor Wireless Pet Barrier. Keep in mind that the barrier:
- Should not be placed on a metal wall or surface or near metal objects such as refrigerators, washers, etc. The signal will travel through walls. If the indoor base puck is near or mounted on a wall, you will need to take into consideration any metal on the opposite side of the wall.
- Should not be outdoors, as it is not waterproof or weatherproof.
Mounting the Indoor Base Puck
The indoor base puck base can either be placed flat or mounted vertically. If you choose to hang it, note that the signal becomes very directional, becoming the strongest directly in front of and behind the unit. The signal is weakest to the side of the unit.
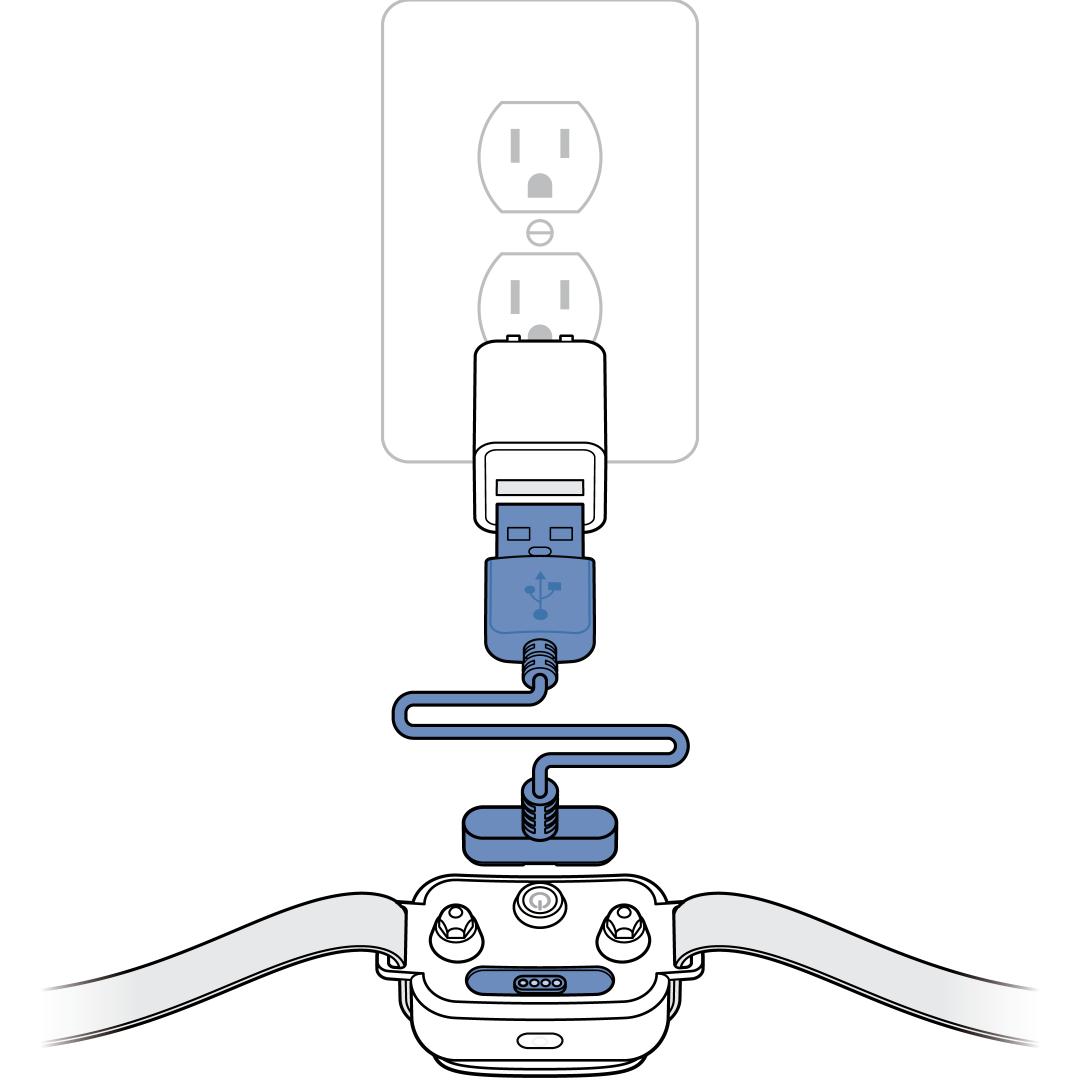
Charge the collar. Align the magnets on the end of the charger with the metal contacts on the back of the Pawz Away® 2.0 Collar. Connect the charging cord to a USB wall adaptor and plug into an outlet. When charging is complete, the collar light is solid green. For more information, visit How To Charge My PetSafe® Pawz Away® 2.0 Collar.
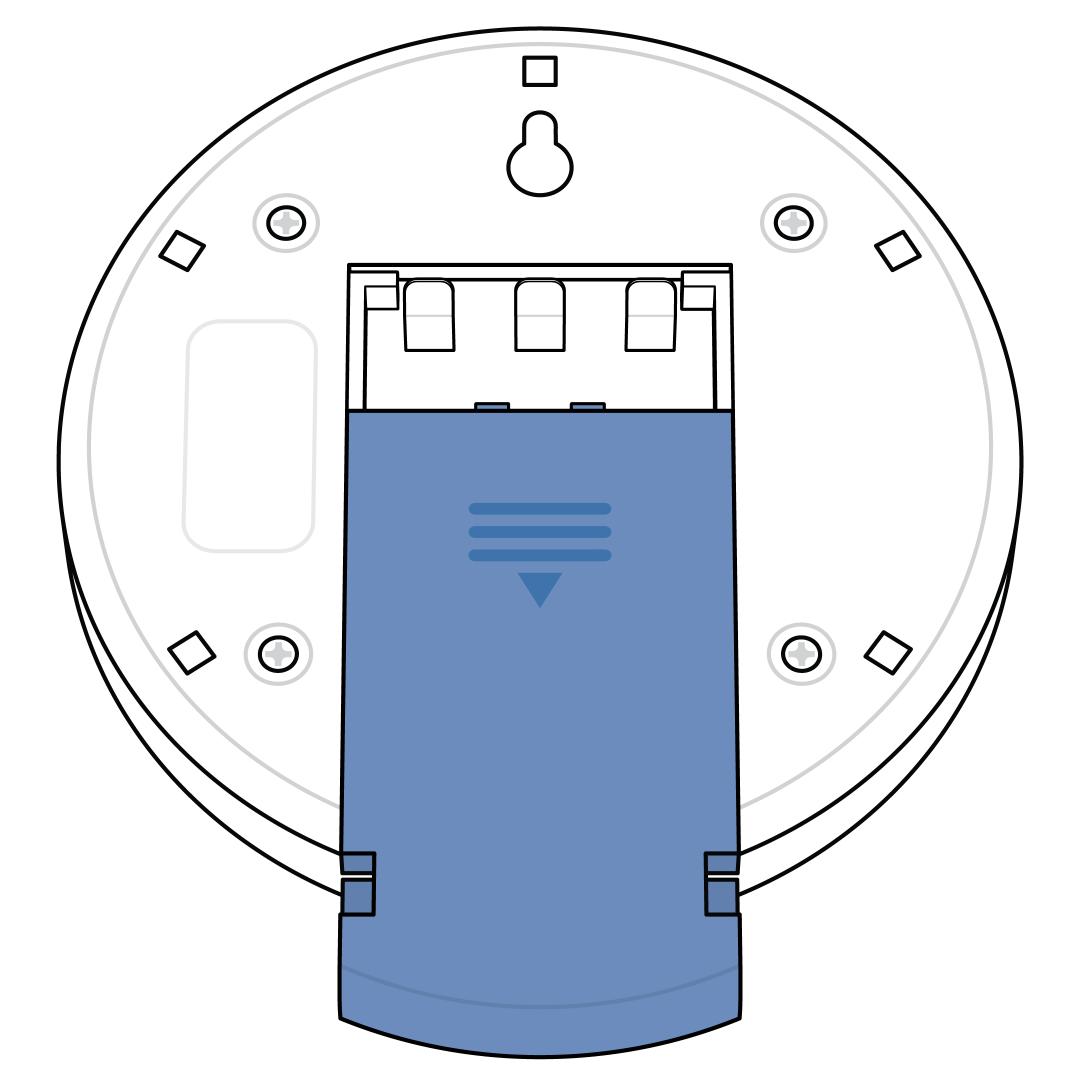
Remove the battery cover on the back of the indoor base puck.
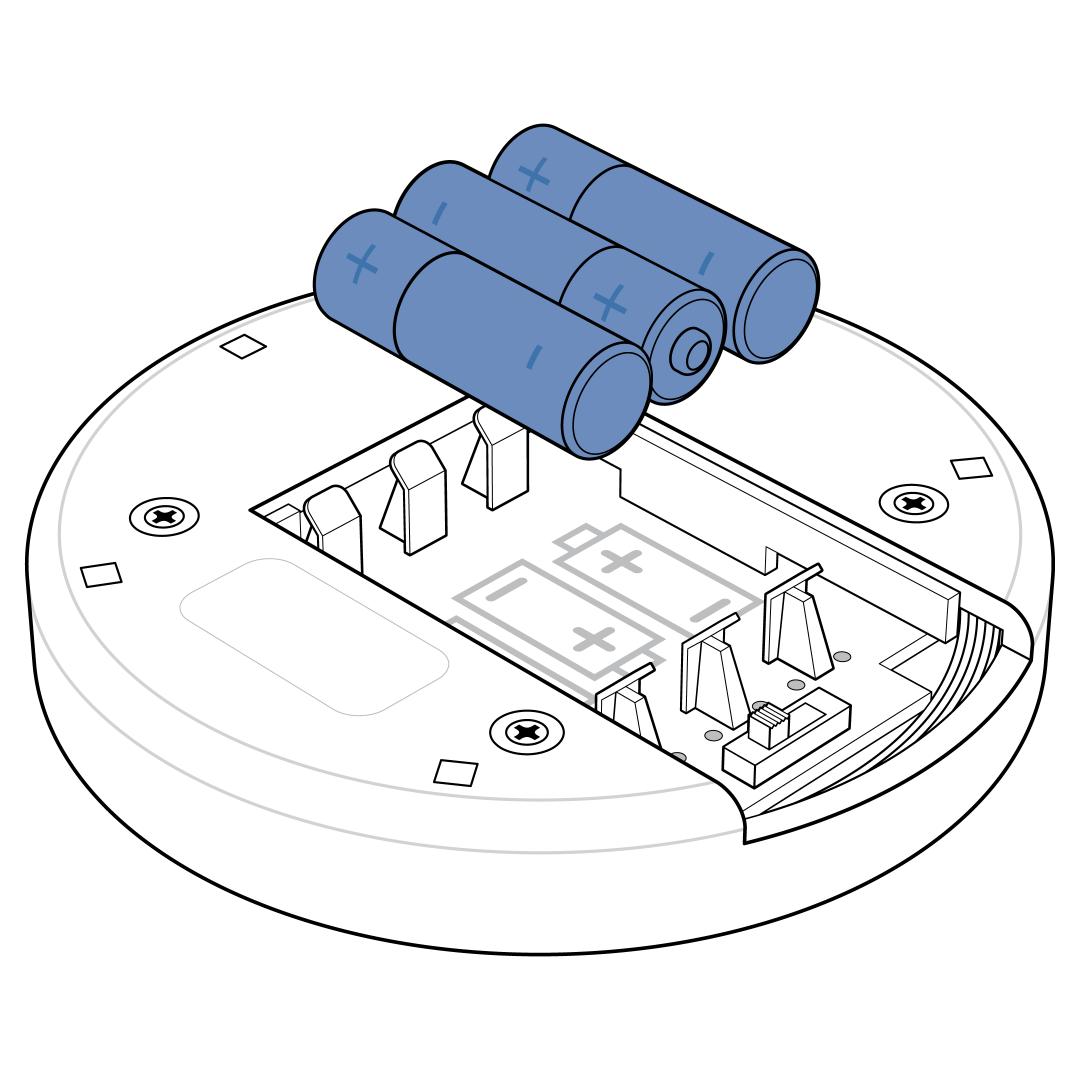
Install 3 AA alkaline batteries. Do not use lithium or rechargeable batteries.
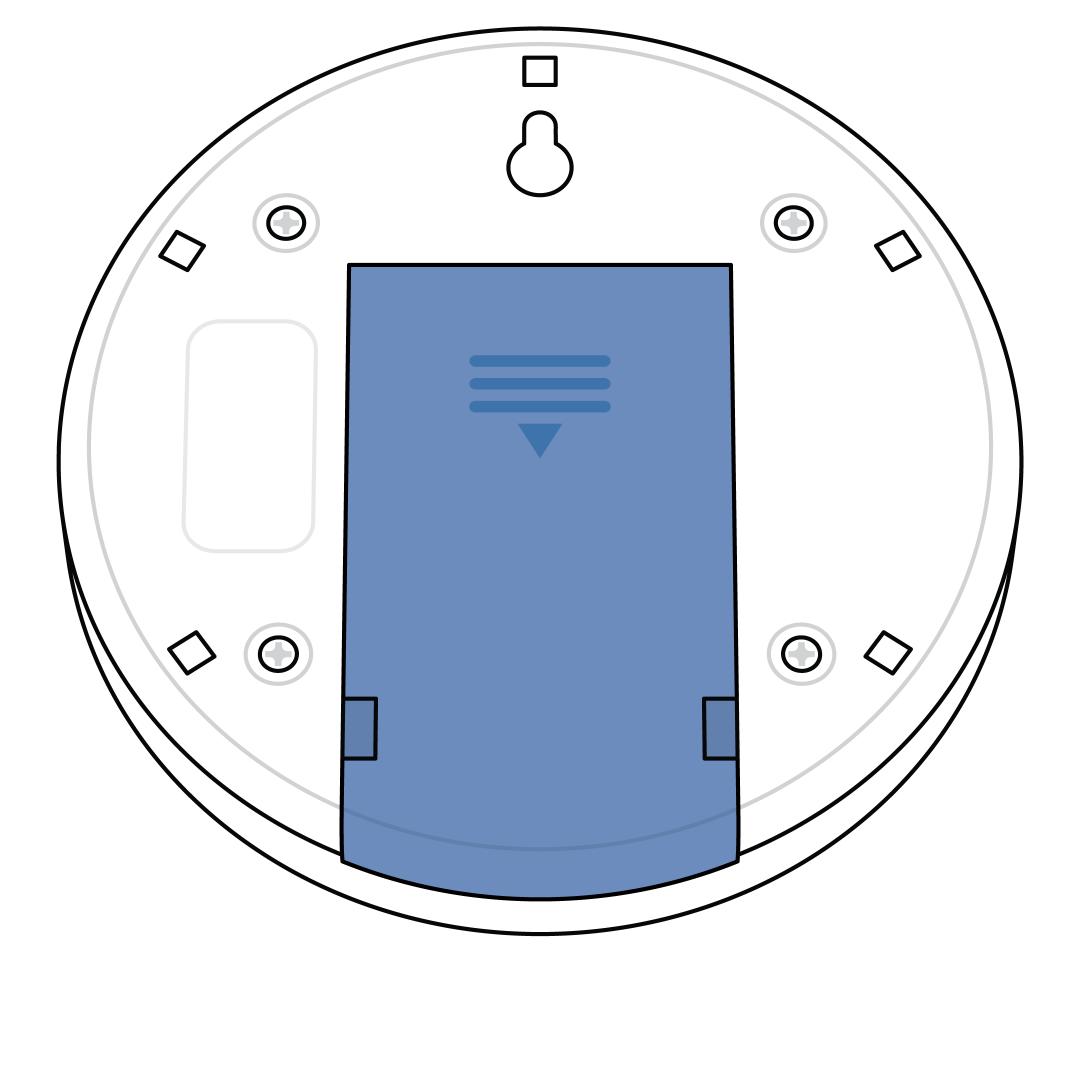
Replace the battery cover on the back of the indoor base puck.
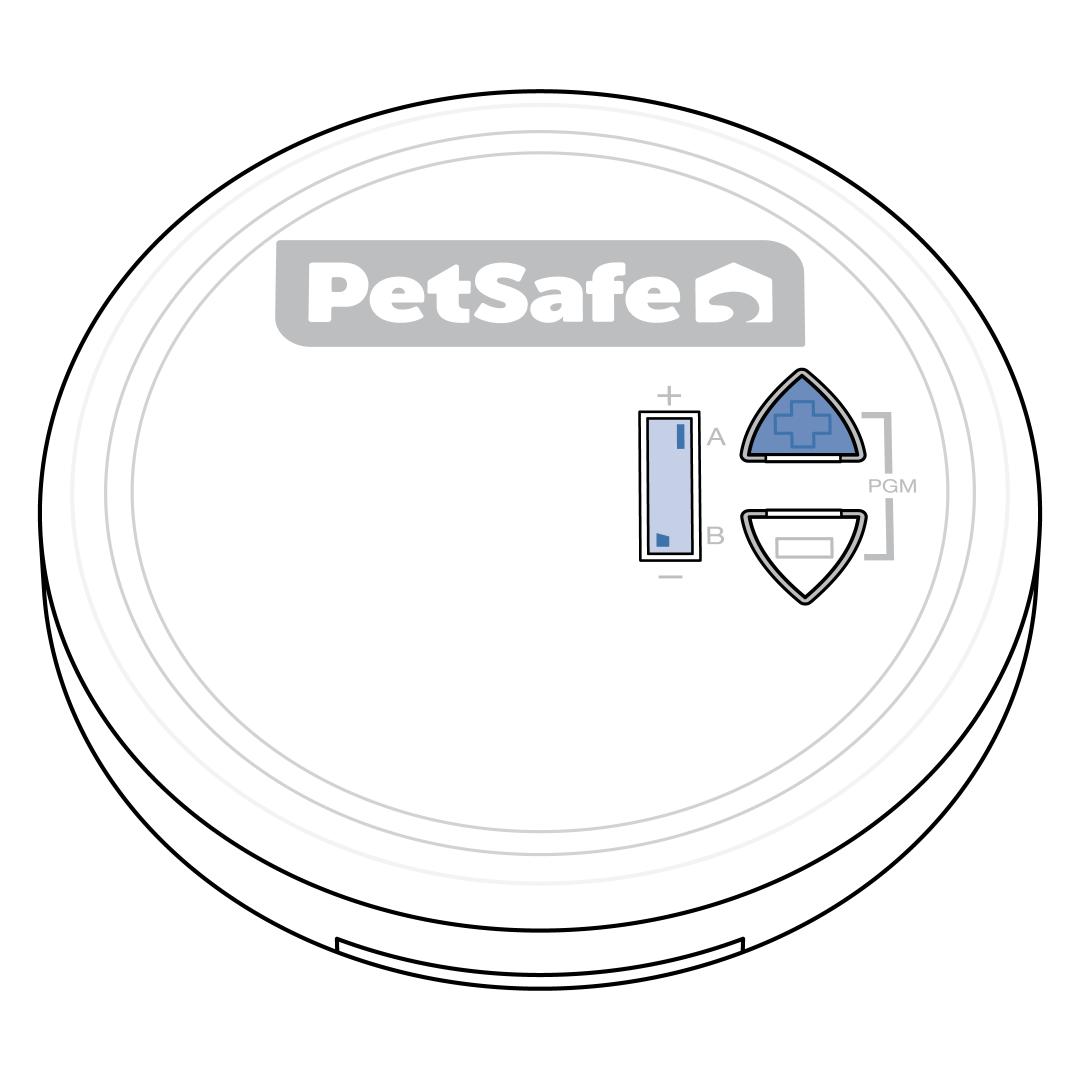
Press the up (+) button on the front of the indoor base puck to turn the it on. The screen will display one range bar.
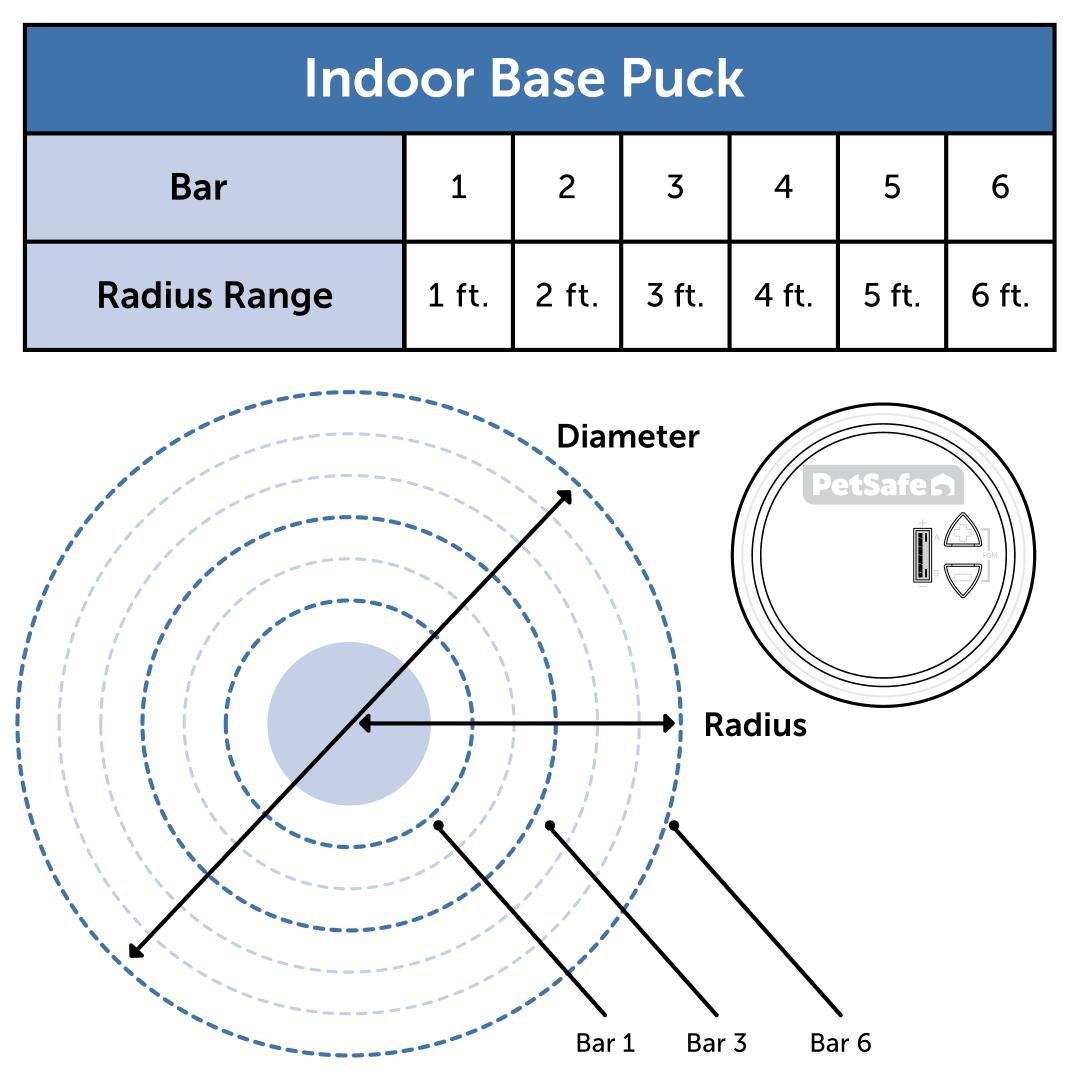
Adjust the signal range on the indoor base puck using the up (+) and down (-) buttons.
The range bars at the bottom left of the screen will increase or decrease.
Each bar adds approximately 2 feet (0.6m) to the total width of the signal area.
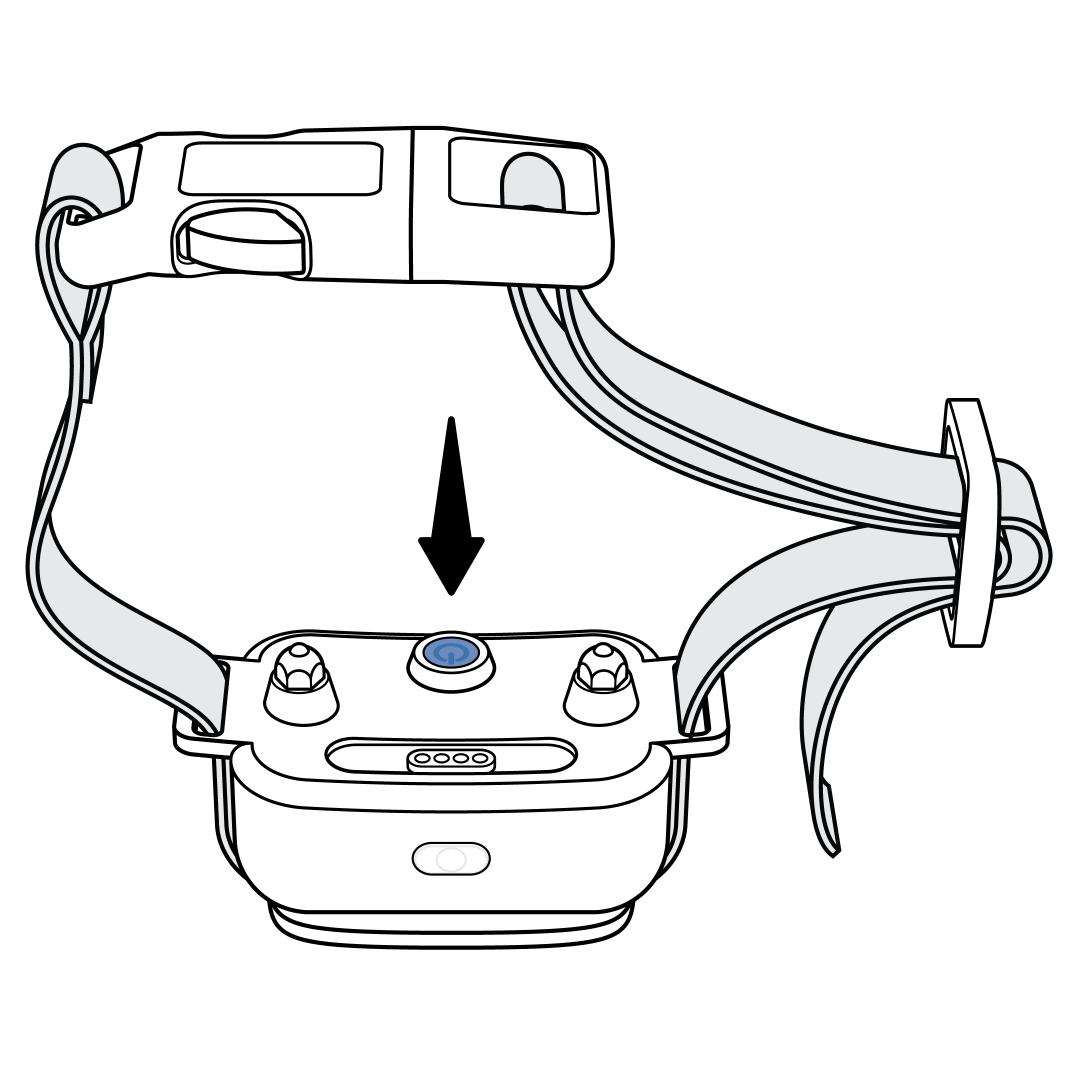
Power the collar on. To power it on, press the power button for 1 second until the light is green, then release. The collar will tone and the light will remain solid green for 5 seconds. Then the light will indicate the battery status by blinking either a green or red light once every 5 seconds.
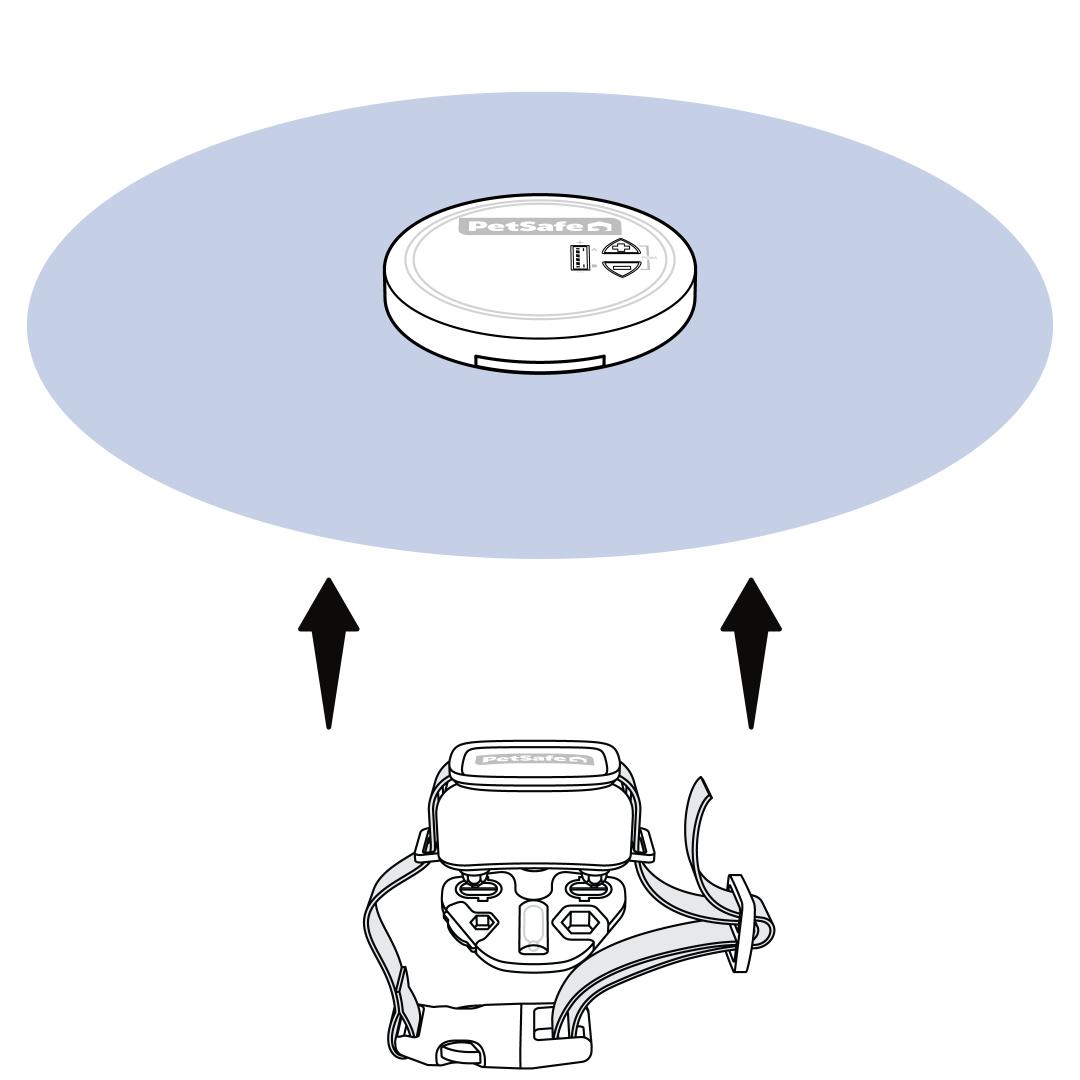
Test the collar by placing the Contact Points on the contacts of the Test Light Tool and approaching the indoor base puck. Be sure to hold it at the height of your dog's neck.
As the collar approaches the off-limits zone, the collar will sound a warning tone. Once the collar enters the zone, it will tone, vibrate and deliver static correction, indicated by an amber flash at the center of the Test Light Tool.
The collar uses Variable Pulse™ technology which starts on the lowest static correction level and pulses in progressively increasing levels of correction strength to the maximum level as the collar stays in the area, up to 15 seconds. The Test Light Tool will increase in brightness as the correction level increases. If the collar times out after 15 seconds of continuous correction, you will need to leave the signal area to allow it to reset before testing again.
Begin training your dog to the indoor base puck. For more information, visit How To Train My Dog to the PetSafe® Pawz Away® 2.0 Indoor Wireless Pet Barrier.