How To Set Up My PetSafe® GPS Customizable Dog Fence
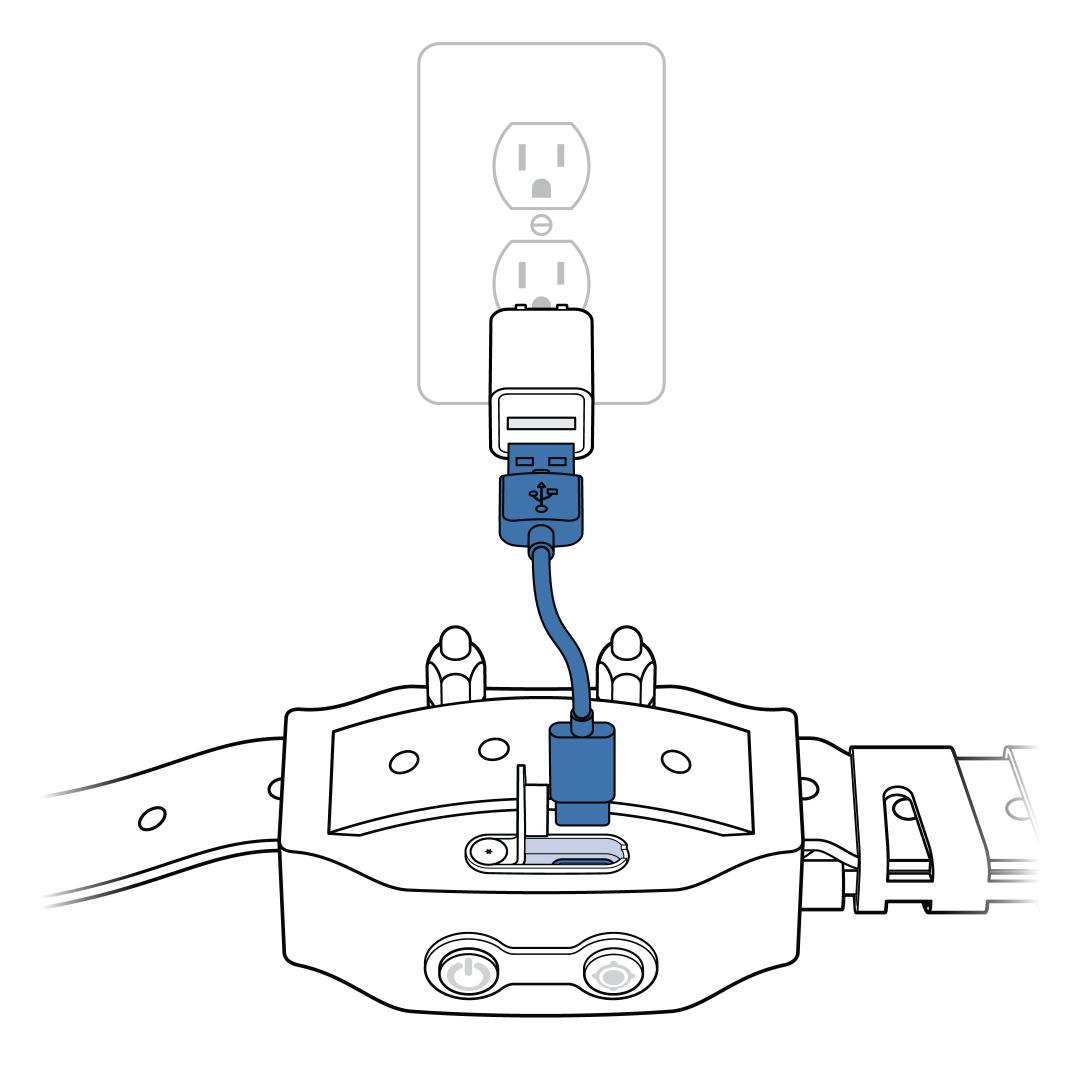
Charge the collar using the provided USB-C power cord and a 5V 1A power adaptor (not included).
- For more information on charging, visit How To Turn On, Turn Off and Charge My PetSafe® GPS Customizable Dog Fence.
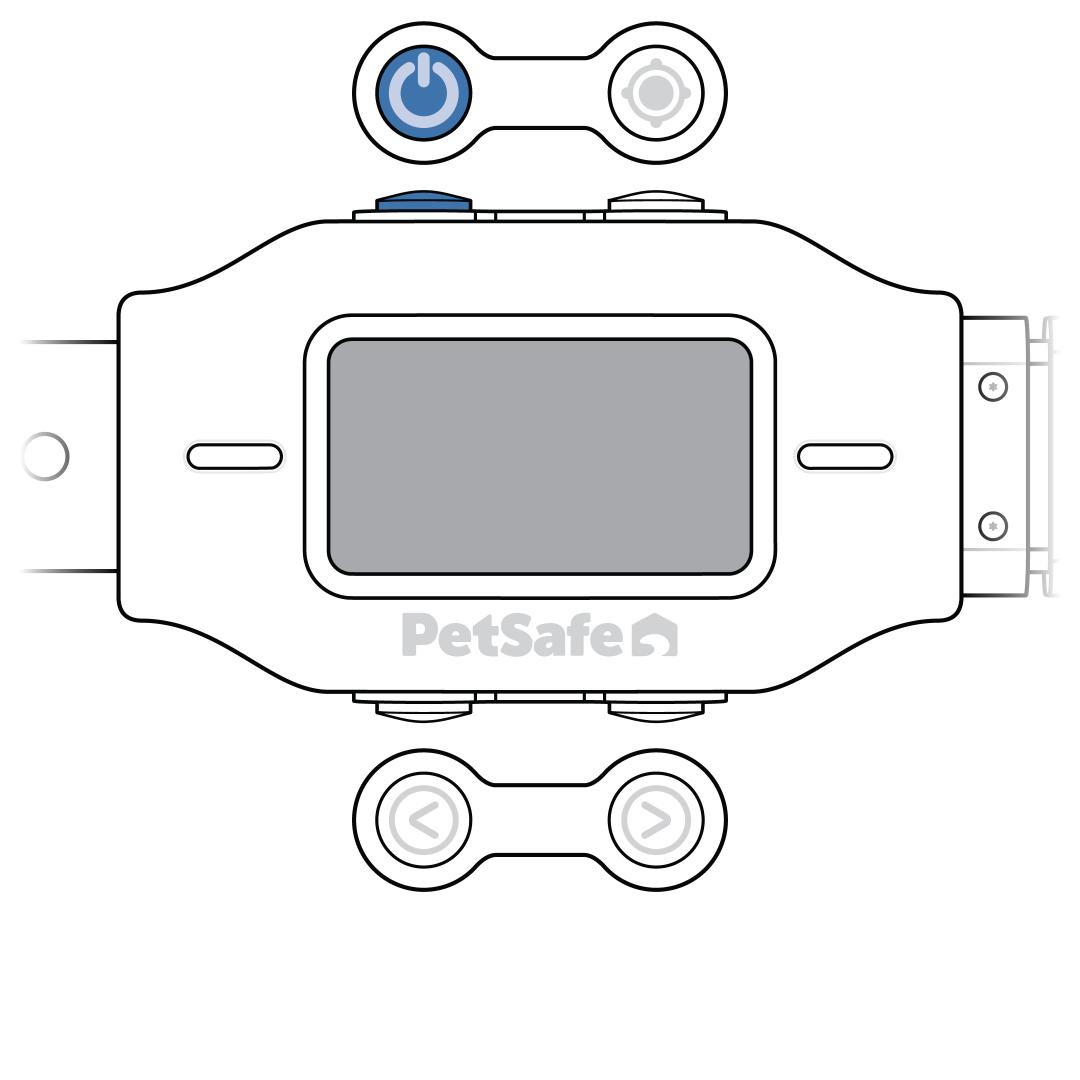
Press and release the power button to turn the collar on.
- The collar tones, vibrates once and flashes green to confirm power and a full charge.
- Once powered on for the first time, you will see:
- “Inside Fence”
- “0 ft from boundary”
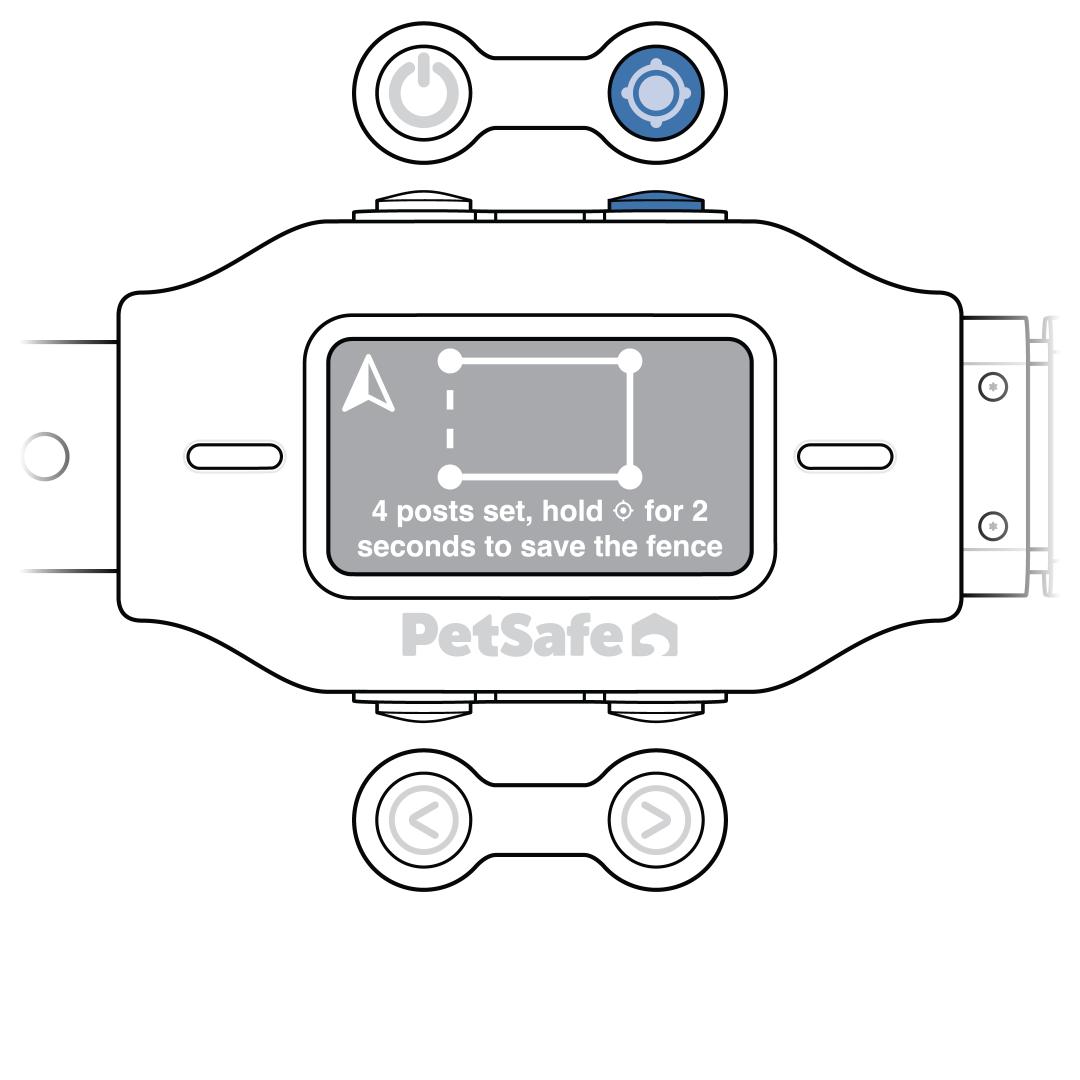
Create your fence.
- Be prepared to walk the desired boundary as it is necessary to place your posts.
- The boundary area must be over 3/4 acres.
- Your fence will work best if you
- Avoid obstructions such as dense tree cover and large metal objects.
- Place all fence posts in uncovered areas.
- Keep posts at least 25 feet from obstructions.
- Keep boundary lines 25 feet from dangerous areas such as roadways.
- For detailed steps on creating a fence, visit How To Create or Reset a Fence For My PetSafe® GPS Customizable Dog Fence.
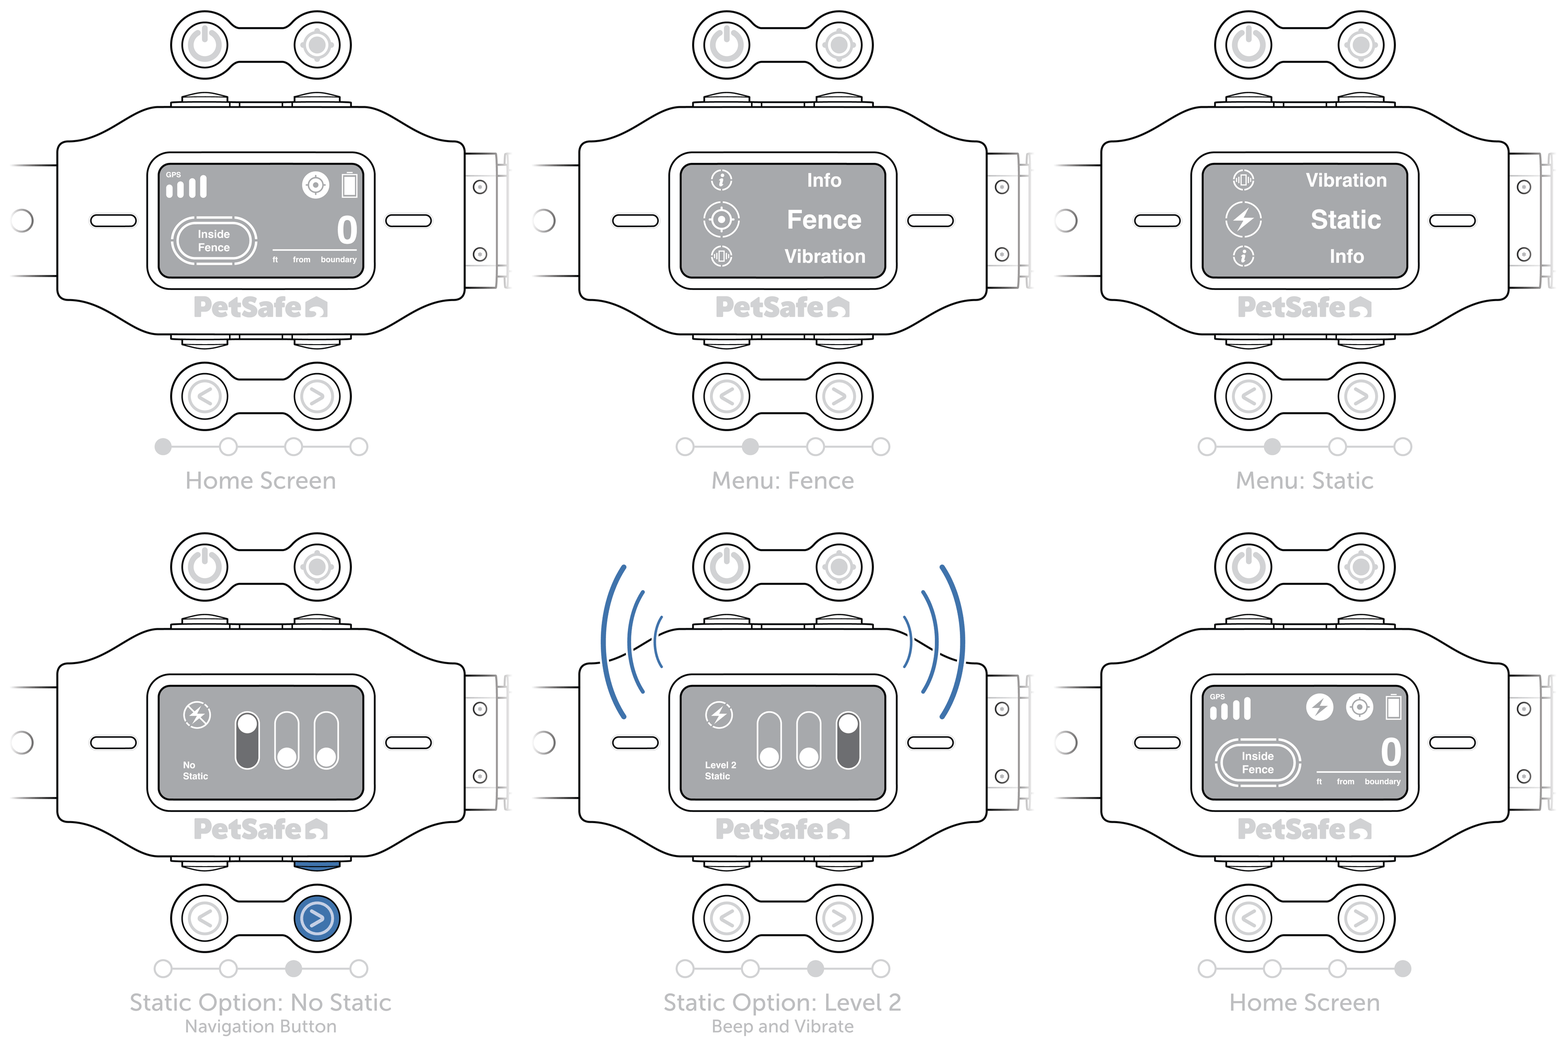
Set the correction level to the appropriate setting for your dog.
- From the home screen, press and hold the fence button for 3 seconds until the settings screen appears.
- Using the navigation buttons, scroll through the options until you reach Vibration or Static.
- Press and release the fence button once to select your desired correction.
- Both options, Vibration and Static, have 3 progressive strength levels (0, 1 or 2). Use the navigation buttons again to select the desired strength.
- Press the fence button to confirm your setting.
- The collar beeps and vibrates, then returns to the home screen.
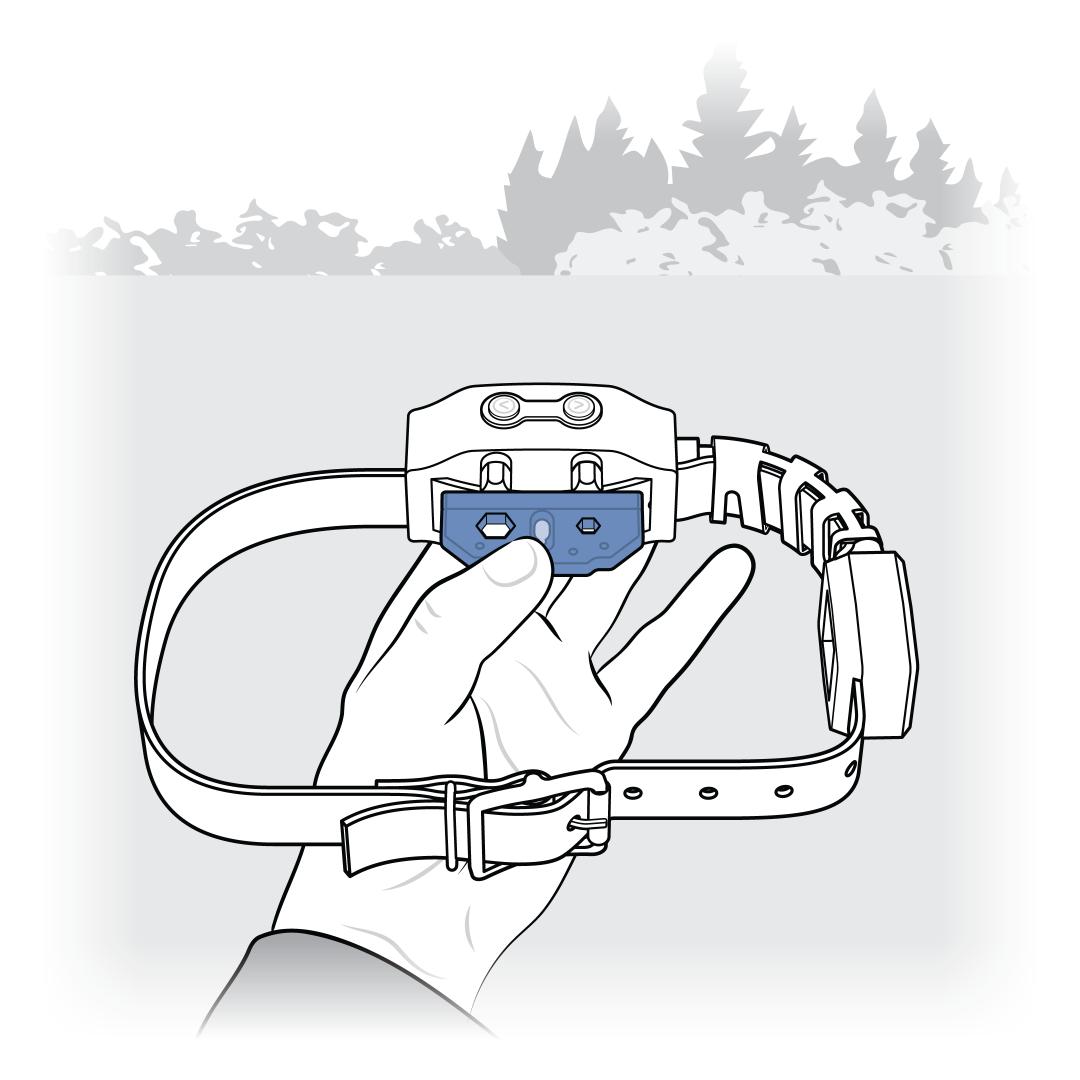
Test your fence to ensure accuracy before placing it on your dog. Visit How To Test My PetSafe® GPS Customizable Dog Fence for Correction.
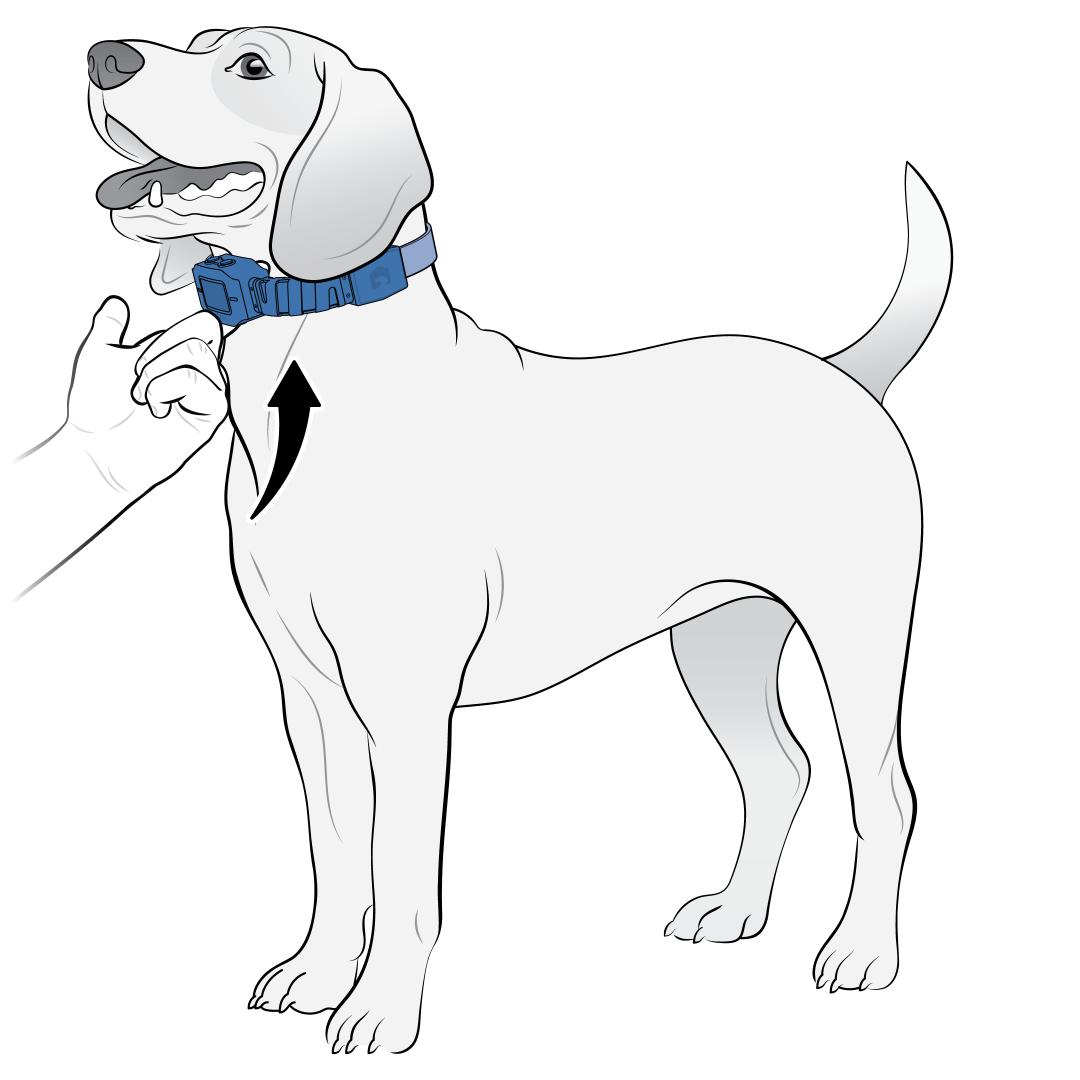
For help fitting the collar on your dog, visit How To Fit My PetSafe® GPS Customizable Dog Fence Collar.