How To Replace the Flaps on My PetSafe® Panel Pet Door Insert™
Replacement flaps for the PetSafe® Panel Pet Door Insert™ can be purchased on PetSafe.com.
Exterior Flap
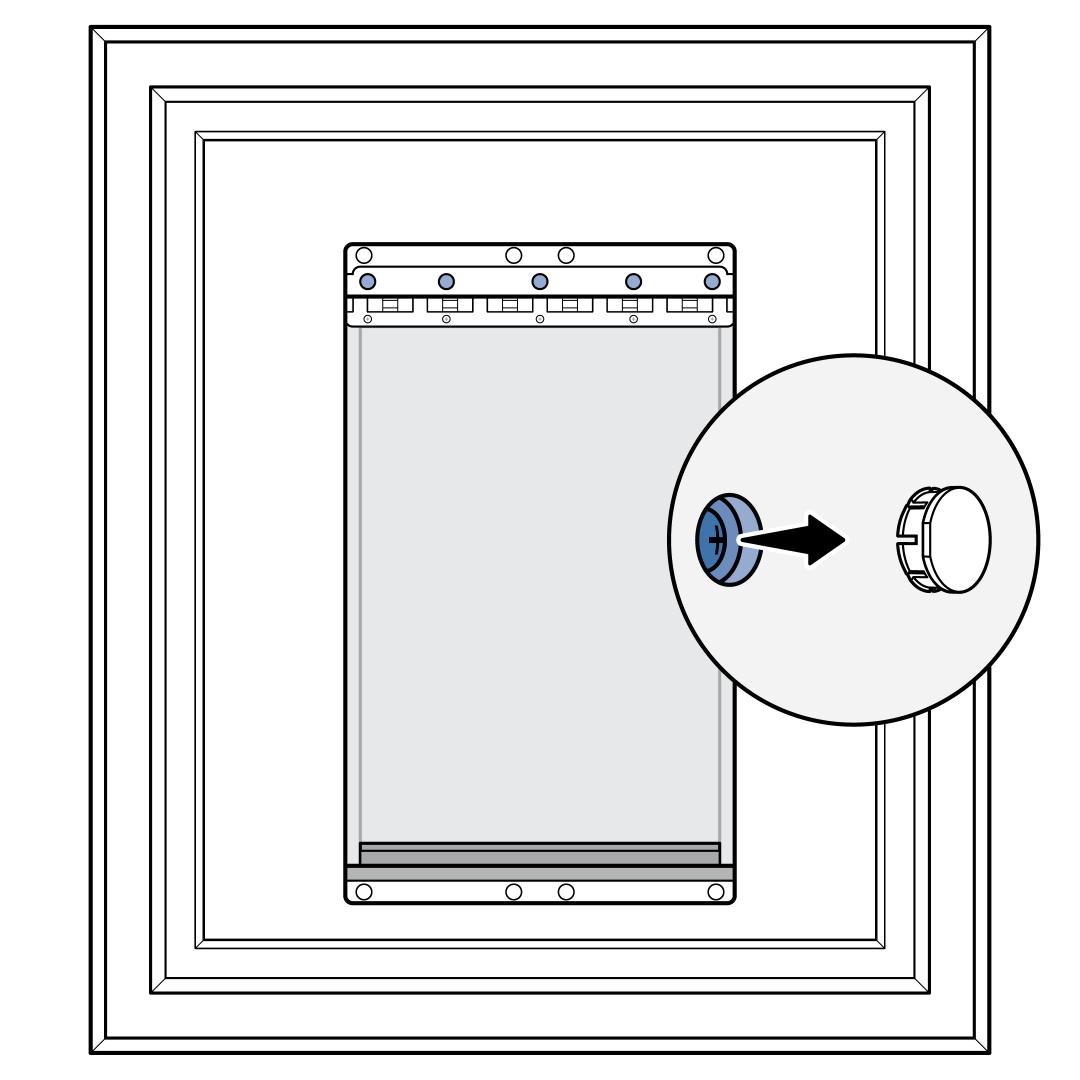
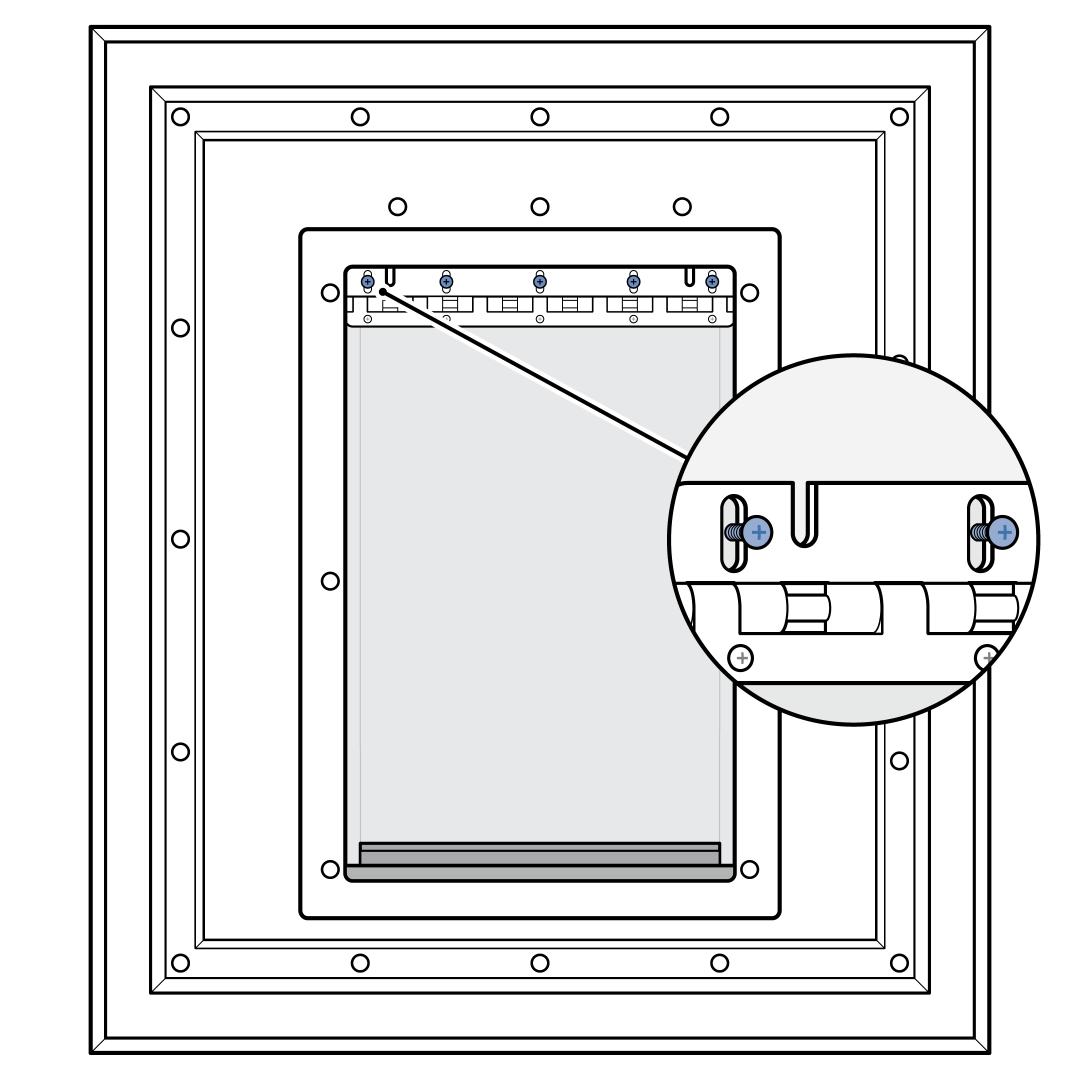
Remove the finishing caps from the row of 5 screws located on the exterior panel of the door.
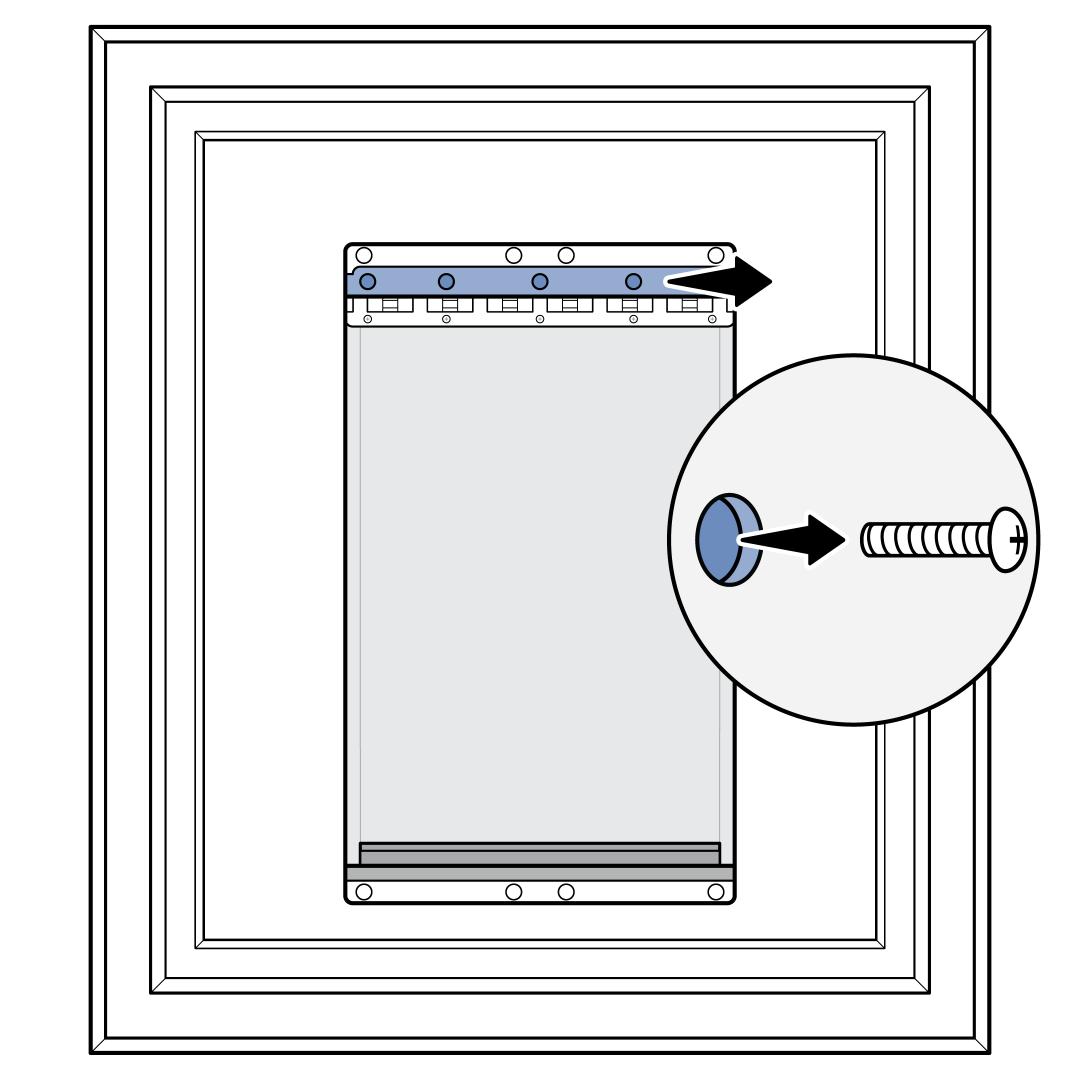
Use a Phillips Screwdriver to remove the row of 5 screws and the cover plate.
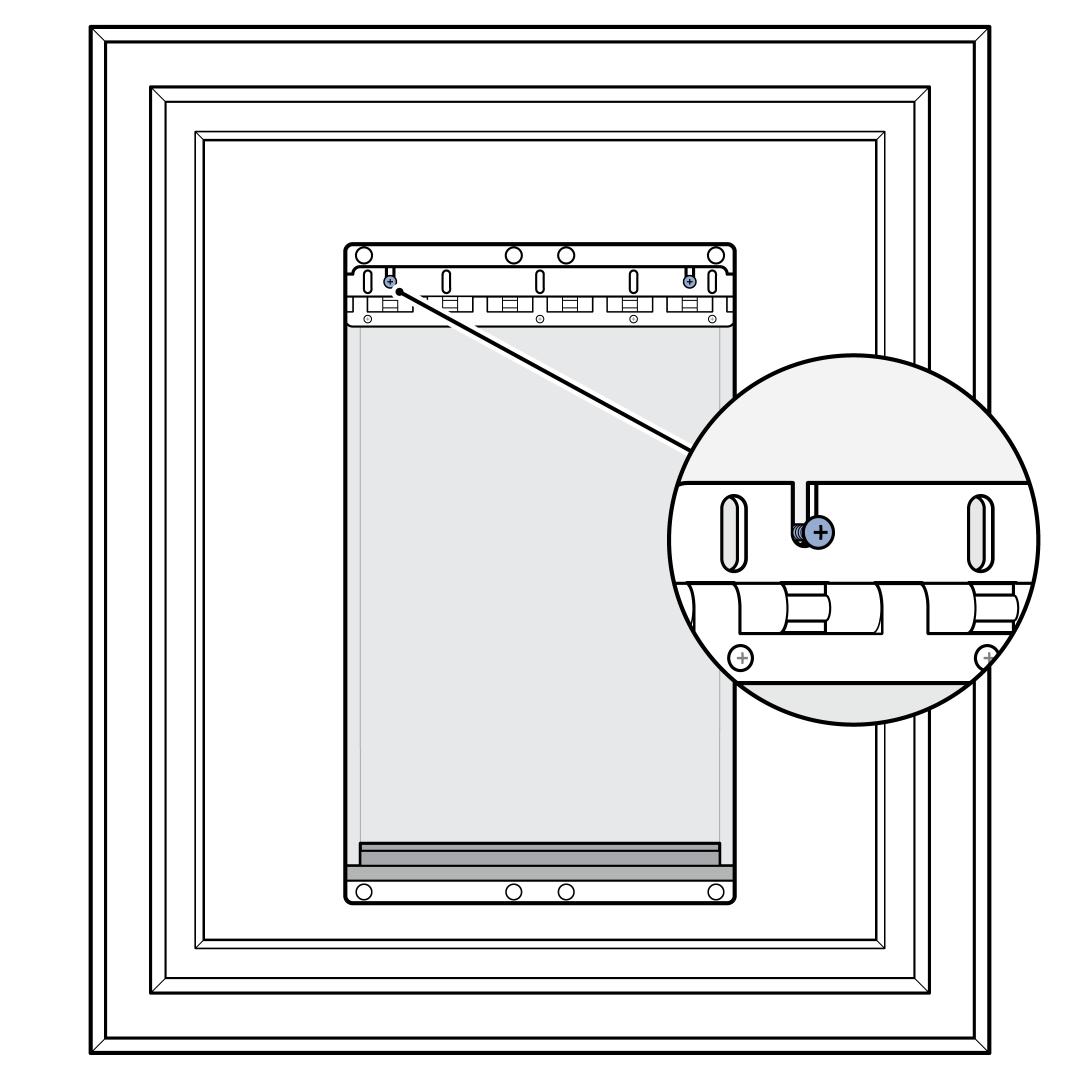
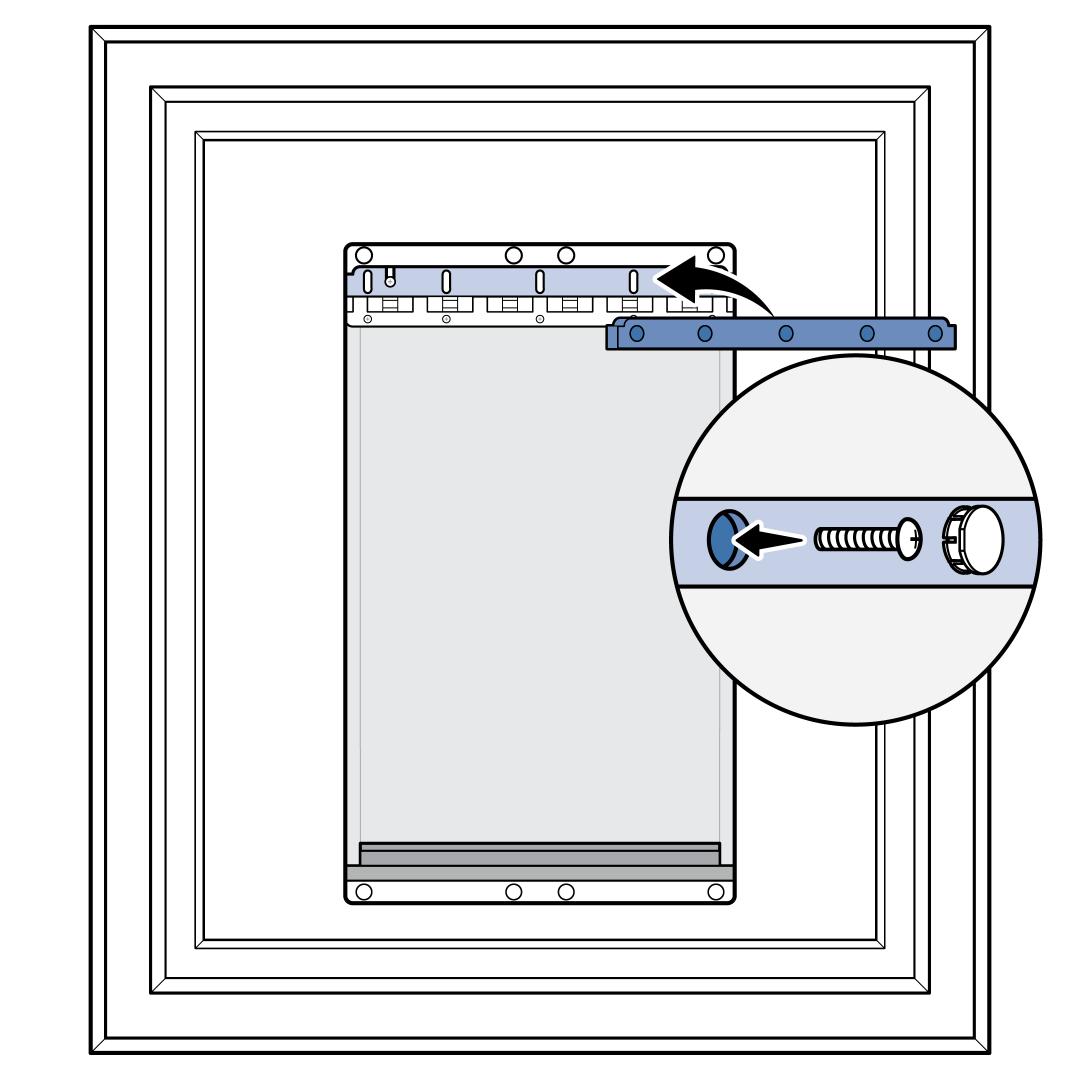
Remove the 2 adjustment screws at the top of the flap to remove the flap and flap hinge.
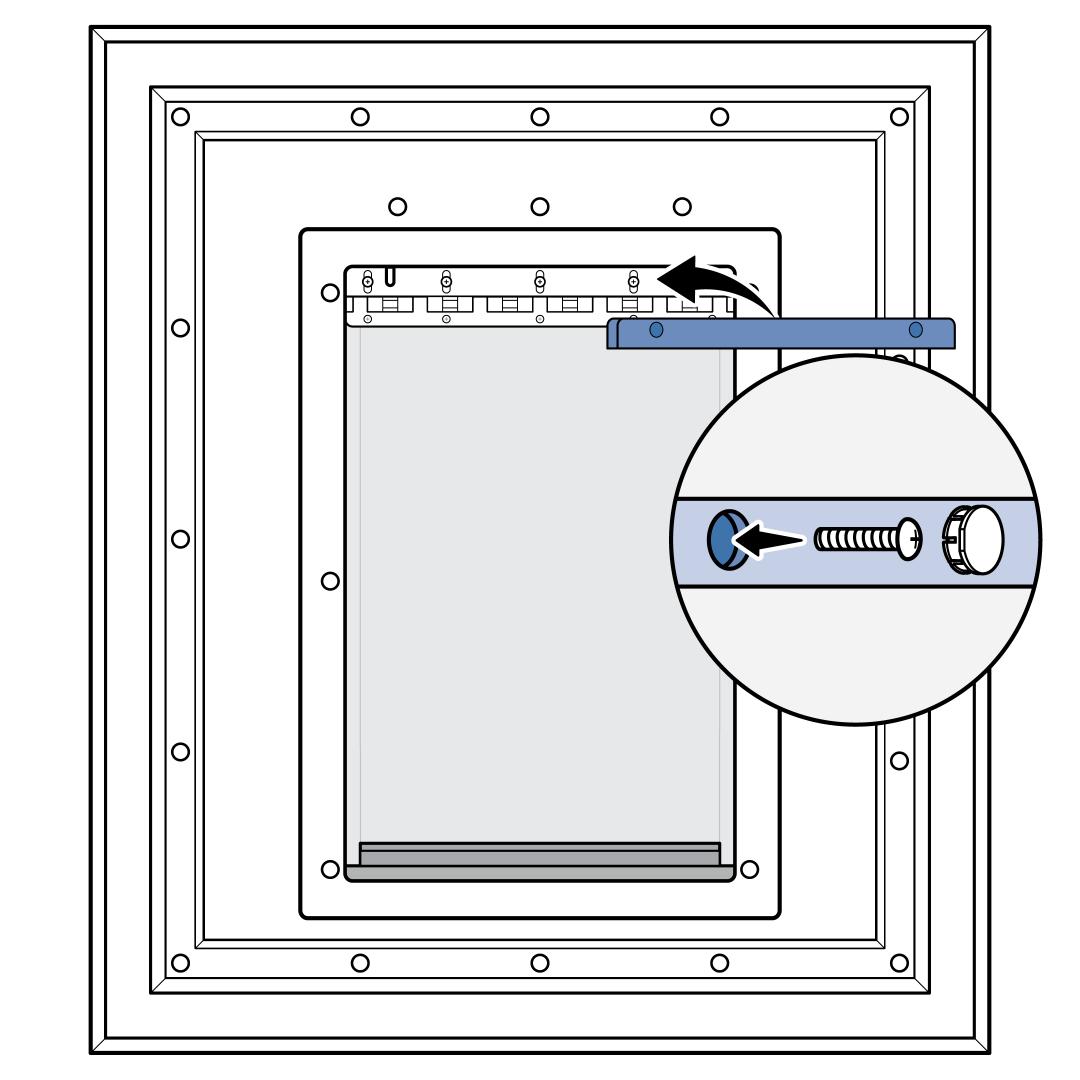
Lay the flap flat and remove the screws from the hinge.
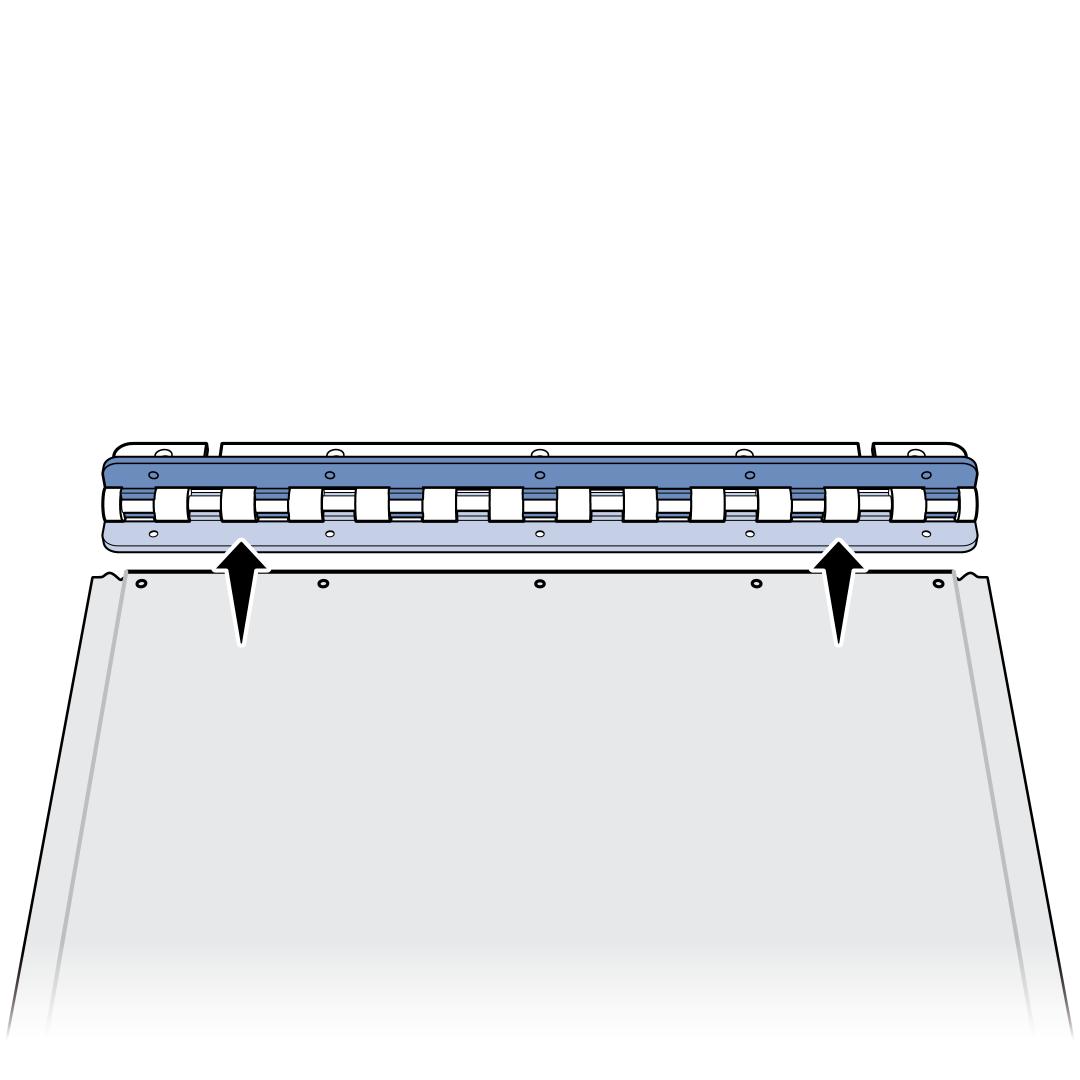
Remove the top half of the hinge and replace the flap with a new one.
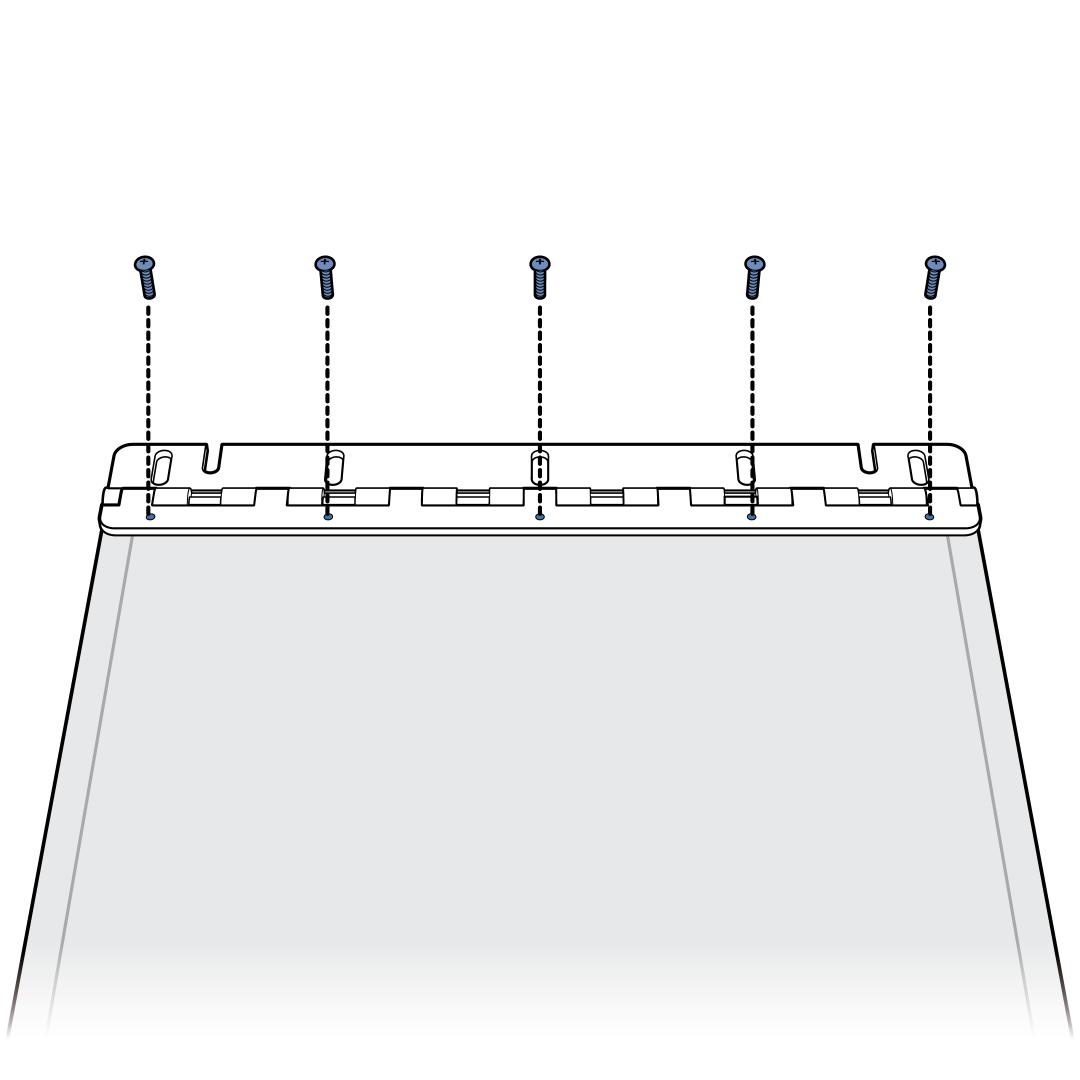
Place the top half of the hinge in place on top of the new flap and replace the 5 screws.
Align the flap hinge on the PetSafe® Panel Pet Door Insert™ and screw it in place using the 2 adjustment screws. Do not screw them all the way in until the flap is sitting in place.
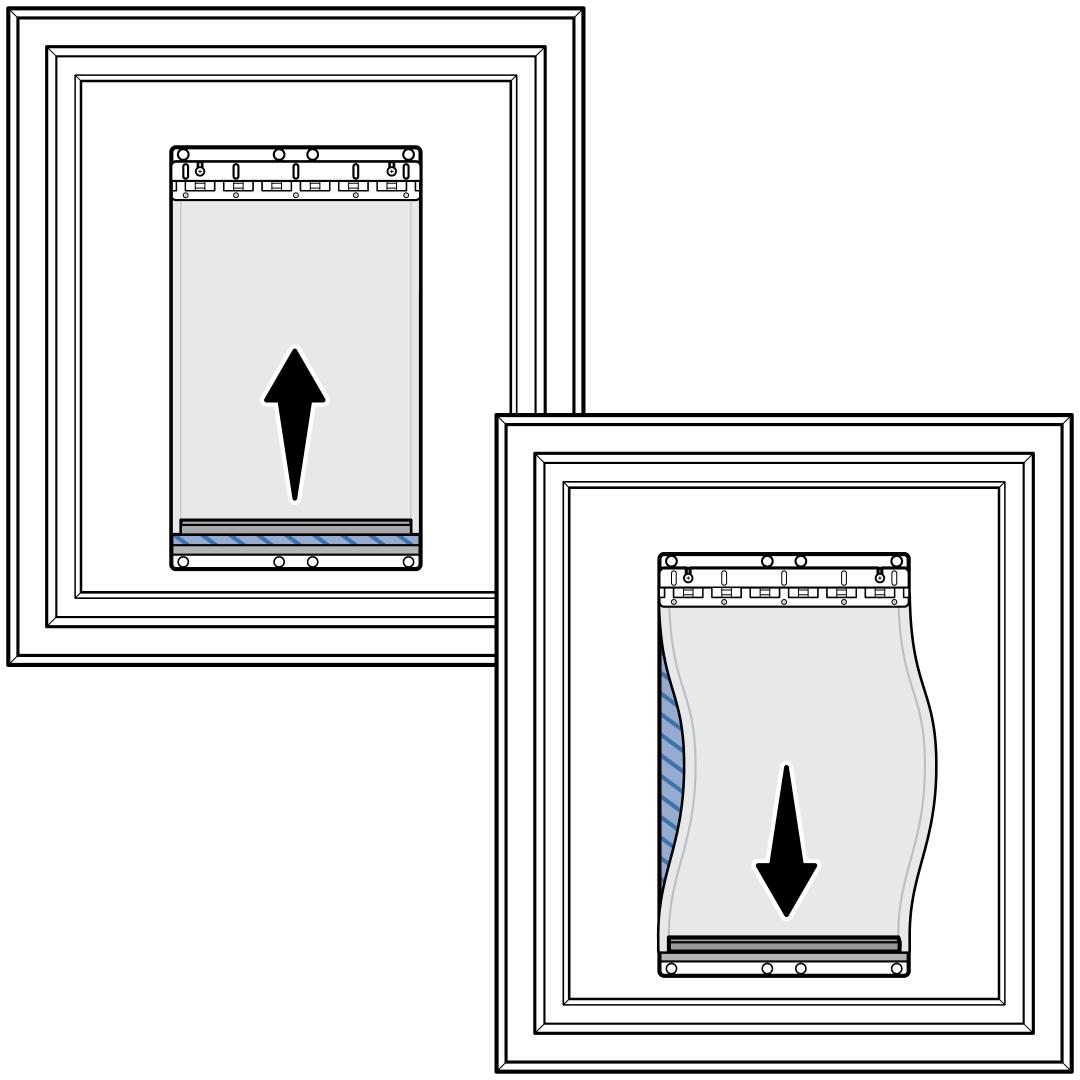
Adjust the flap so it makes contact with the magnets at the bottom and does not have any gaps or bowing before tightening the adjustment screws.
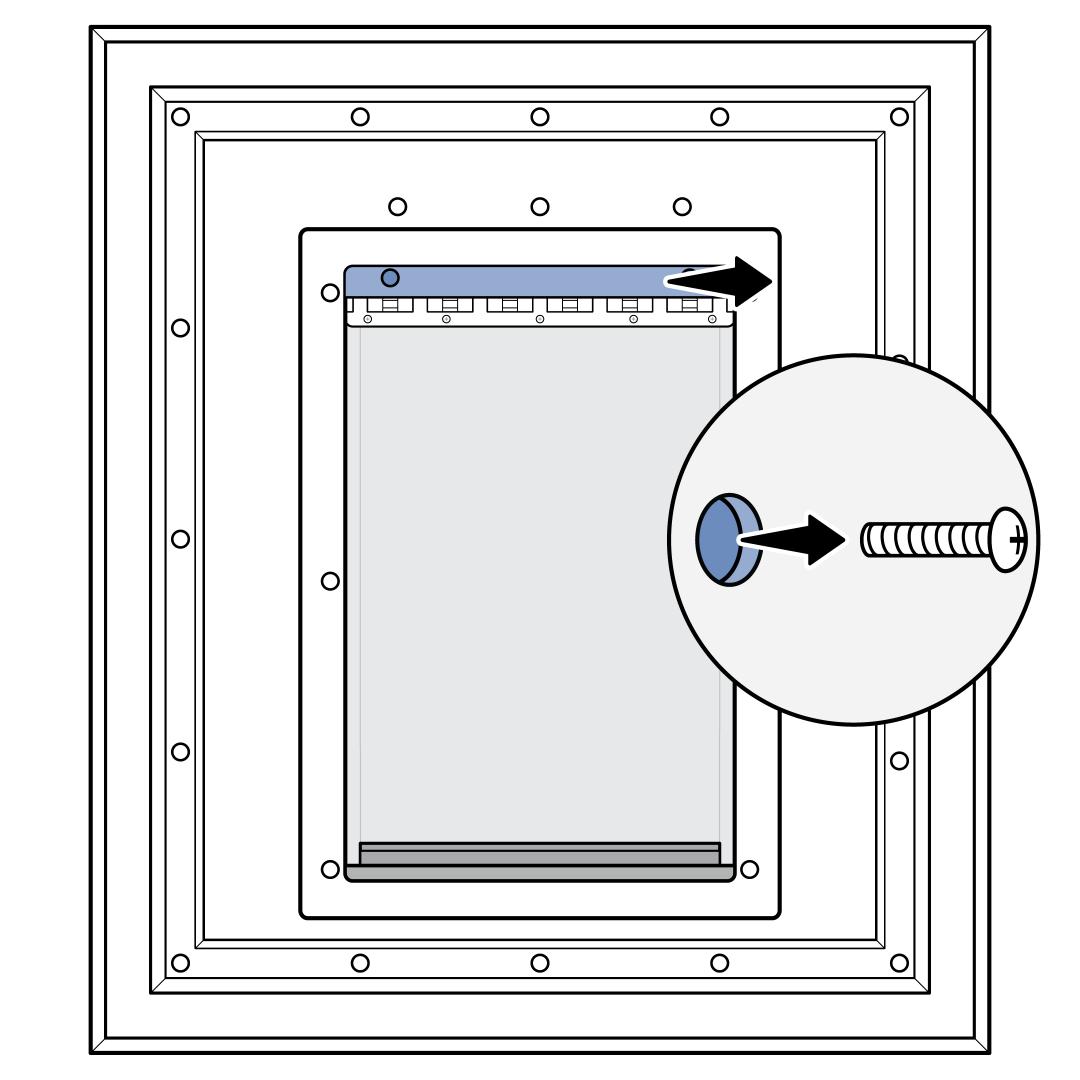
Replace the screw cover, the 5 screws and 5 finishing caps.
Interior Flap

Remove the 2 finishing caps at the top of the flap.
Use a Phillips Screwdriver to remove the 2 screws from beneath the finishing caps.
Remove the 5 screws from the top of the flap hinge.
Lay the flap and flap hinge flat and remove the 5 screws from the hinge.
Remove the top half of the hinge and replace the flap with a new one.
Place the top half of the hinge in place on top of the new flap and replace the 5 screws.
Align the flap hinge on the PetSafe® Panel Pet Door Insert™ and screw in the 5 screws at the top, but do not tighten them all the way.
Adjust the flap so there are no visible gaps, and the magnets connect at the bottom. If there is a gap between the magnets, the flap should be adjusted down. If the magnets touch but the flap bows, adjust the flap upwards.

Tighten the screws in place.
Replace the screw cover, 2 screws, and 2 finishing caps.