How To Replace the Flap on My SmartDoor™ Connected Pet Door
Remove the Old Flap

Place the SmartDoor™ in Standard Mode and unlock it. You can do this in the My PetSafe® app or by pressing the lock/unlock button inside the battery compartment.
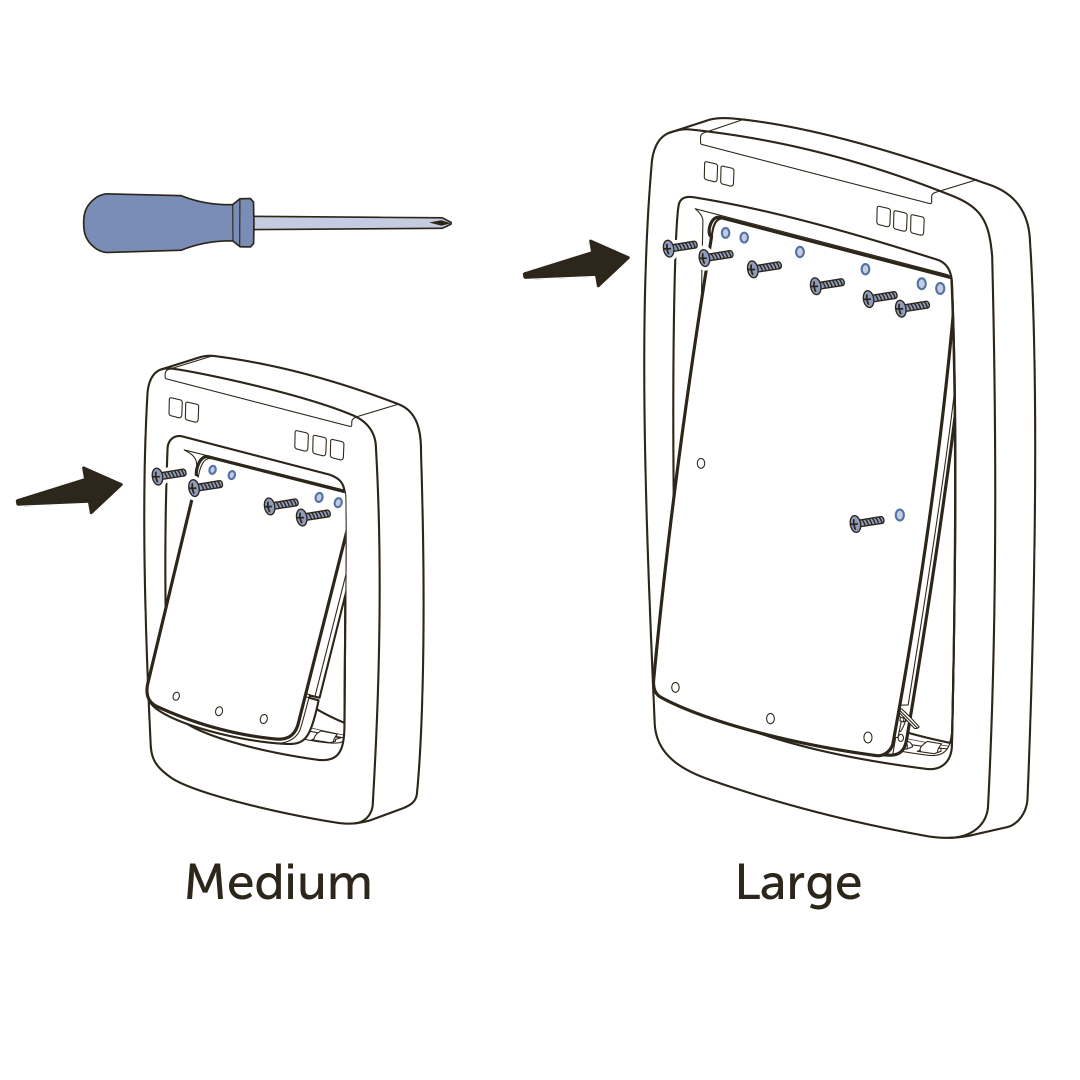
On the interior side of the pet door, use a #2 Phillips screwdriver to remove the screws from the top edge of the flap (4 screws for the medium pet door, and 6 screws for the large pet door).
If you have the large pet door, also remove the screw from the middle of the right edge of the flap.
If the screws are difficult to remove after loosening, use a magnet or push the bottom of the flap away from you, allowing the screws to fall out.
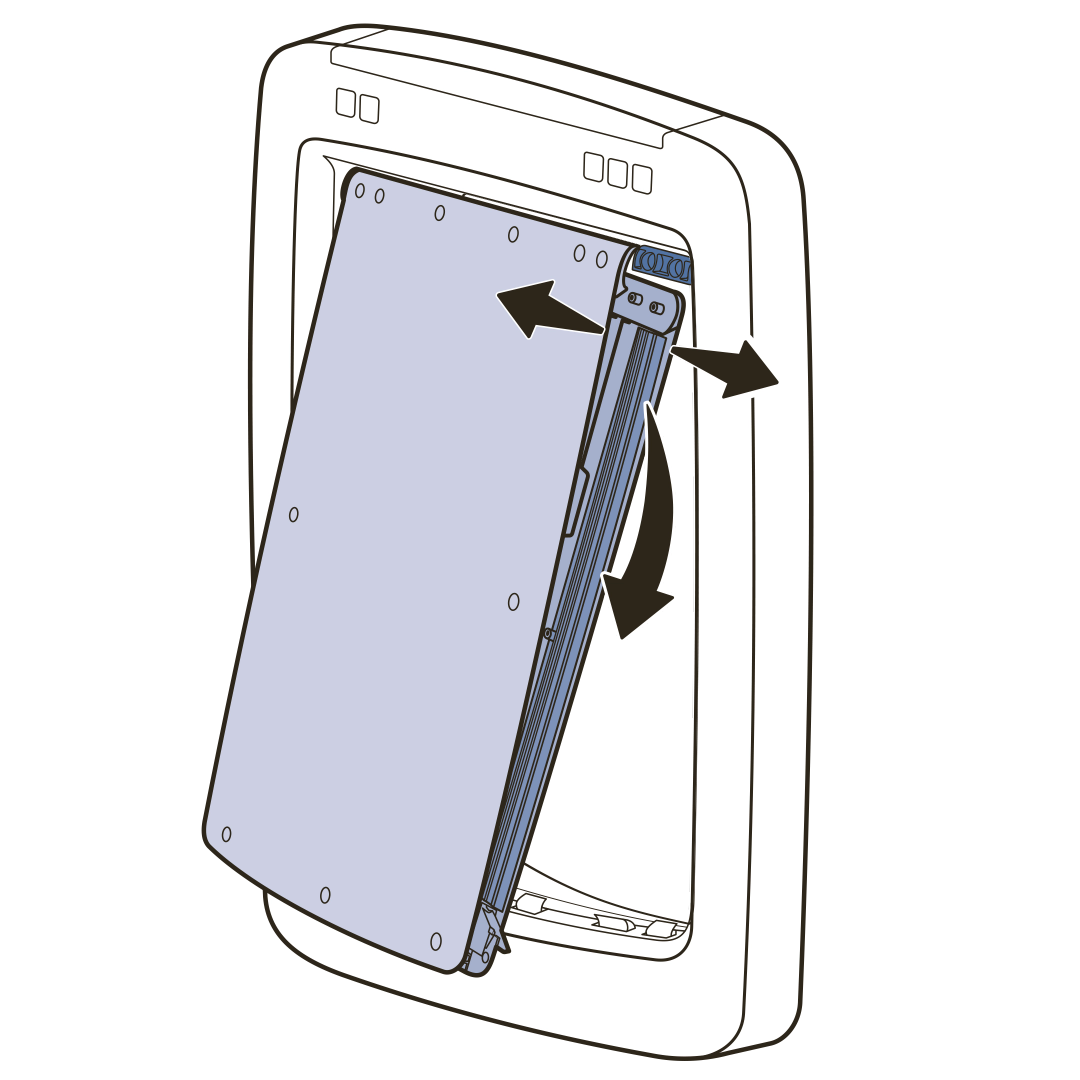
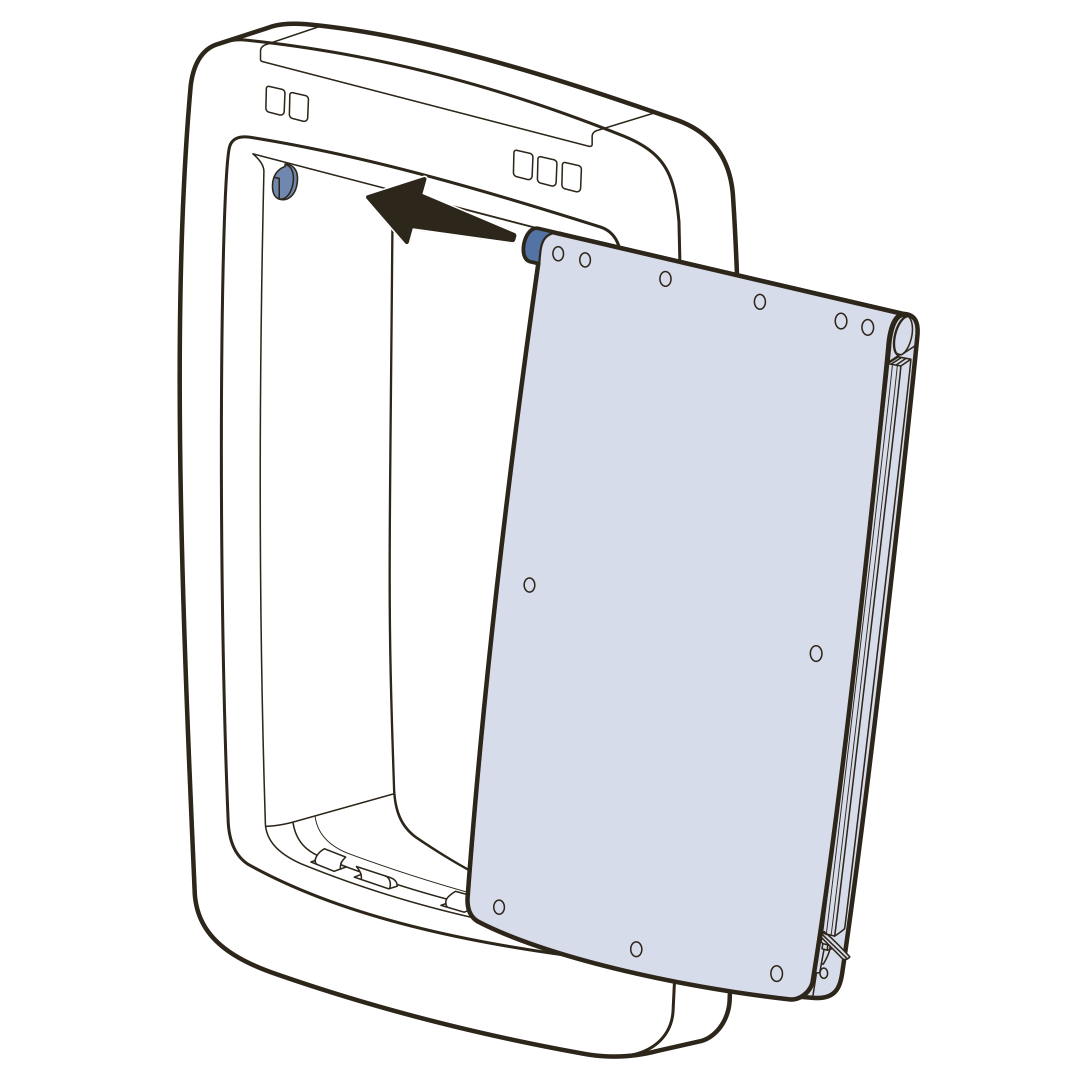
Carefully separate the interior and exterior halves of the flap at the top right edge. Holding the flap edges apart, slide the top right edge of the flap off the right hinge pin.
Slide the left hinge pin and flap out of the pet door frame.
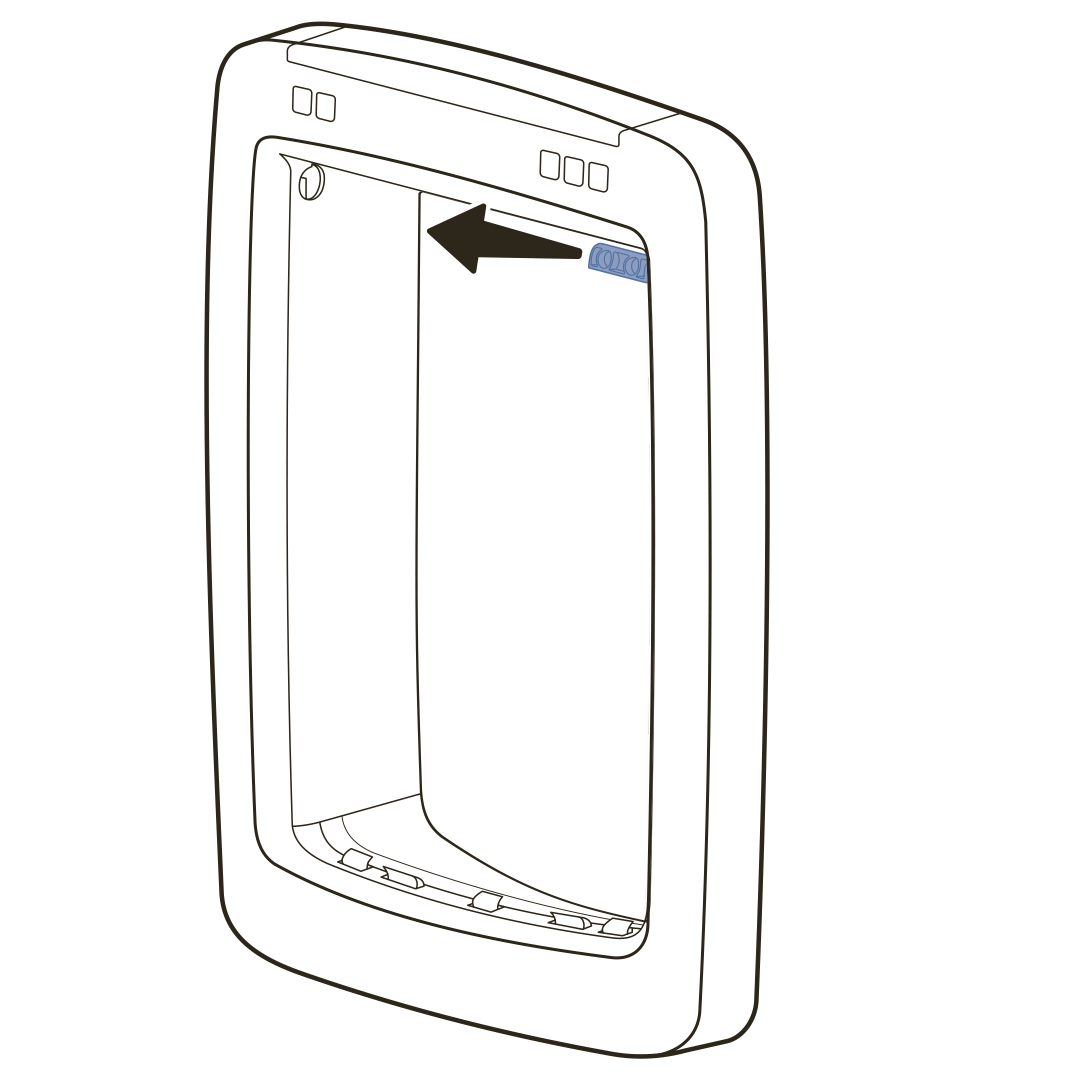
Remove the right hinge pin from the pet door frame.
Install the New Flap
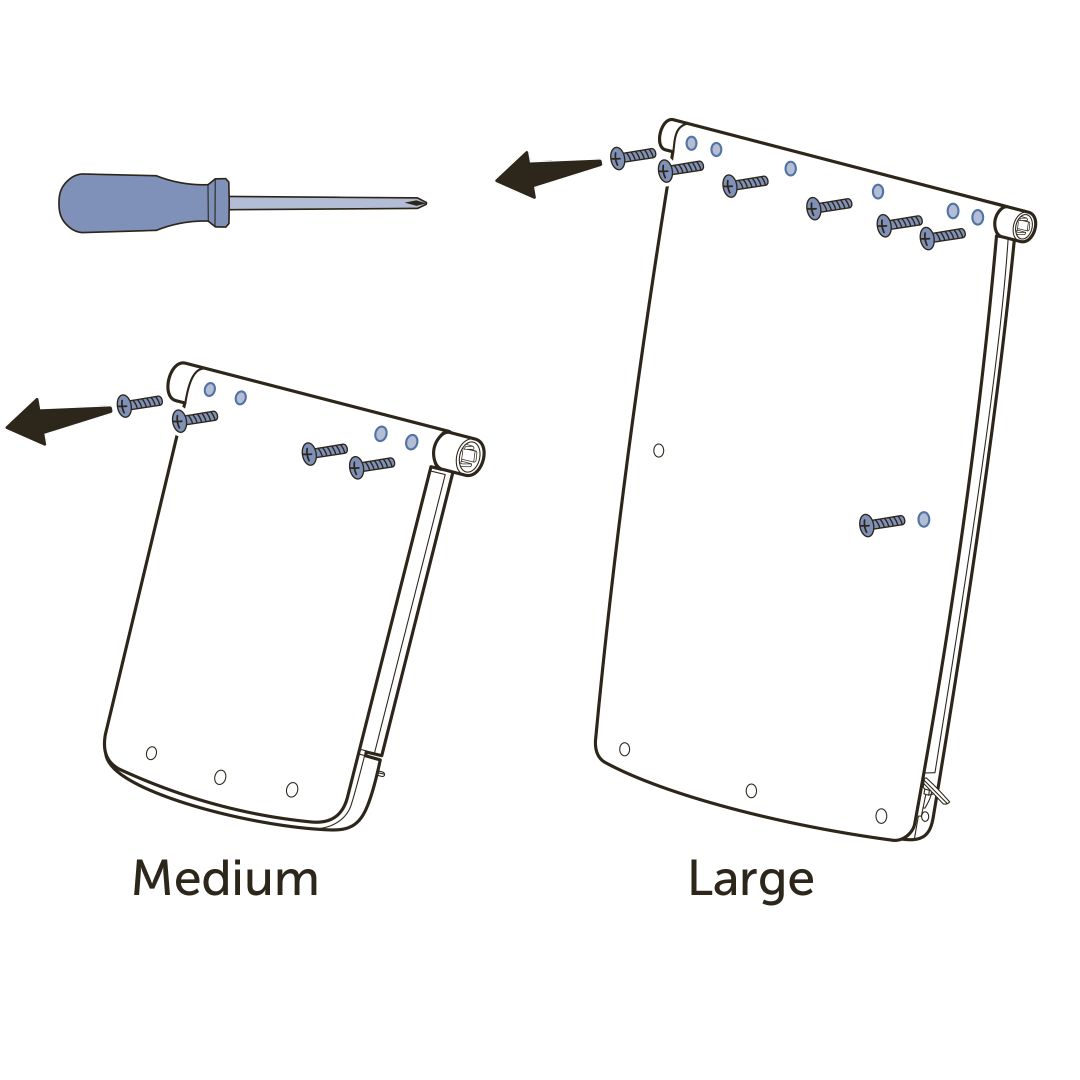
Remove the screws from the top edge of the replacement flap (4 screws for the medium pet door, 6 screws for the large pet door).If you have the large pet door, also remove the screw from the middle of the right edge of the replacement flap.
Save these screws; you’ll need them later.
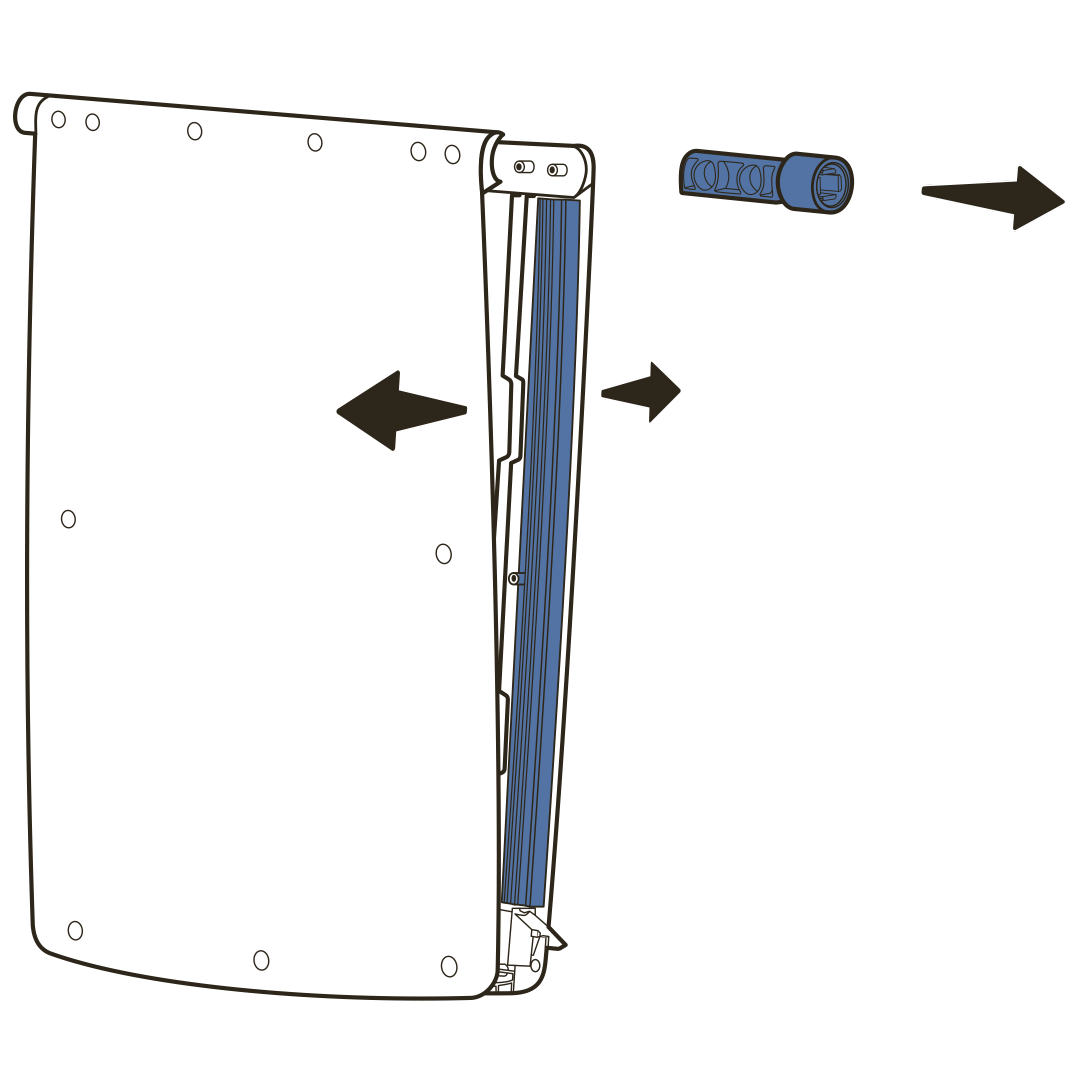
Carefully separate the interior and exterior halves of the replacement flap at the top right edge and remove the right hinge pin.
If the weather stripping on the right side of the flap slips out of place, reposition it between the flap halves, using the weather stripping on the left side of the flap as a guide for correct placement
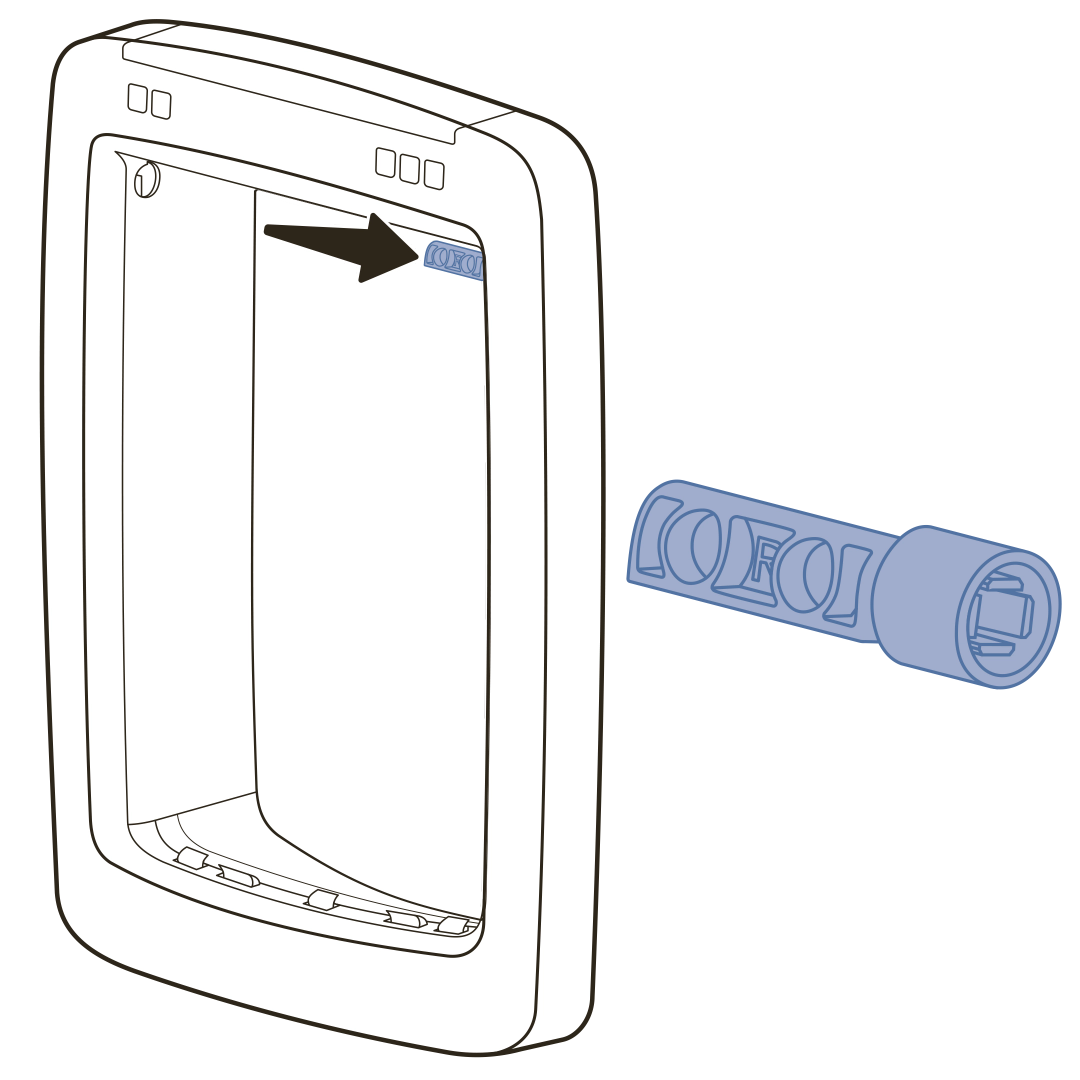
Insert the right hinge pin you removed from the replacement flap into the right side of the interior pet door frame with the “R” facing the interior side of the pet door and the flat edge facing down.
Insert the left hinge pin on the replacement flap into the hole on the top left side of the pet door frame.

Carefully separate the interior and exterior halves of the replacement flap at the top right edge and fit them over the right hinge pin.
If you do not feel the flap halves connect with the hinge pin, adjust the angle of the hinge pin and try again.
Replace and tighten the screws you removed in step 1.
Make sure the new flap can swing in both directions, then replace the batteries or power adaptor.
Put the pet door in Standard Mode—Locked.
Check to ensure the flap cannot move while locked and the weather stripping makes a good seal between the flap and the door opening.
The replacement flap is now fully installed; you can set the pet door to your preferred mode.
Contact Customer Care
If you need further assistance, please contact our customer care team.