How to Install the Magnetic Cat Doors
Table of Contents
Welcome
Welcome to your new Magnetic Cat Door!
Keep in Mind
We recommend consulting a glazier for installation in glass.
Acclimation time will vary with each cat.
For cats up to 15 pounds.
Additional keys make the door suitable for homes with multiple cats.
Important: This install guide covers both the Magnetic 4-Way Locking Cat Flap and Magnetic Cat Flap. The images shown below are of the Magnetic 4-Way Locking Cat Flap, however, the instructions also apply to the Magnetic Cat Flap.
Preparation
Please have the following contents from the box ready prior to installation:
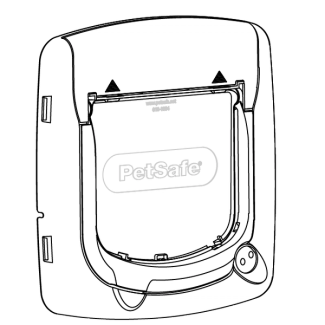
Interior Frame
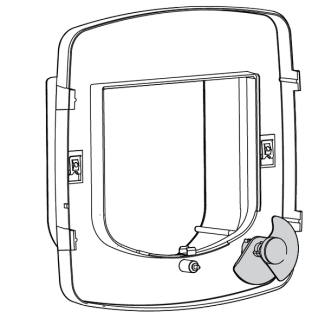
Exterior Frame
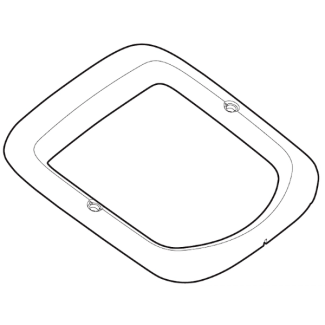
Middle Frame
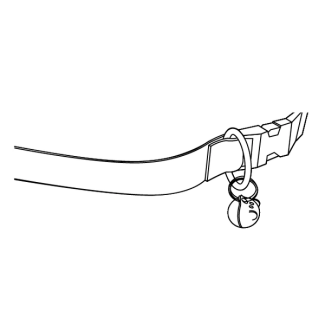
Key with Strap
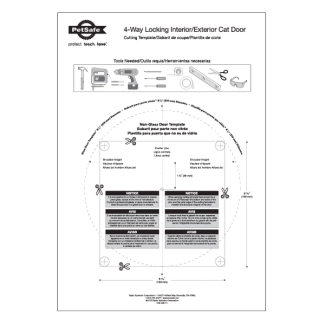
Cutting Template
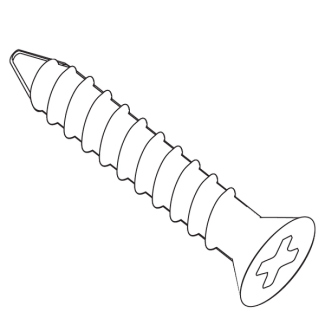
M4 x 28mm
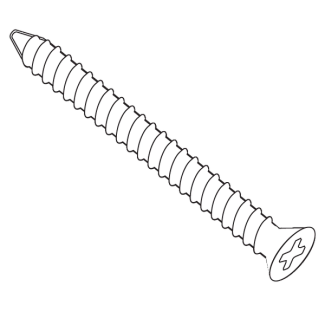
M4 x 50mm
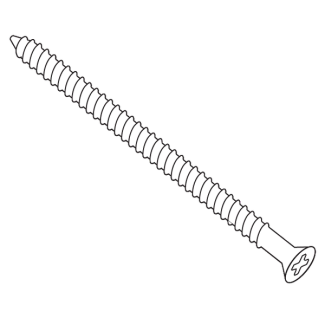
M4 x 75mm
Screw Plugs
These additional tools help with the installation process:
Jigsaw
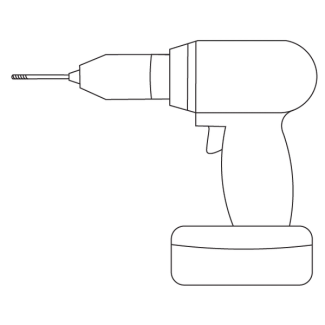
Drill

Tape Measure
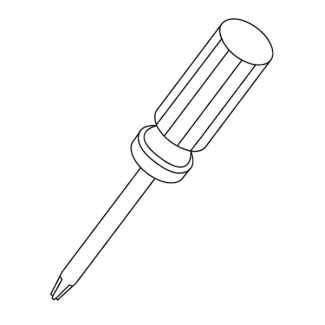
Phillips Screwdriver
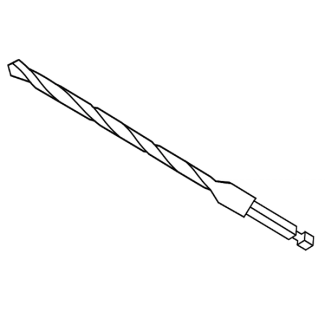
12mm Drill Bit
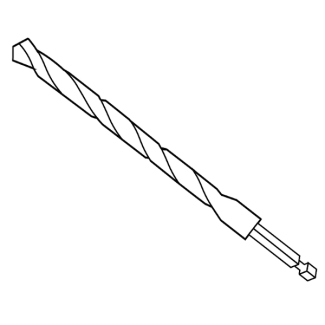
6mm Drill Bit

Masking Tape

Pencil
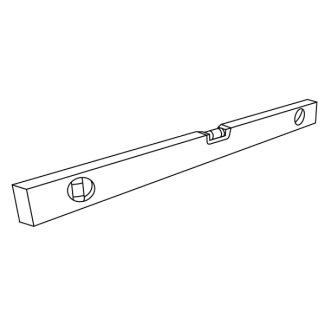
Level
Installation
Wood, PVC or uPVC, Metal and Metal-Framed Doors, Interior and Exterior Walls
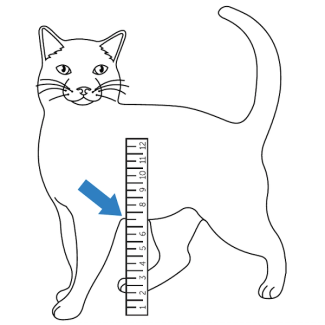
Measure the height of your cat’s belly.
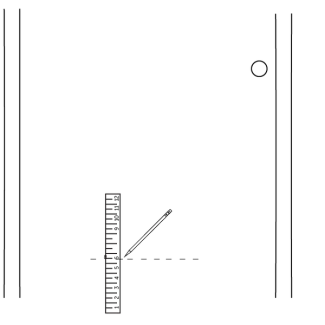
Mark this height on your door and draw a 6.5 inch (16.8 cm) horizontal line.
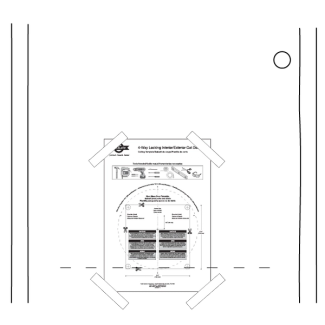
Align the cutting template with the drawn line and tape to the door.
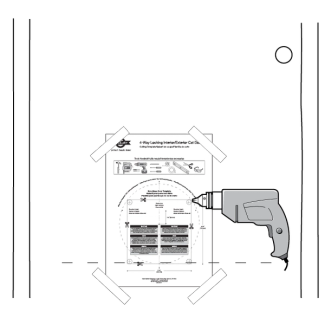
Drill the four corner holes using a 12mm drill bit.
Starting in a drilled hole, use a jigsaw to cut along the lines for the door opening.
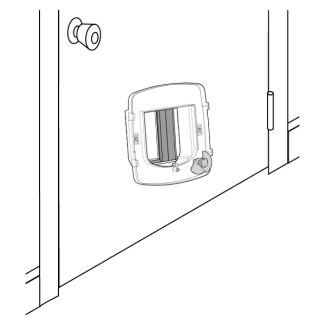
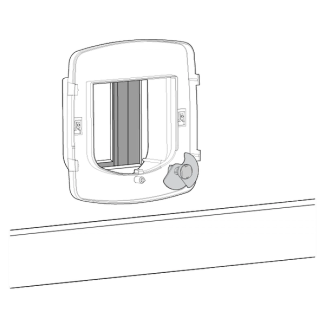
Place the middle frame into the cut hole. On the outside of the door, place the exterior frame.
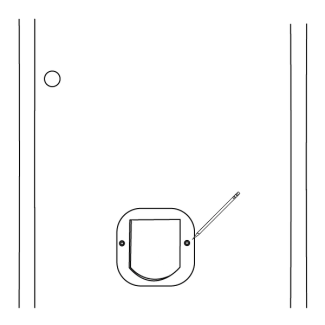
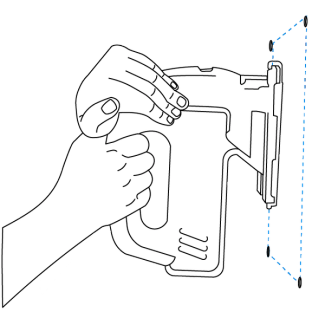
Mark the exterior screw holes with a pencil.
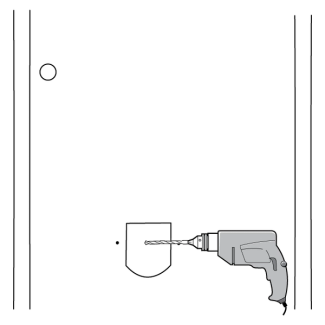
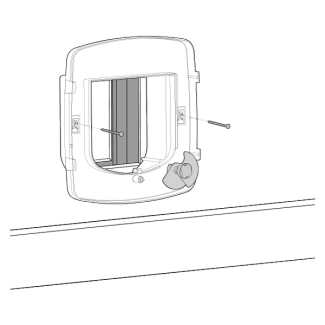
Remove both frames and drill exterior screw holes with a 6mm drill bit.

Align the middle frame and exterior frame into the door. Use appropriate length screws based on the width of your door. Use a Phillips screwdriver to secure the two frames.
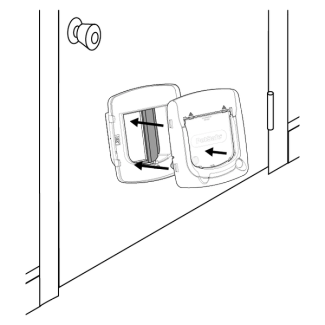
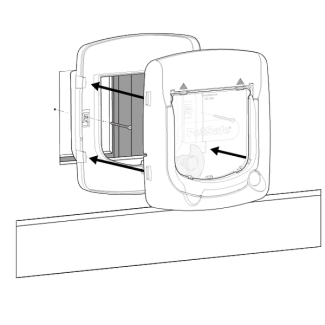
Snap the interior frame onto the middle frame.

Test that the flap opens by placing the key in the center of the tunnel and pushing the flap open. Snap the interior frame onto the middle frame.
Glass Doors and Windows
Important: We recommend contacting a glazier or glass expert prior to attempting to cut any glass surface to avoid any damage to your glass.
Installation Instructions for Glazier
Approximate diameter cut-out needed
- Magnetic 4-Way Locking Cat Flap- 8 ⅜ inches (21.2 cm)
- Magnetic Cat Flap-8 ¼ inches (21 cm)
Measure the height of your cat’s belly.

Mark this height on your door and draw a 6.5 inch (16.8 cm) horizontal line.

Align the cutting template with the drawn line and tape to the door. Use the guide to cut the glass.
Place the middle frame into the cut hole. On the outside of the door, place the exterior frame.
Use appropriate length screws based on the thickness of the glass and manually screw drive the two frames together until resistance is felt.
Important: To prevent damage to glass, do not over-tighten screws.
Snap the interior frame onto the middle frame.
Test that the flap opens by placing the key in the center of the tunnel and pushing the flap open.
Fit the Collar
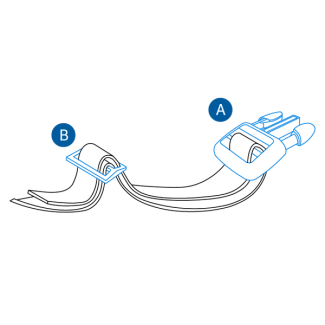
Fasten Buckle
Slide Buckle
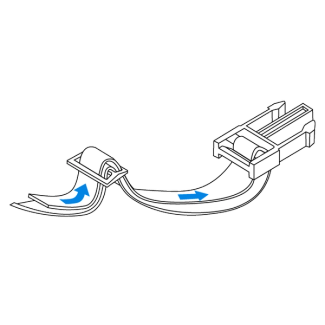
To Loosen
Move the strap through the Slide Buckle, then pull through the Fasten Buckle.

To Tighten
Move the strap up through the Fasten Buckle, then pull through the Slide Buckle.

Check Fit
Place the collar on your cat while she is standing. Adjust until one finger fits snugly between the collar and your cat.
Note: The key can also be attached to your cat’s regular collar.
Contact Customer Care
If you need further assistance, please contact our customer care team.