How To Create or Reset a Fence For My PetSafe® GPS Customizable Dog Fence
Important Information
- Be prepared to walk the desired boundary as it is necessary to place your posts.
- The boundary area must be over 3/4 acres.
- Your fence will work best if you
- Avoid obstructions such as dense tree cover and large metal objects.
- Place all fence posts in uncovered areas.
- Keep posts at least 25 feet from obstructions.
- Keep boundary lines 25 feet from dangerous areas such as roadways.
Create a Fence
Plan your boundary layout.
- Keep in mind that you can set between 4 - 8 posts and each post must be 20 feet apart.
Take the collar outside to an uncovered area with a clear view of the sky and press and release the power button to power the collar on. The collar turns on and begins searching for GPS signal. Once it is found, the screen displays the home screen.
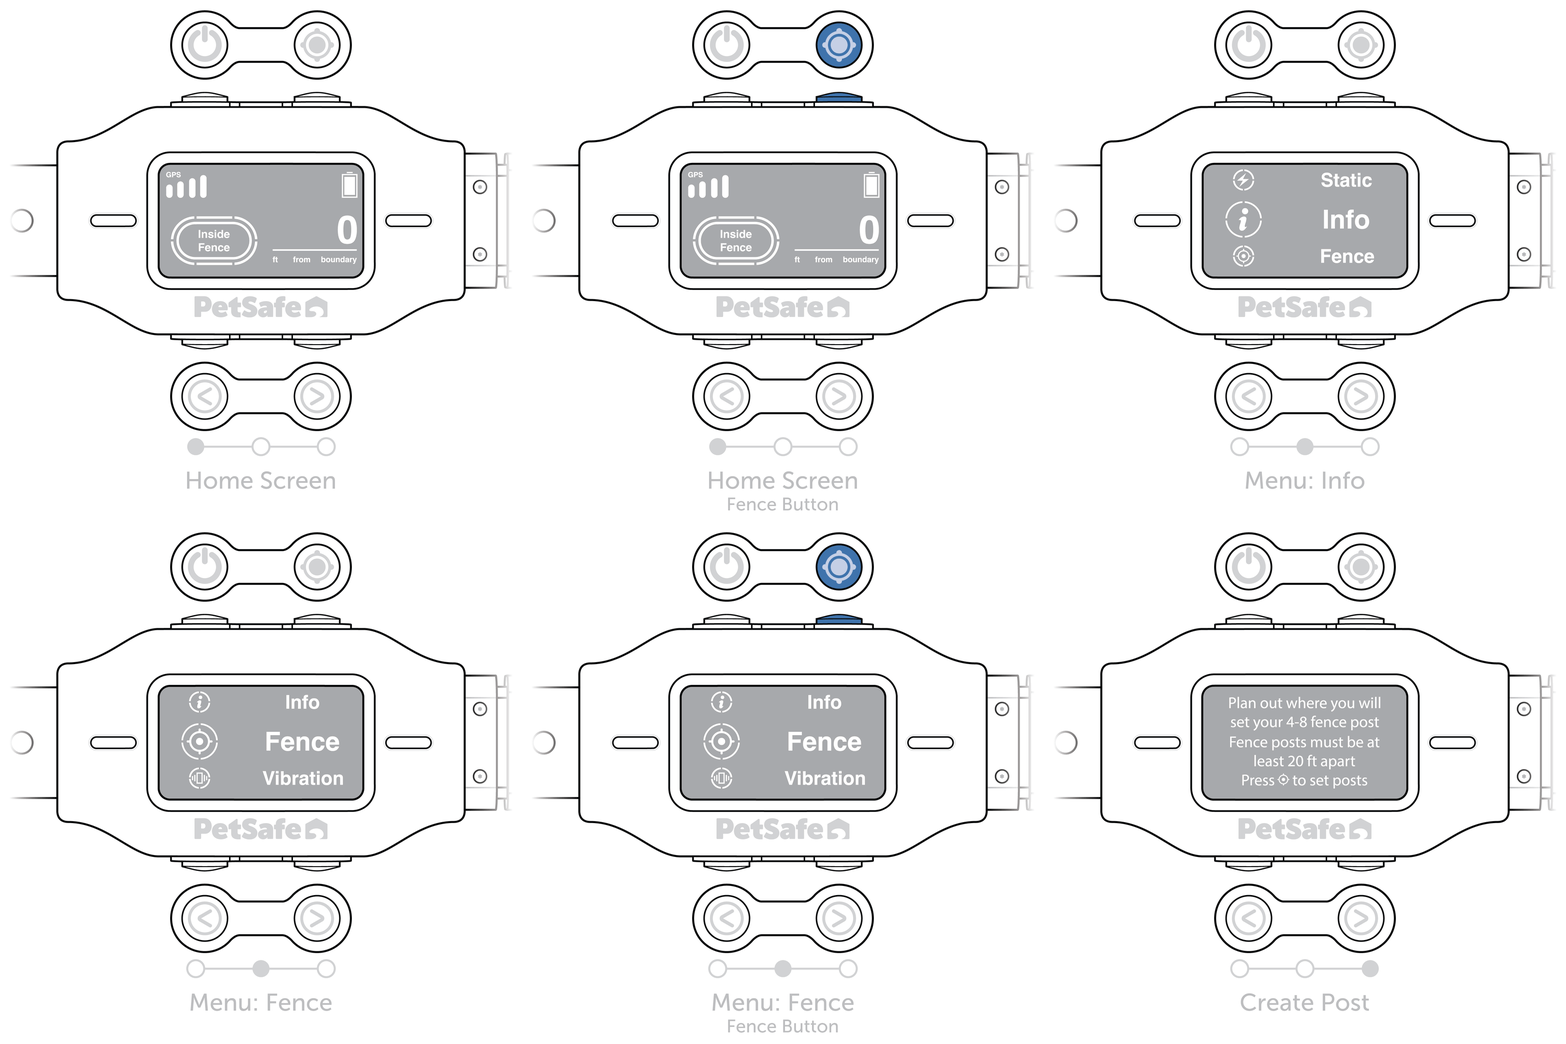
Press and hold the fence button for 3 seconds to open the settings screen.
Use the navigation buttons to navigate to Fence.
Press and release the fence button to select.
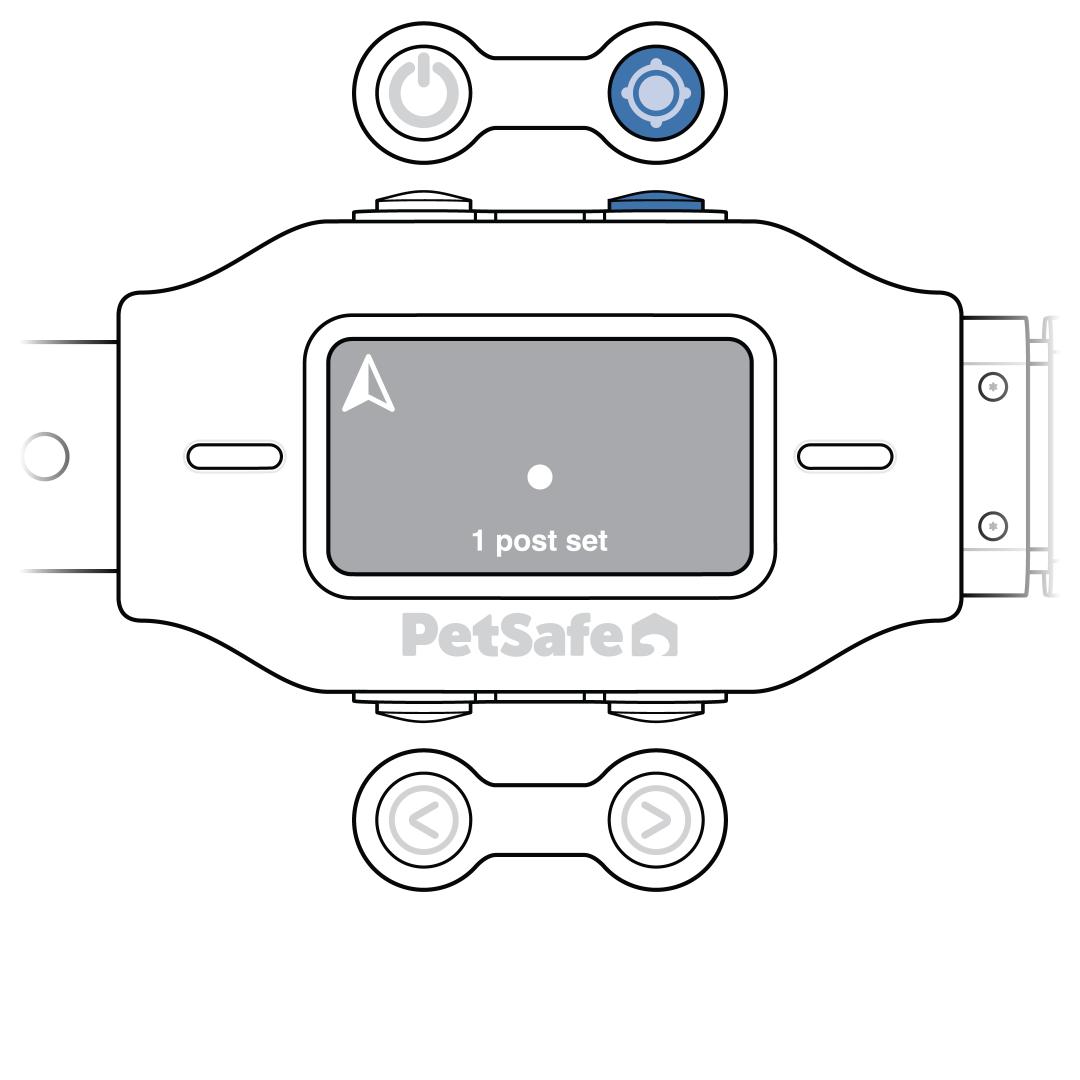
Walk to the desired area and press the fence button to set the first post.
- To delete a fence post after setting it, press the power button.
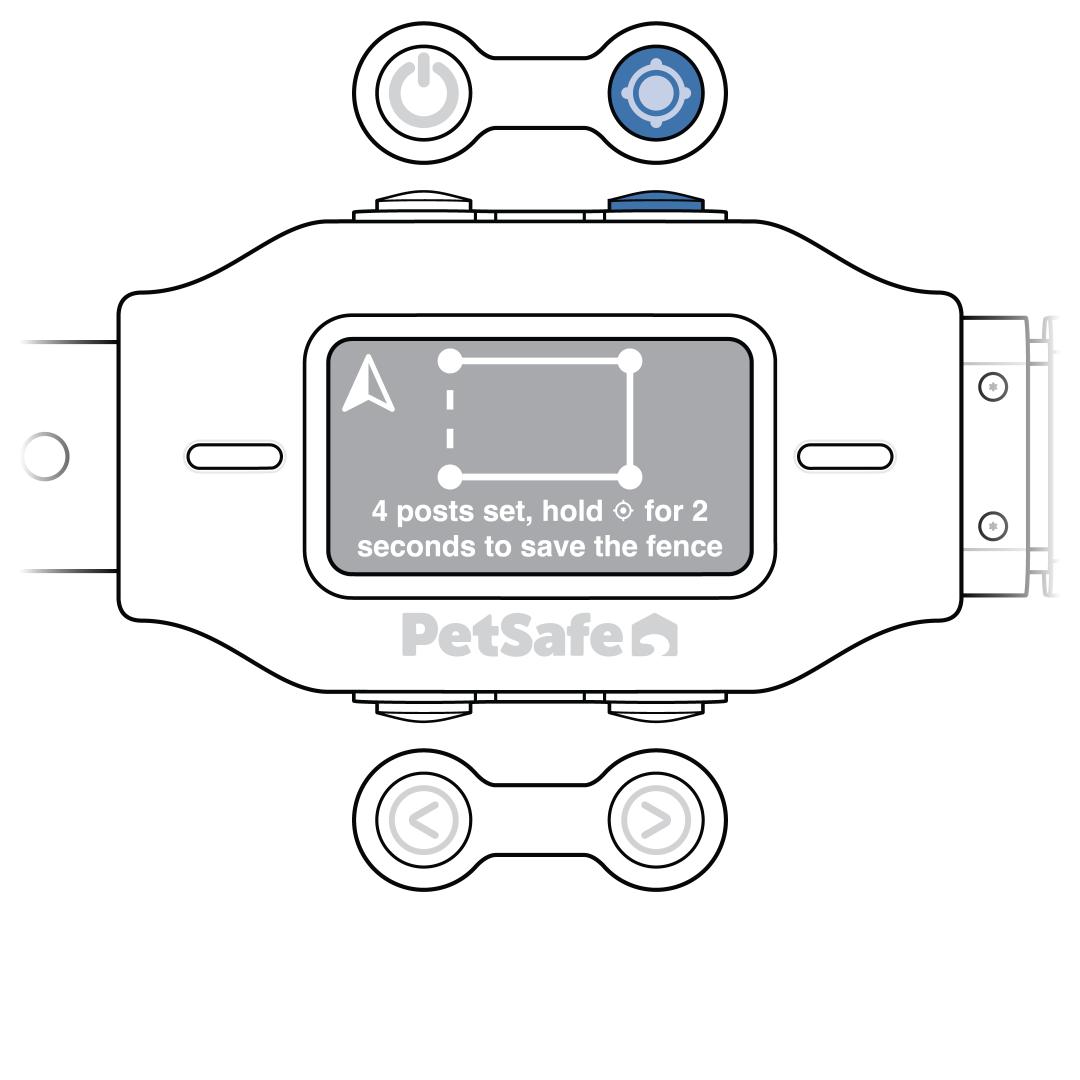
Walk the boundary and press the fence button to set posts at least 20 feet apart until you have completed the boundary with at least 4 and no more than 8 posts.
Once you have at least 4 posts and are ready to save, press and hold the fence button to confirm the boundary.
Reset a Fence
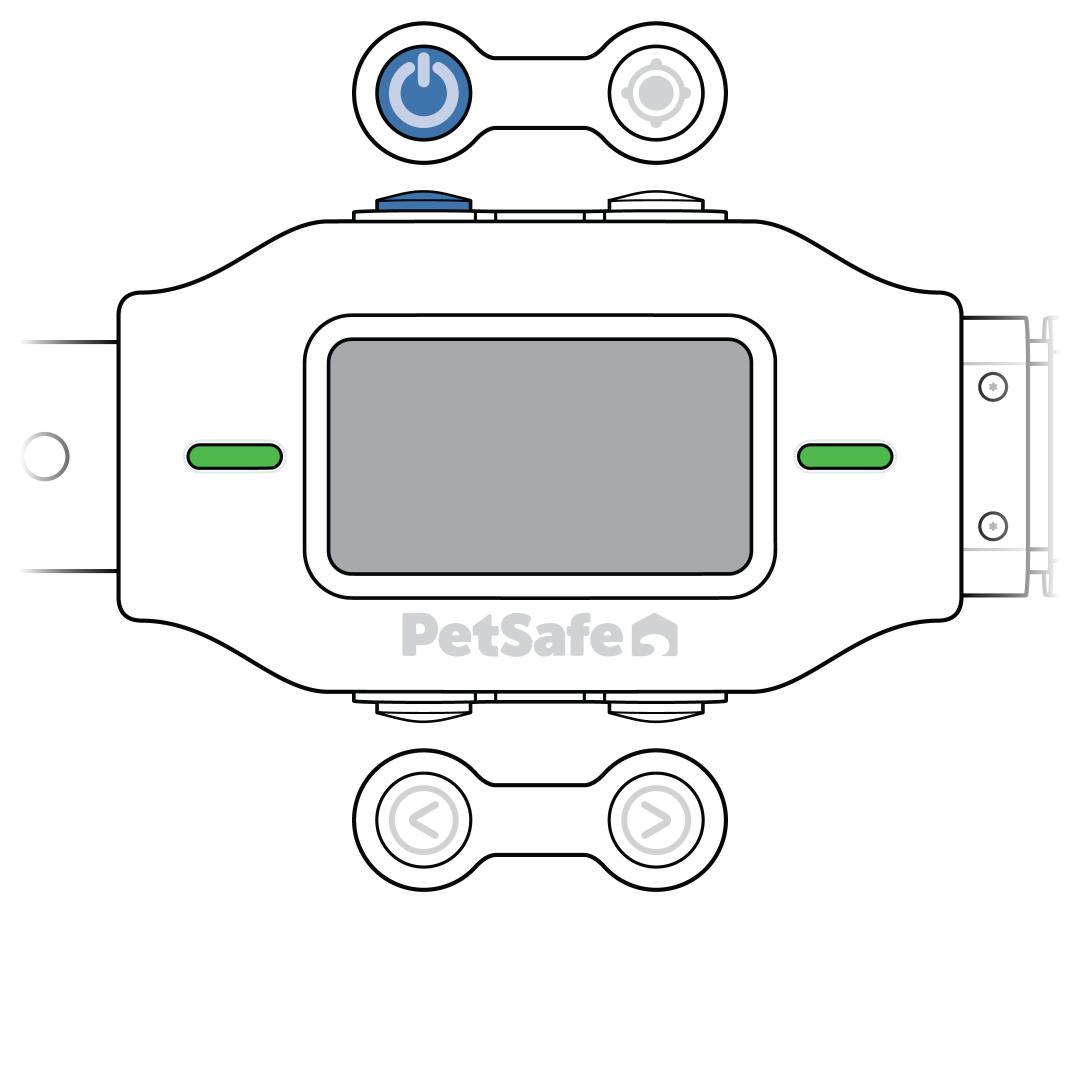
Press and release the power button to turn the collar on. The collar tones, vibrates once and flashes green to confirm power.
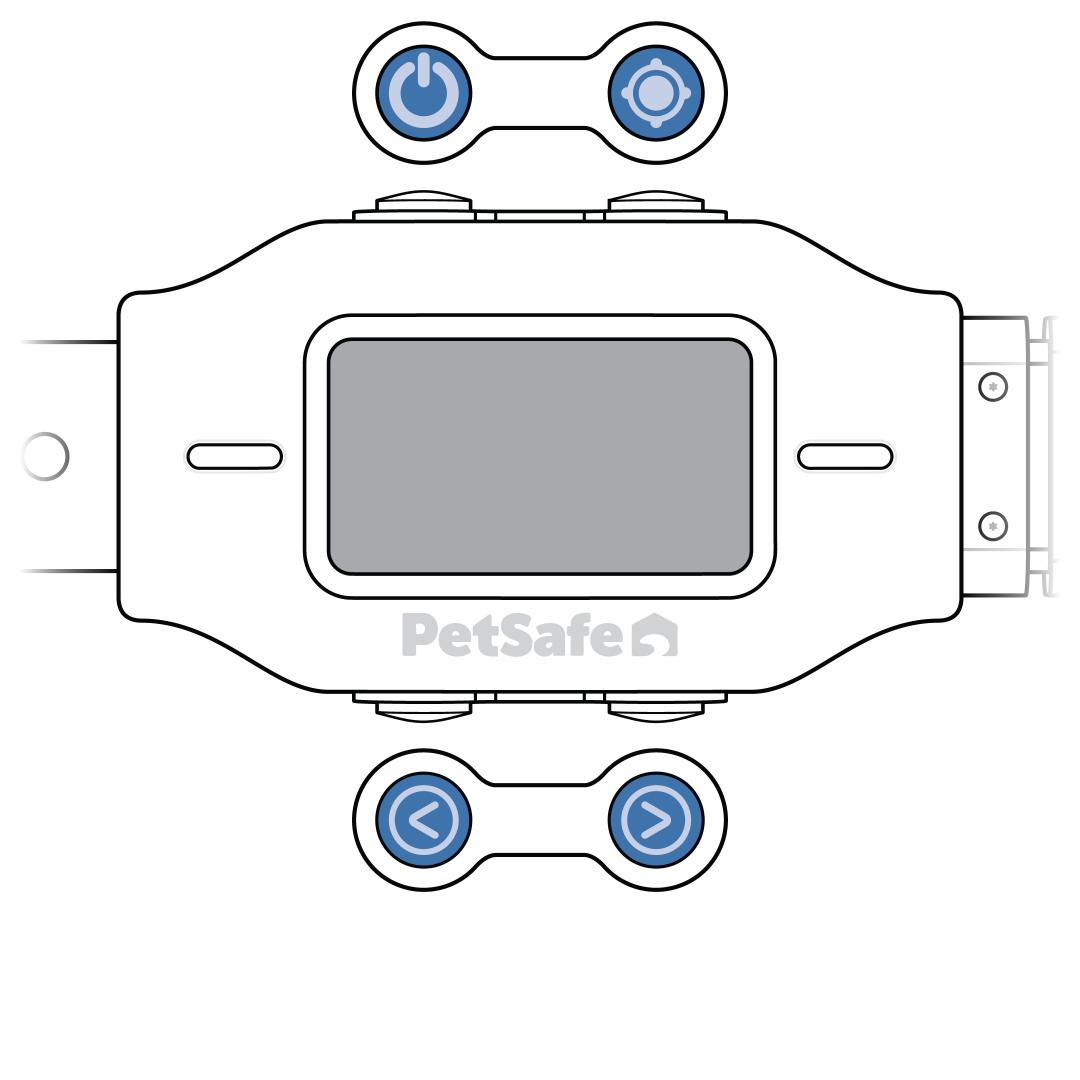
Press and hold all four collar buttons for 5 seconds to reset the fence.
If you need help creating a new fence, revisit the Create a Fence section of this article.