How to Change the Simply Clean® Conveyor Motor
Disassembly
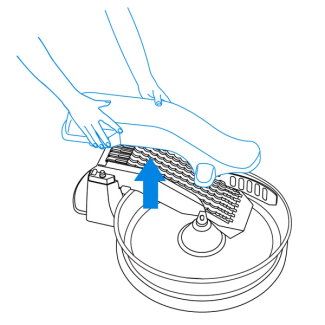
Remove the conveyor cover and waste bin.

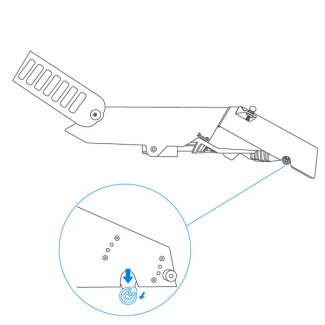
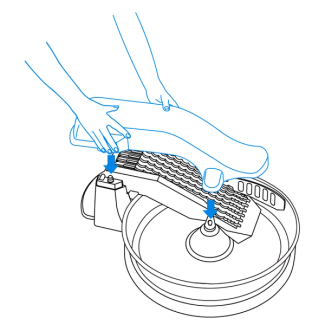
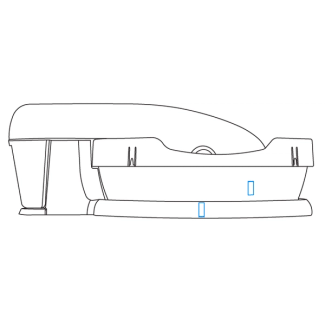
Remove the thumb screws that secure the conveyor to the base.
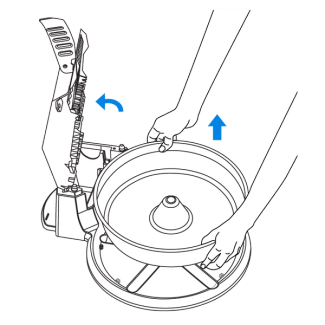
Lift the conveyor up and remove the bowl.
Uninstall the Conveyor Motor
Remove the conveyor cover and waste bin.
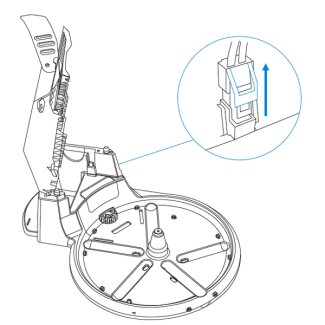
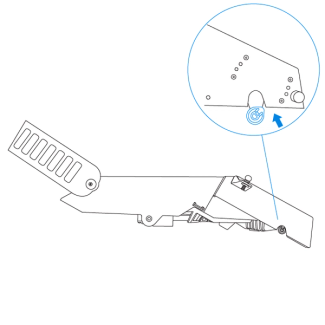
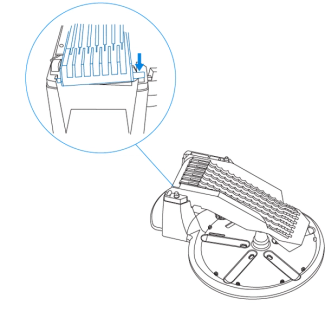
Lift up on the corner of the conveyor opposite of the motor until the conveyor plug is free. Remove the conveyor.
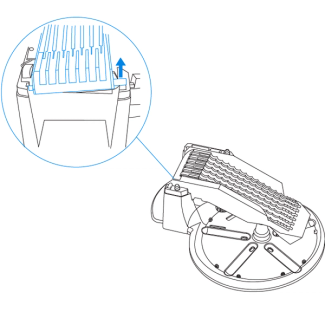
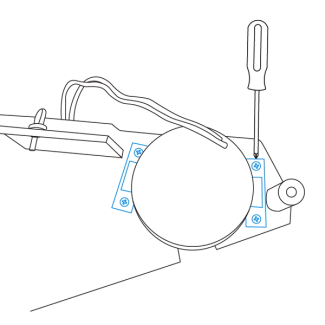
Use a Phillips screwdriver to unscrew the four screws at the top of the motor. Pull the motor off of the conveyor.

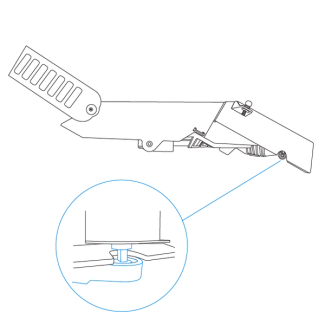
Identify the crank disk on the bar beneath the original location of the motor.
Pull down the bar and remove the crank disk.
Install the New Conveyor Motor
Place the new crank disk onto the bar.
Line up and insert the new motor into the center opening of the crank disk.
Place the brackets on top of the screw holes on the side of the motor. Use a Phillips head screwdriver to fasten the motor to the conveyor.
Reinsert the conveyor plug into the base unit.
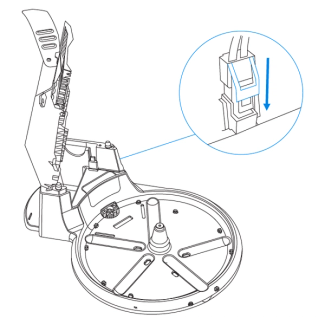
Connect the conveyor motor wire to the base unit wire.
Reassemble the Litter System
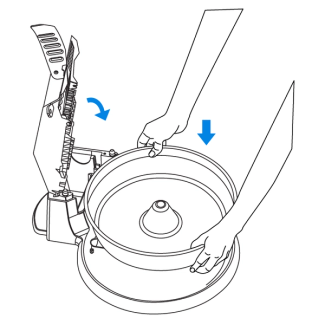
Place the bowl back into the unit and lower the conveyor down.
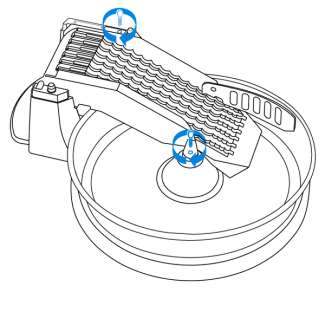
Tighten the thumb screws to secure the conveyor to the bowl.
Place the conveyor cover back onto the litter system.
Test the Litter System

Line up a piece of tape on the bowl with another piece of tape on the base unit.
Check the location of the tape on the bowl after a few minutes. The pieces of tape should be a few inches apart.
If the Tape Has Not Moved:
Check that the green light on the back is lit to confirm power.
Make sure the conveyor cover is securely in place and the waste bin is properly installed. If they are not, the system will not have power.
Inspect the conveyor motor connection under the conveyor to confirm that it is completely attached.
Contact Customer Care
If you need further assistance, please contact our customer care team.