How To Add a Safe Zone for My PetSafe® GPS Cat Tracker
What is a Safe Zone?
- Safe Zones are virtual boundaries you create in the app by selecting a location and customizing the size and shape on the map. If your cat’s Tracker moves outside that boundary, the app uses GPS and LTE to send an alert to your phone.
- No correction is delivered to the pet when leaving a Safe Zone and should not be used as an alternative to a containment solution.
Things To Know
- If your cat spends time indoors, your home should be within a Safe Zone to avoid getting false notifications.
- You need at least 4 posts to complete a Safe Zone, but no more than 16 posts. Keep your Safe Zones simple for the most accurate notifications!
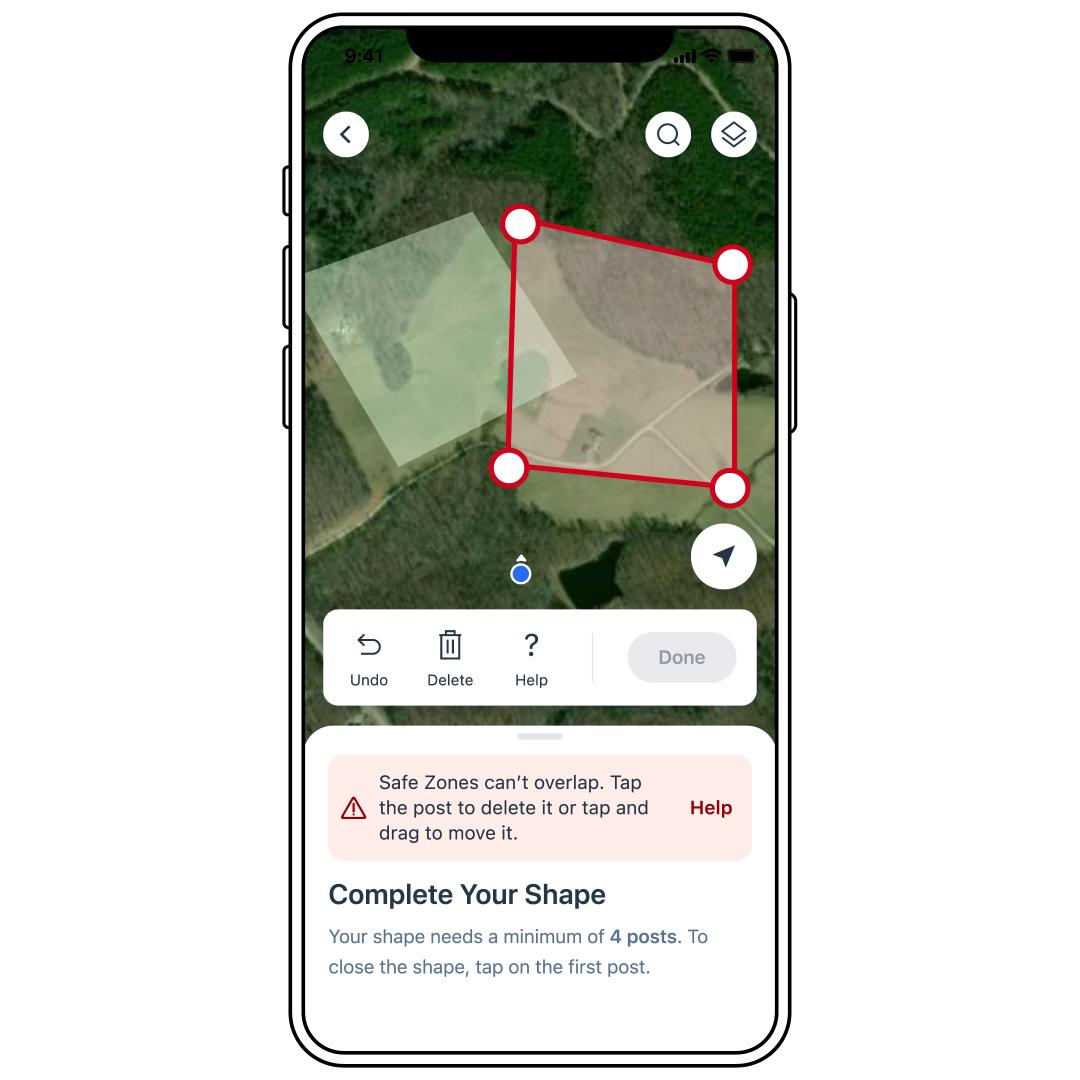
- You can create more than one Safe Zone, but they cannot overlap or be placed within 50 feet of each other, as this can affect alerts. If you already have one Safe Zone placed, it will be green on the map while you are building a new one.
- Additionally, the lines within your Safe Zone cannot overlap.
- Your Safe Zone must be at least 1/4th of an acre but can be as large as needed.
- Any Safe Zones created will be applied to all Trackers you have on your account. This includes any Safe Zones created for a PetSafe® GPS Dog Tracker on their account.
- Once a Safe Zone is created, it is active. There is no way to disable one, only delete it. For help deleting a Safe Zone, visit How To Edit or Delete a Safe Zone from My PetSafe® GPS Cat Tracker.
Create a Safe Zone

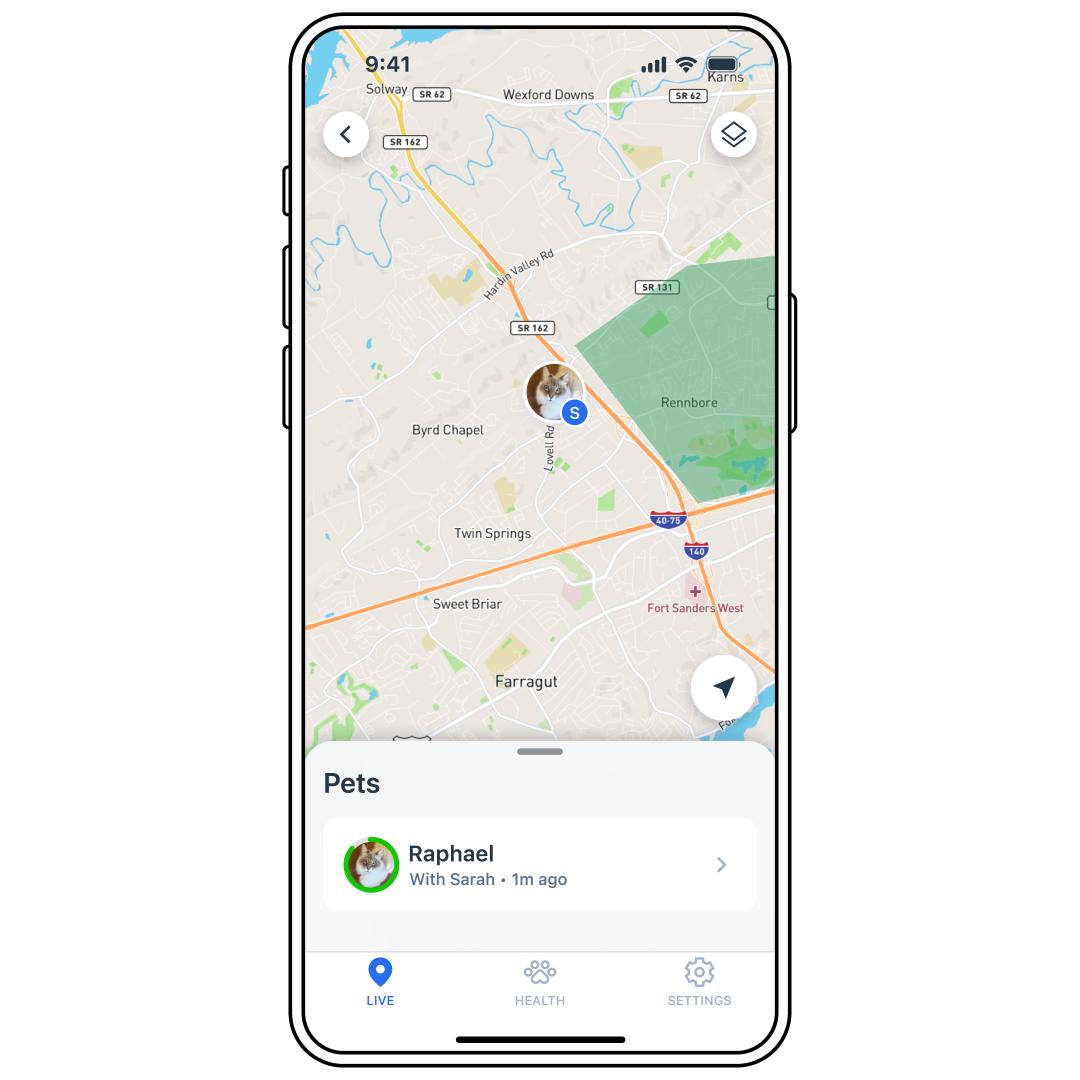
Open the My PetSafe® app and choose GPS Tracker from the product list if prompted.
Select SETTINGS at the bottom-right corner of the screen.
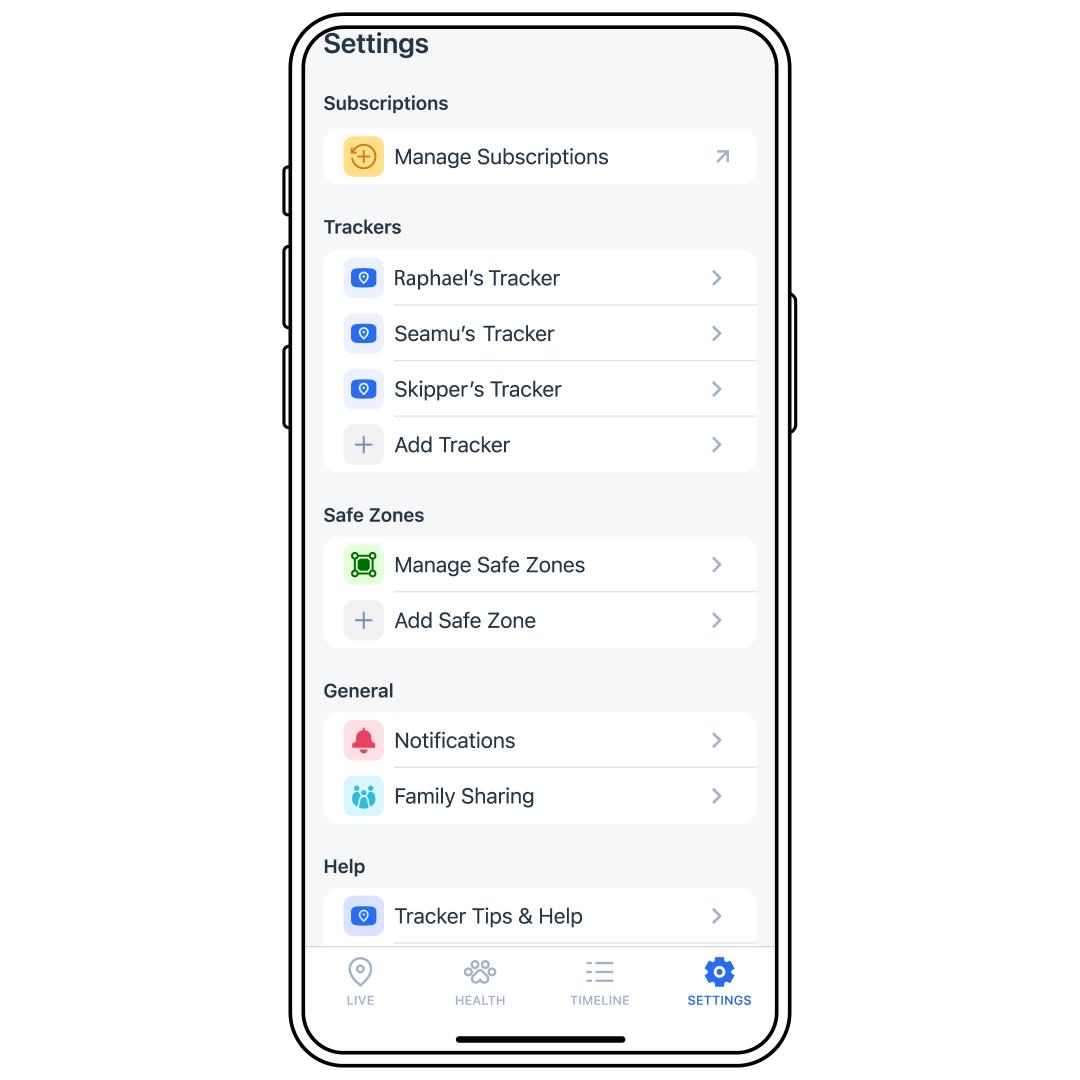
Select Add Safe Zone.
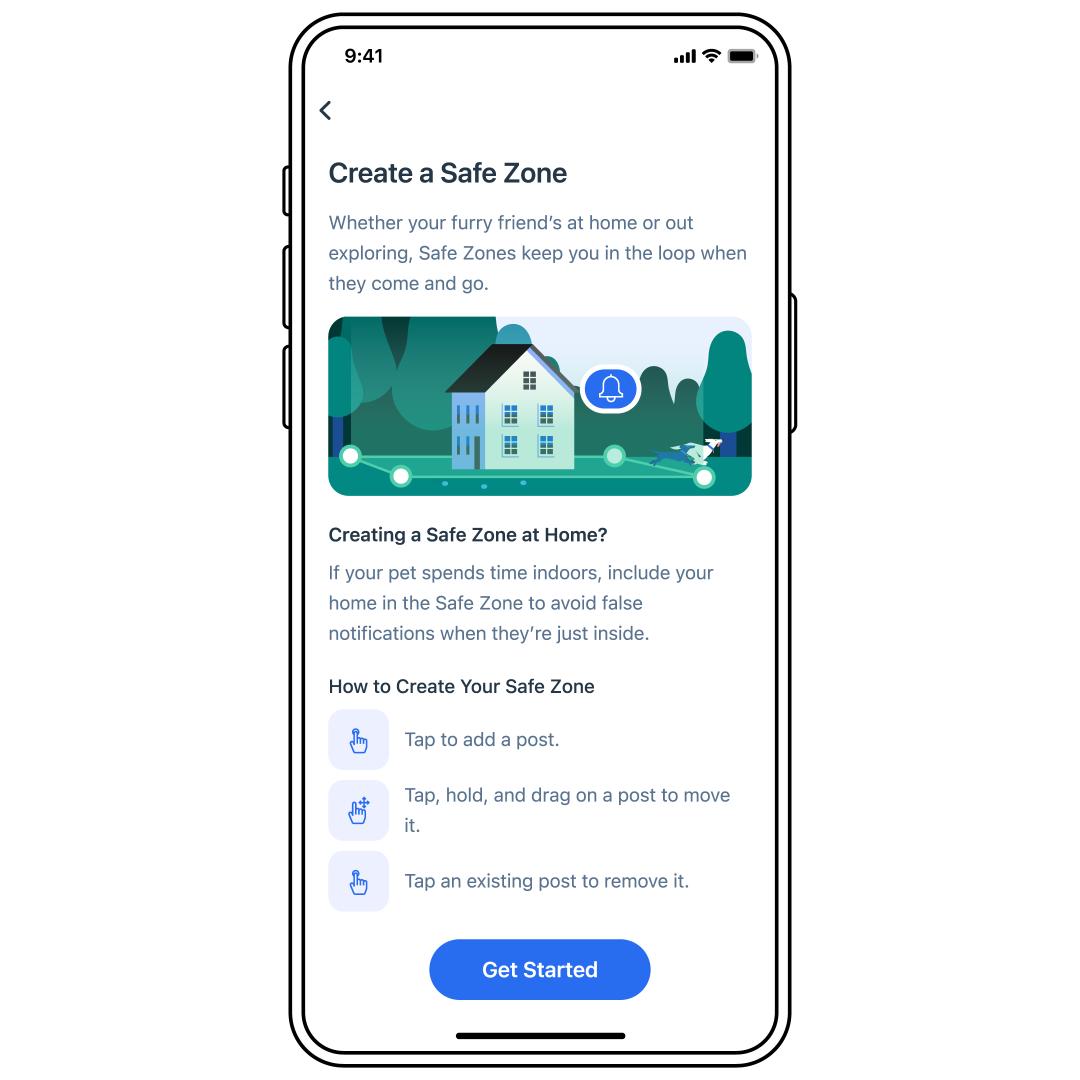
Press Get Started.
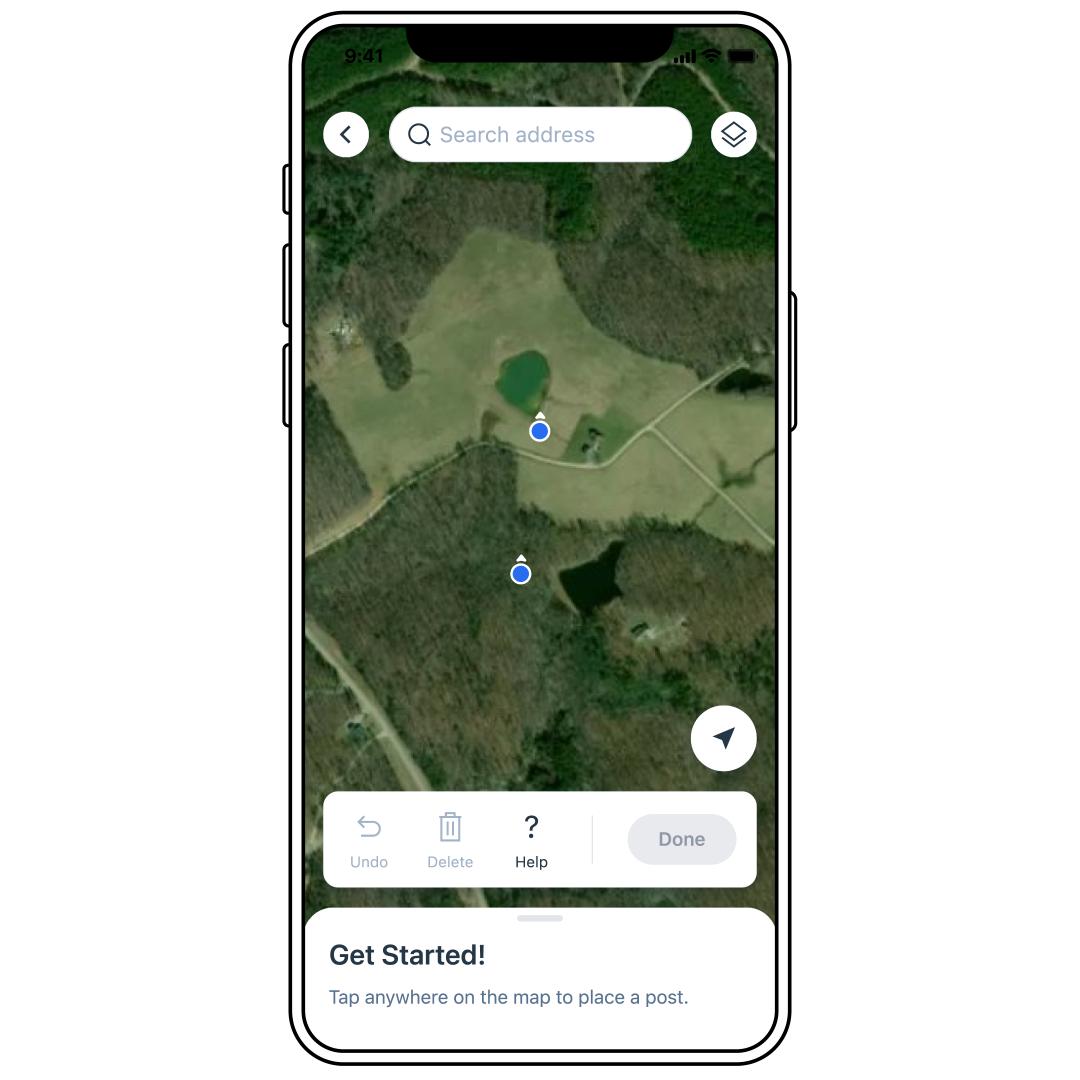
The app should automatically pull up your current location. If needing a different location, use the search address bar at the top of the map to locate the address for the Safe Zone to be placed.
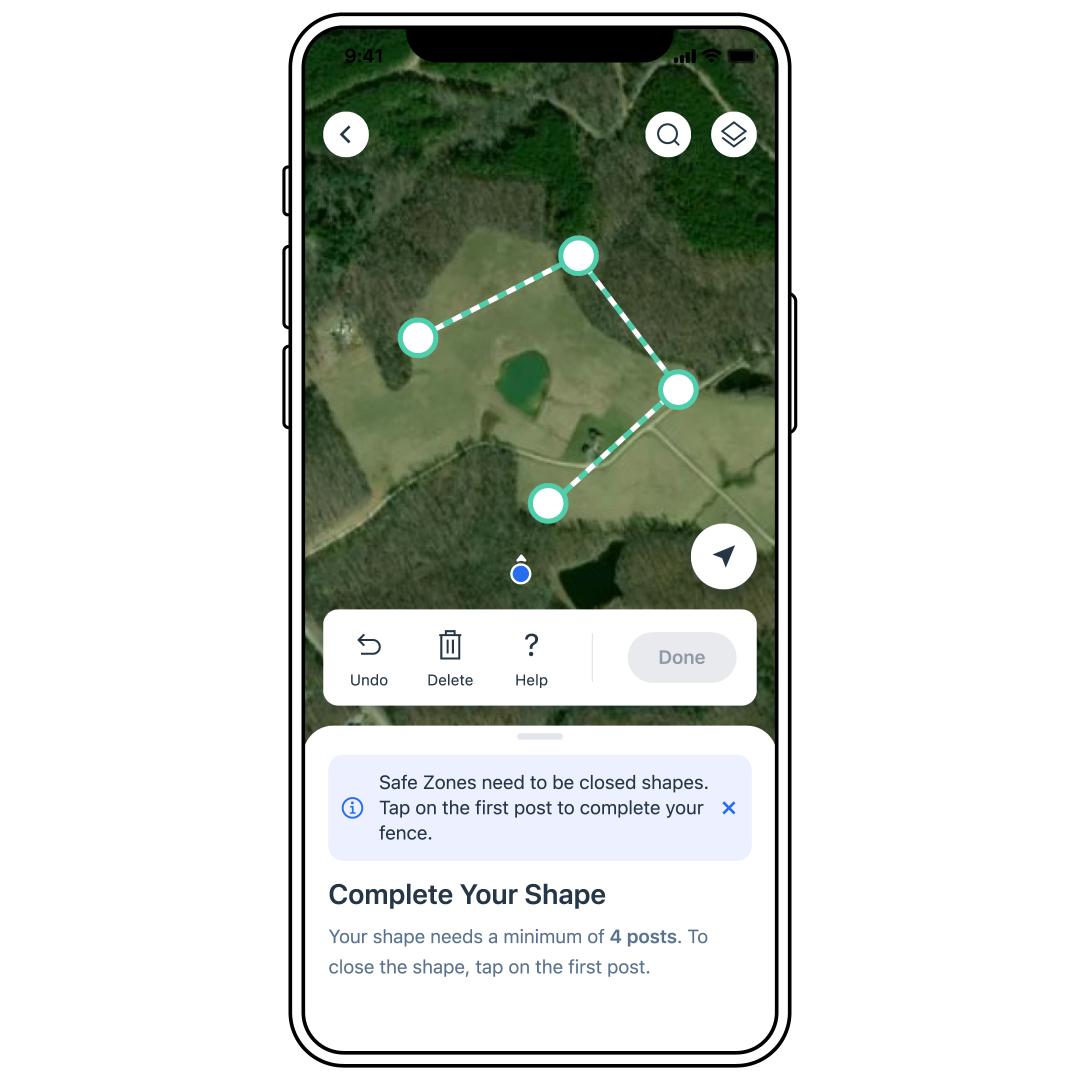
Tap on the map to place the first post.
Continue to place posts to create the shape of the Safe Zone.
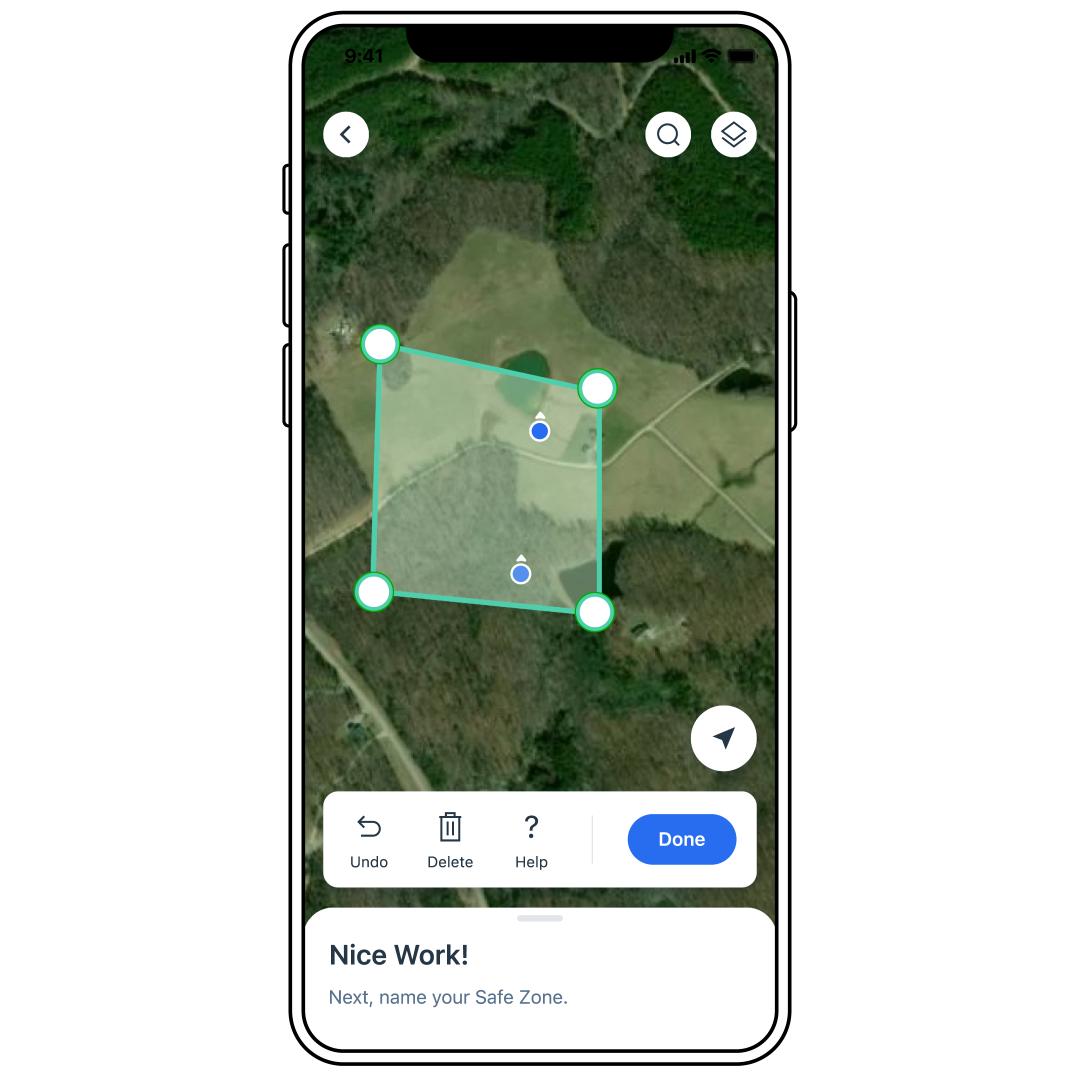

Tap the first post again to close the Safe Zone.
- Red lines indicate errors in the Safe Zone. An error message below the map describes the issue.You must correct thesebefore the Safe Zone can be saved.
- Yellow lines indicate potential issues that may cause false notifications. Though the Safe Zone can be saved, it is recommended that any yellow lines be corrected before saving the Safe Zone.
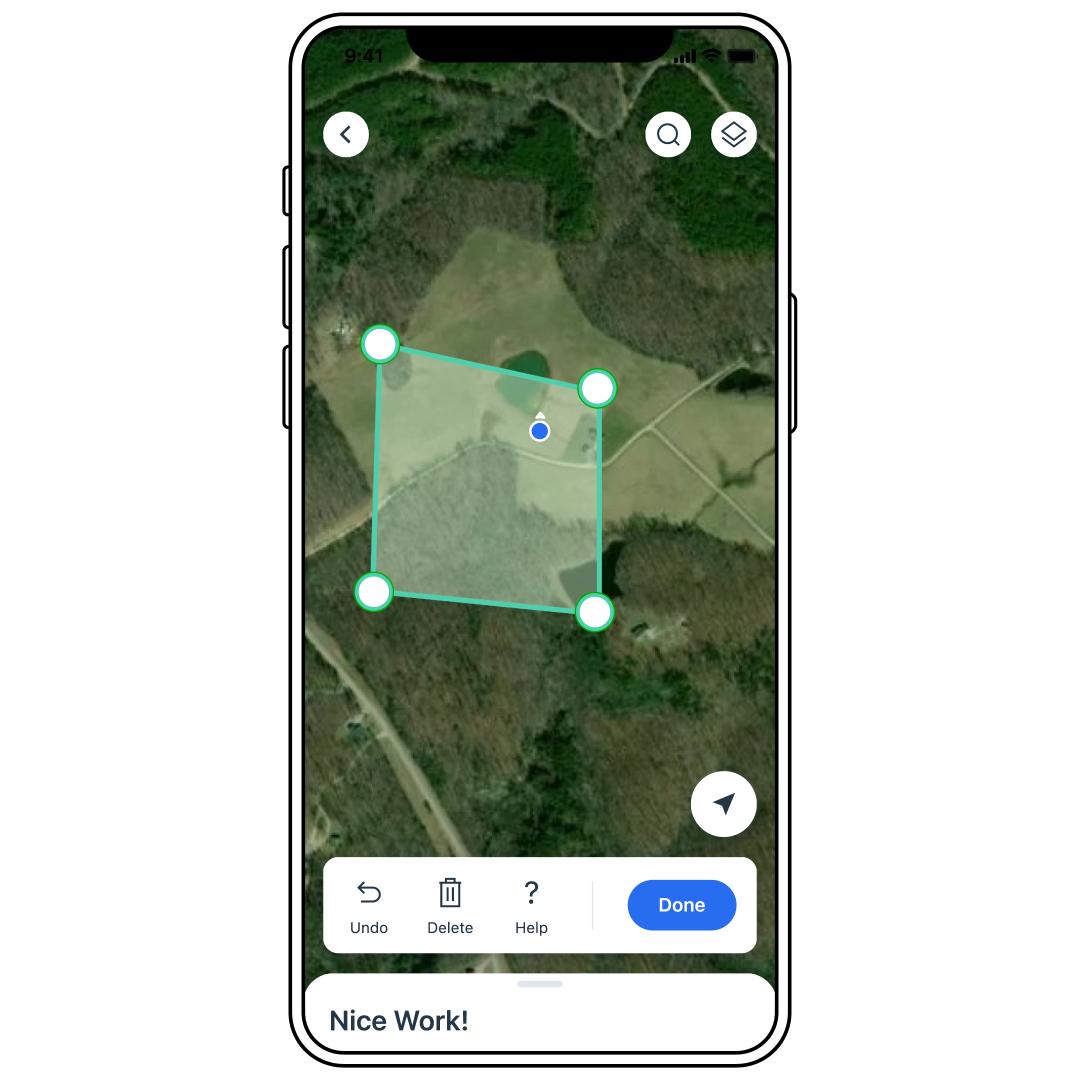
Select Done.
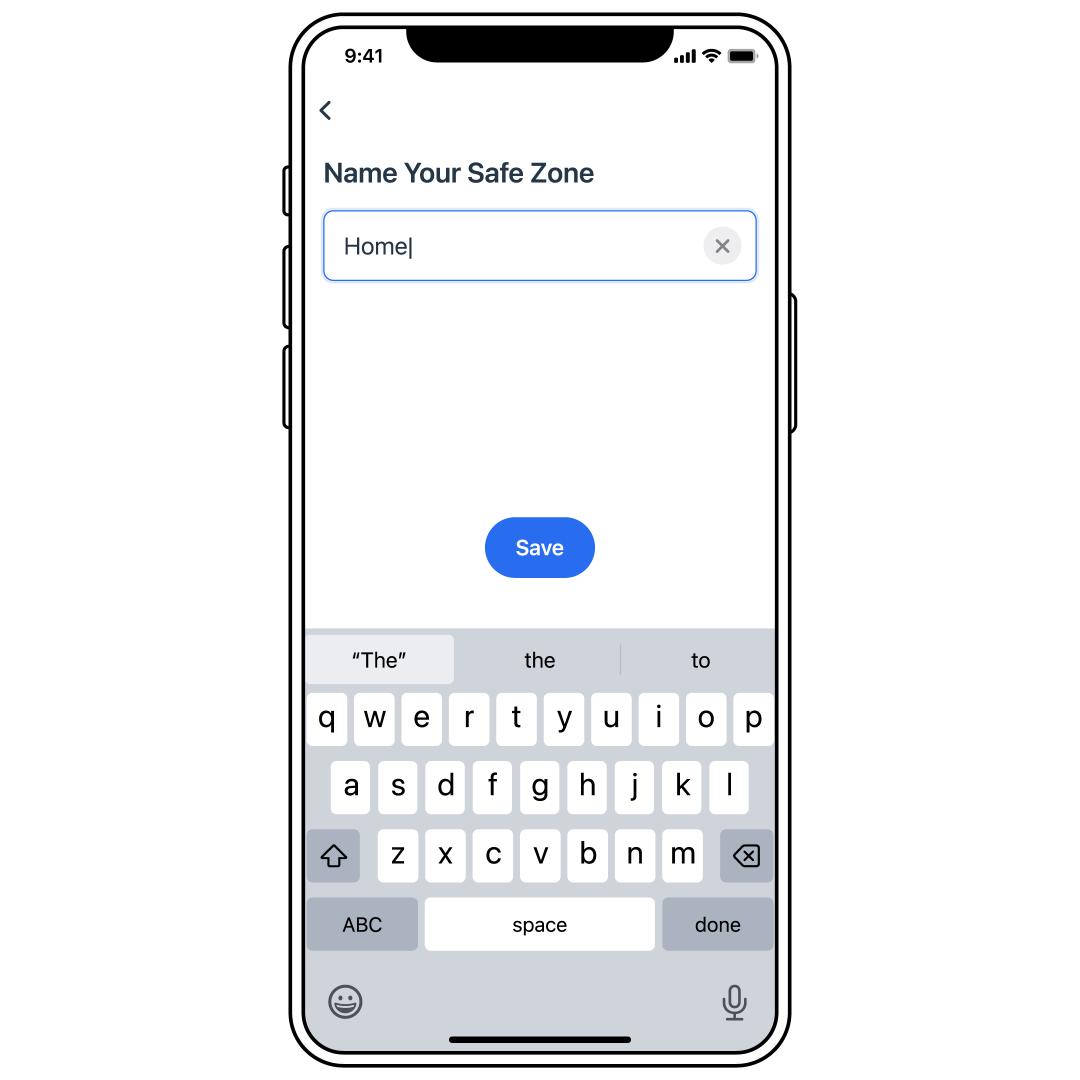
Name the Safe Zone and select Save.
The Safe Zone is now complete and will now be listed under Manage Safe Zones under SETTINGS.
- If you need to change the Safe Zone after creating, visit How To Edit or Delete a Safe Zone from My PetSafe® GPS Cat Tracker.