CozyUp® Wood Pet Steps Set Up
Table of Contents
Welcome
Welcome to your new CozyUp®™ Wood Pet Steps.
A Few Things to Keep in Mind:
2-Step: Supports up to 120 lbs
3-Step: Supports up to 200 lbs
Carpeted steps provide traction
Non-slip feet ensure stability
Pets may require time to get acclimated before using the stairs.
Important: The stairs are designed to only be used by pets.
Contents of the Package
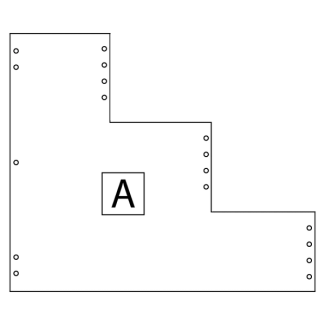
Side Panel (A) x2
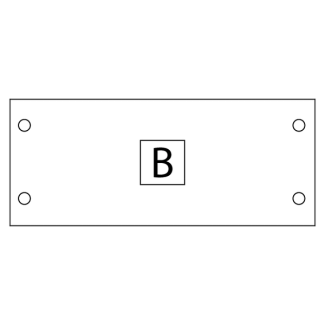
Riser Panel (B)
2-Step: x2
3-Step: x3
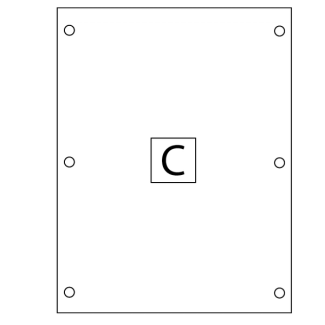
Back Panel (C)
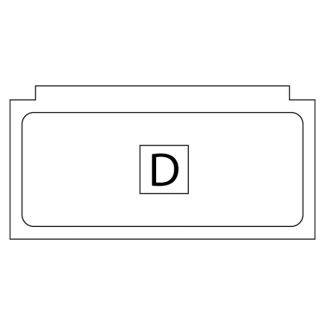
Lower Step (D)
2-Step: x3
3-Step: x2
Top Step (E)

Wood Biscuit
2-Step: x4
3-Step: x6

Wood Dowel
2-Step: x14
3-Step: x16

Cam Pin
2-Step: x12
3-Step: x18

Cam Lock
2-Step: x12
3-Step: x18
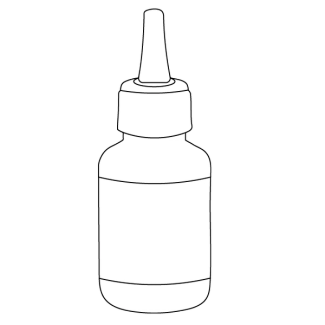
Glue

Screwdriver

Adhesive Feet x4
Step 1: Prepare the Panels
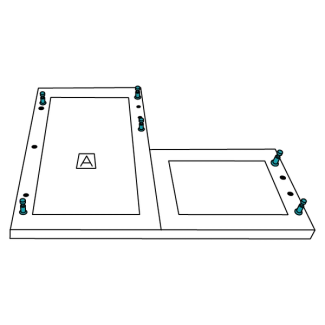
2-Step model: Insert six cam pins per panel.

3-Step model: Insert nine cam pins per panel.
Lay both side panels flat with side A facing up. Screw cam pins into the threaded holes in each side panel.
2-Step model: Insert seven dowels per panel.
3-Step model: Insert eight dowels per panel.
Insert wood dowels into the remaining holes in each side panel.
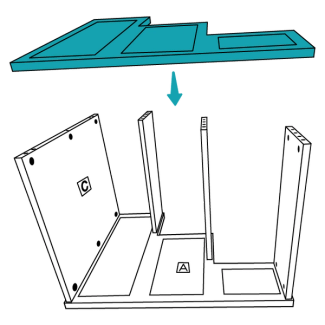
Step 2: Install the Panels
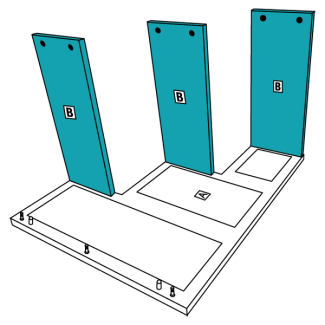
Connect the riser panels with the B side facing inward to one of the side panels. Line up the holes in one end of each riser with the cam pins and dowels in the side panel.

Insert cam locks into the holes in each riser panel next to where the panels are connected.
2-Step model: Insert six cam locks per panel.
3-Step model: Insert nine cam locks per panel.
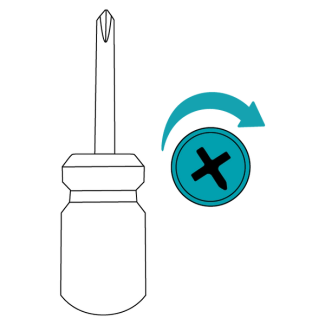
Use a screwdriver to tighten the cam locks to secure the connections.
Important: The arrow on the cam lock should point toward the cam pin.

Connect the back panel with side C facing inward to the side panel. Secure the connection with cam locks.
Connect the other side panel and secure the connections with cam locks.
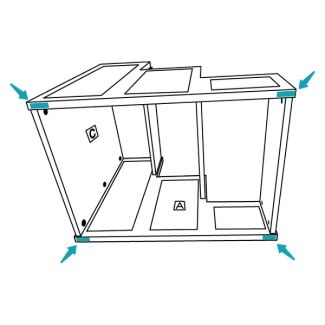
Attach the adhesive feet to the four bottom corners and turn the stairs upright.
Step 3: Attach the Steps

Apply glue to the slots at the top of each side panel slot and insert a wood biscuit into each slot.
2-Step model: Insert for biscuits
3-Step model: Insert six biscuits

Apply glue to the slots underneath the stair tread, then line up the slots with the wood biscuits and press down.
The top stair tread is labeled E, the others are labeled D.
Important: Don’t use the stairs for several hours after applying glue to allow it to dry.
Step 4: Acclimate Your Pet
Prepare to spend up to an hour helping your pet get comfortable using the pet stairs. Timid pets may require more time and love before they find confidence using the stairs.
Congratulations on building your CozyUp™ Wood Pet Steps. Once the glue has dried, you are ready to begin acclimating your pet to use the steps.
Contact Customer Care
If you need further assistance, please contact our customer care team.