Cleaning the Simply Clean® Automatic Litter Box
Complete the following cleaning routine every two weeks to keep your litter box operating at peak performance.
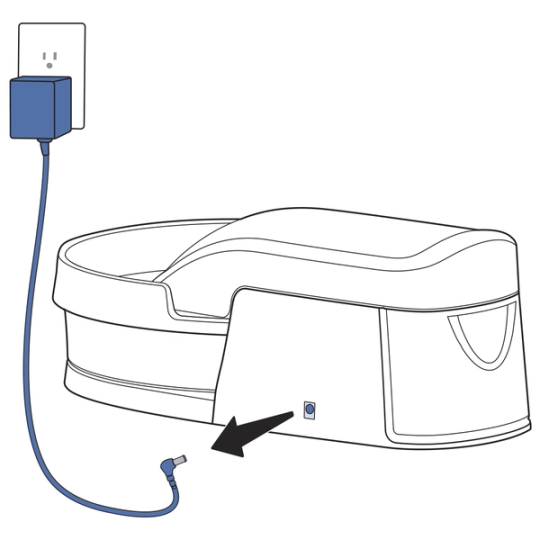
Unplug the power adaptor from the wall outlet and disconnect it from the litter box.
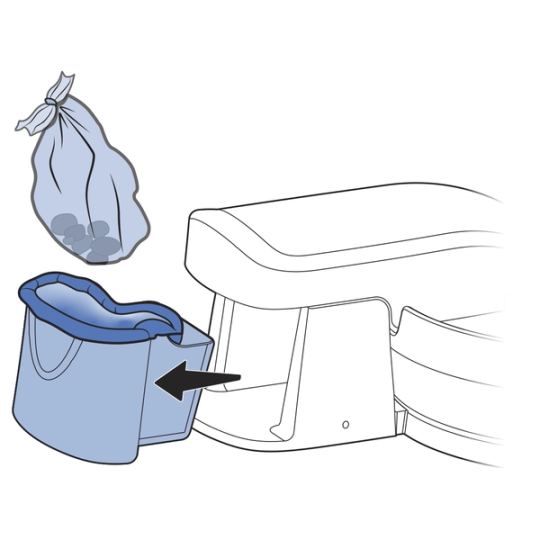
Remove and empty the waste bin.
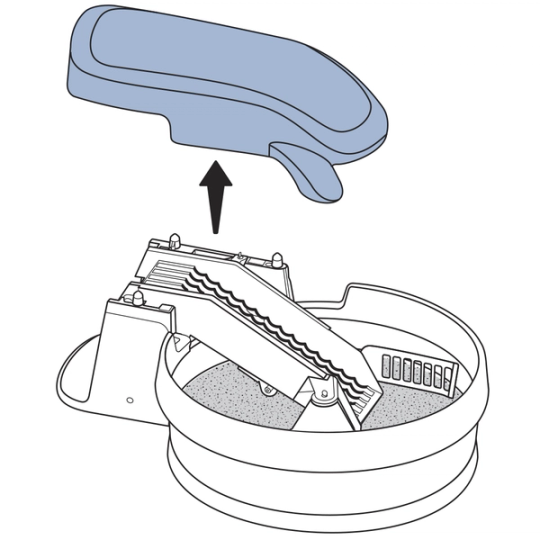
Lift straight up on the conveyor cover to remove it.
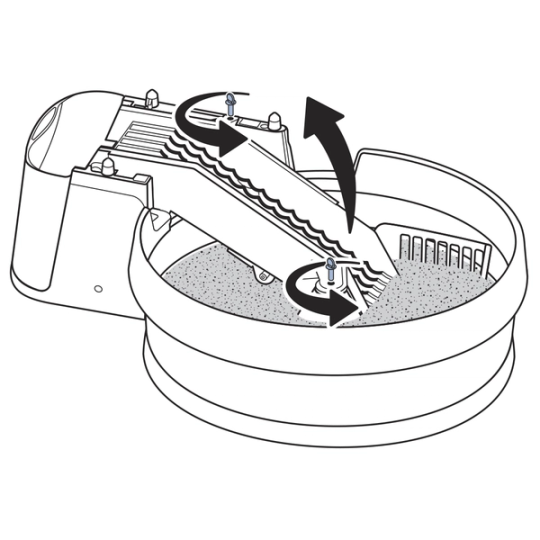
Loosen the two thumbscrews securing the conveyor. Lift the conveyor.
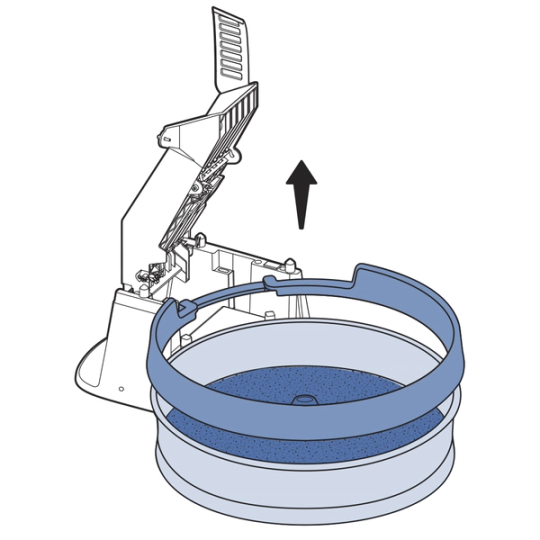
Remove the litter guard. Remove and empty the litter bowl.
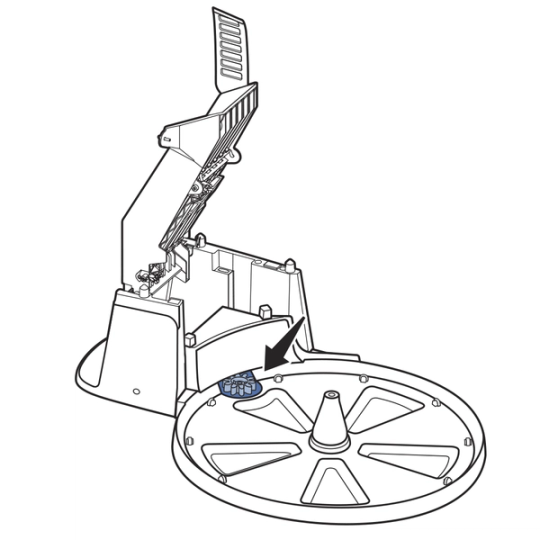
Use a vacuum or a can of compressed air to clear any litter from under the litter bowl, particularly around the base gear.
Turn the litter box over.

Use a Phillips head screwdriver to remove the four screws securing the snowman- or figure 8-shaped gear assembly to the bottom of the litter box.
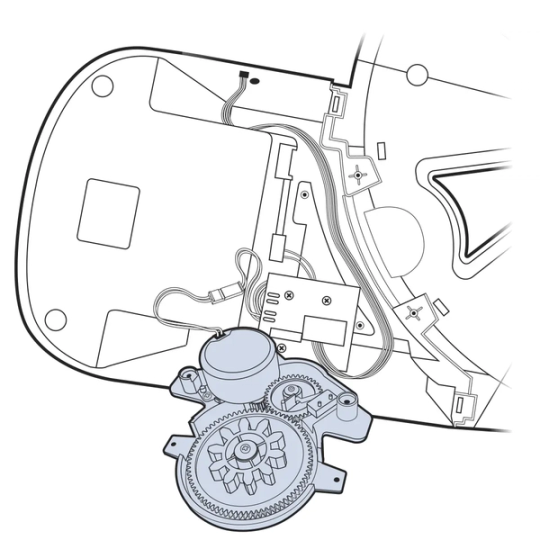
Carefully flip over the gear assembly.
Be careful not to pull on the yellow wires connecting the gear assembly to the litter box; pulling too hard on these wires can cause permanent damage.
Use a vacuum or a can of compressed air to clear any litter from the gears.

Replace the gear assembly and secure it with the four screws you removed previously.
Turn the litter box right side up.
Wash the bowl, litter guard, and waste bin with water and mild soap.
Important: If the conveyor base or conveyor requires cleaning, carefully wipe with a damp cloth or sponge only. These parts have electrical components and must not be submerged in water or wetted with cleaning solutions.
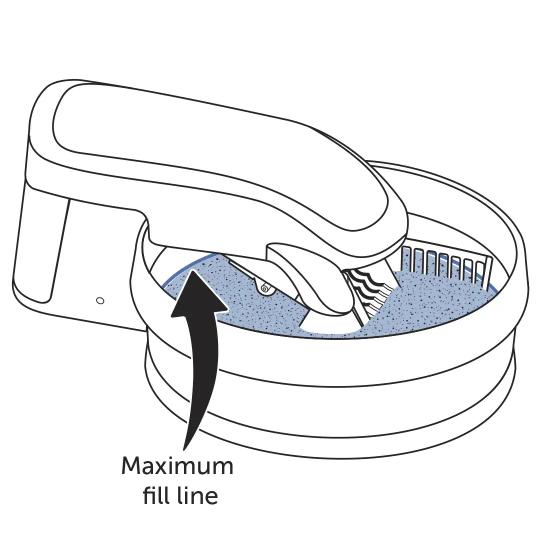
Let all parts dry completely, then reassemble and fill the litter box.
Contact Customer Care
If you need further assistance, please contact our customer care team.