Audible Bark Collar Set Up
Table of Contents
Welcome
Thank you for trusting us to help you keep your pet healthy, safe and happy. Your PetSafe® Audible Bark Collar will help you teach your dog when it’s OK to bark and when it’s not, so you can enjoy a more peaceful life together.
Keep in Mind
Uses SoundBurst® technology, a harmless burst of sound resembling the spray of an aerosol can or radio interference.
The collar has 10 levels of sound stimulation.
The initial charge will take five hours.
Uses temperament learning.
Training time will vary depending on the dog.
Features a safety shut off.
Refrain from having your dog wear the collar longer than 12 hours at a time to avoid irritation.
Materials
Please have the following ready prior to set up:
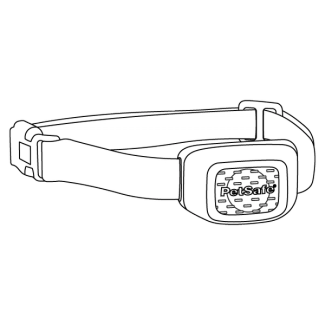
Audible Bark Collar with SoundBurst® Technology
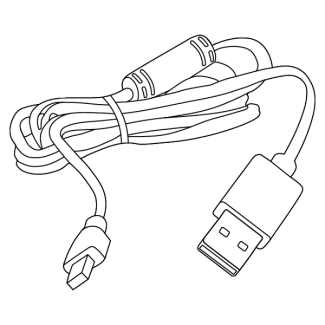
USB Charger
Charge the Collar
Before the first use, fully charge the bark collar for five hours. Every charge after will take 2-3 hours.
The average time between charges is 3-6 months, depending on use.
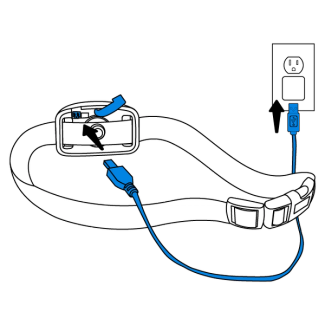
Lift the rubber cover protecting the charging port on the collar.
Connect the USB charger to the port on the collar. Make sure to align the ridges on the adapter with the openings on the port.
Plug the charger into any standard USB port. The collar light is solid green while charging.
Unplug the collar once there is no light on the collar. This indicates that the collar is charged.
Place the rubber cover over the port when charging is complete.
Test the Collar
After the collar has finished charging, run a test cycle. This will introduce you to the stimulation levels and ensure that each level is working properly.
Plug the collar in to charge.

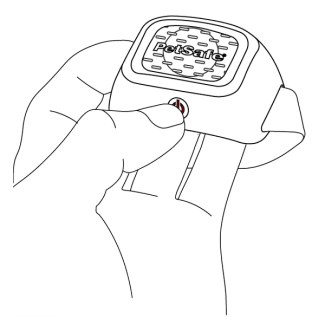
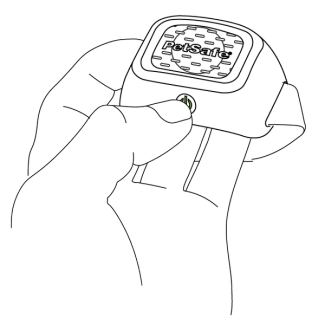
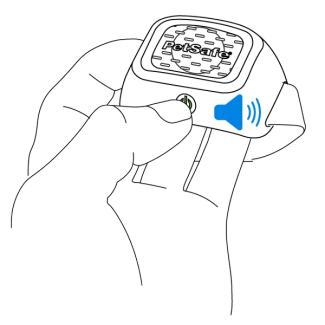
Press and hold the power button on the collar.
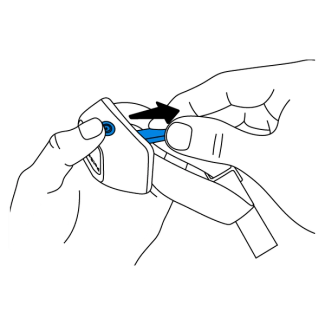
Continue to hold the power button while unplugging the charger from the collar.
Release the power button. The light turns blue, indicating it is now in test mode. The collar will beep and give a stimulation for each of the 10 levels.
- As the stimulation level increases, so does the duration of the sound.
- The length of sound ranges from less than 1.5 seconds up to 4 seconds.
- The volume of the sound does not increase.
Press the button anytime to end test mode early. Otherwise, the collar will automatically end test mode and power off after progressing through all levels.
Fit the Collar
Now that your collar has been tested, it must be properly fit to your dog. The sensor must sit on your dog’s vocal chords to detect a bark.
Your dog’s neck should be clean prior to fitting, and each time using the collar, to prevent irritation. If irritation is seen, discontinue the use of the collar until the irritation is gone.
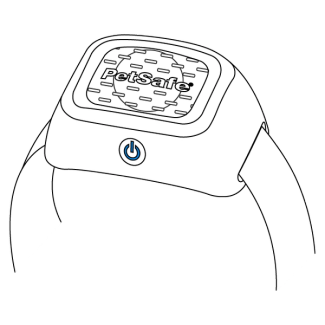
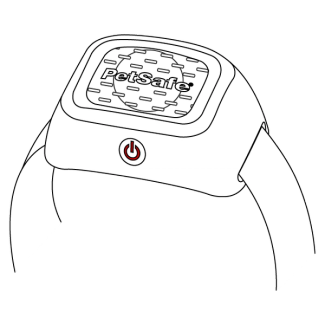
Ensure that the collar is powered off by checking that the light is not flashing.
If the collar is powered on, press and hold the power button until a red light is seen and the collar beeps.
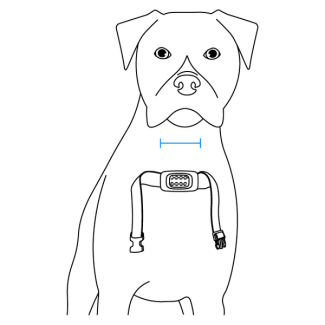
Center the sensor on your dog’s neck while your dog is standing.
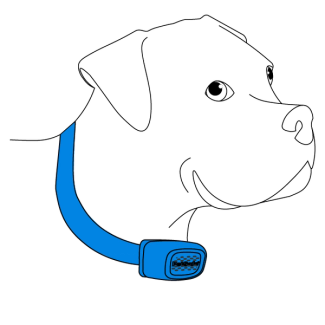
Buckle the strap. The collar sits high and snug on your dog’s neck.

Check that one finger fits between the sensor and your dog’s neck.
Important: Refrain from having your dog wear the collar longer than 12 hours at a time to avoid skin irritation.
Adjust the Strap
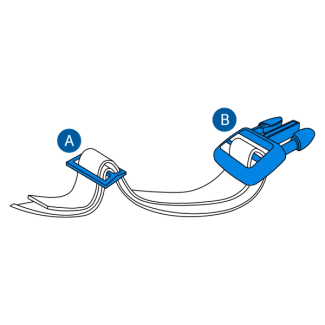
Slide Buckle
Fasten Buckle

To loosen
Slide the strap down through the slide, fasten buckles and pull down.

To tighten
Slide the strap up through the fasten buckle and pull through the slide buckle.
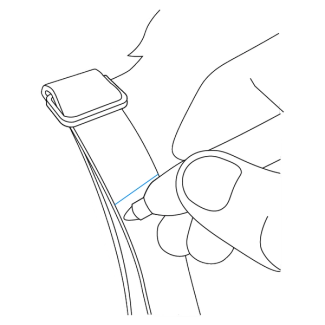
Fasten
Once the collar has been adjusted, thread the end of the strap through the slide buckle to avoid the strap from loosening

Identify the excess strap past the slide buckle. Loop the excess strap over the first hole on the slide buckle and through the second hole.

Pull the strap fully through the slide buckle.
Trim Strap (Optional)
If there is excess strap after adjusting and fastening the collar, trim the strap. Leave extra room on the strap if your dog is young or grows a thick winter coat.
Place the collar on your dog, and mark the strap at least 2 inches past the buckle.
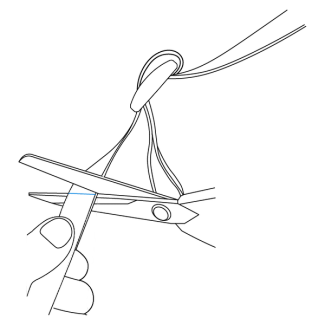
Remove the collar and cut at the mark.
Train Your Pet
When your dog first wears the collar, it will activate when he barks and a reduction in barking will be noticed. The temperament learning mode recognizes the level of stimulation that he responds to and the collar will begin to activate at that level.
After the initial reduction in barking, your dog will test the collar’s activation as he is adjusting to wearing it.
Watch your dog’s response to the stimulation and look for signs of stress, such as tail tucking, ears pinned back and hanging the head. If your dog continues to vocalize after a stimulation is given, the level may be too high.
The collar features a safety shut-off. If your dog barks more than 15 times within an 80 second period the collar will automatically turn off for three minutes.
Important: Do not leave your dog alone the first couple times he barks with his new bark control collar.
What to Do
Fit the collar properly and wait until your dog barks.
Reward him when he receives a stimulation and stops barking so he understands what is expected.
Bark-Correction Cycle
If your dog begins to bark at the stimulation, reassure him with calm, soothing tones to teach him that when he becomes quiet, the stimulation stops.
Consistency
Make sure to be consistent in using the collar when he is expected to be quiet to avoid a learning setback.
Reset the Collar
After training, your collar’s stimulation level may need to be reset. Resetting the collar will allow the stimulation to start at the lowest level when barking begins.
Always reset the collar before placing it on another dog.
Ensure that the collar is powered off by checking that the light is not flashing.
If the collar is powered on, press and hold the power button until a red light is seen and the collar beeps.
Turn the collar on by holding the power button on the collar. The light will turn green and the collar will beep.
Release the button. The collar flashes once, indicating it is powered on. Immediately press and hold the power button.
The collar will appear to power off but keep holding until the collar flashes green and beeps five times. Release the button.
The collar has now been reset and will power off.
Contact Customer Care
If you need further assistance, please contact our customer care team.